
One thing up front: this is a technical guide. It was written by a marketer, not a photographer or a designer.
The marketing director is the person who steps back to see how everything fits together: from the finances to the look, from the values to brand consistency. In theory, and romantically, setting aside the propaganda that invents needs where none exist and crushes the human spirit, customers pay for our services when they need them. So everything we do should serve the user's experience in the moment, matched to how aware they are of their need right then, and help them choose us because we did our best to solve the problem they now know they have.
That means our main goal here is to explore the potential, the technical limits and the practical uses of AI, and how to use it to bring visuals into the journey described above, rather than to go deep on creative technical specs.
Learning to see the big picture matters enormously in the age of AI. Work used to move away from the fairly crude marketing science of the industrial revolution, built on mass communication where graphic designers, copywriters and typesetters ruled. Then the internet brought hyper-personalization and digitization, and the kings of the jungle became specialists like programmers, Photoshop designers and media buyers, people who were great at one thing.
Today the wind has changed. Most of those technical specialists (let's say 99%) will be replaced by AI, run by people with a broader view who can use different AI tools to piece together the mosaic of the user experience, and that experience is going to change completely.
Curate, don't create. The unpredictability of prompt engineering in image generation
There's good news and bad news when you start generating images with AI.
The bad news? Think of image generation as a race car with no driver. Language models have well-defined techniques, studied and validated in scientific papers. With image generation, we have almost no control and the results are unpredictable.
What does that mean? It means that "creating" with artificial intelligence isn't quite the right word.
As the 2024 National Science Review points out, diffusion models (the technical name for the models that generate images) work through stochastic processes that make the final output hard to predict precisely, which pushes the designer to evolve from creator to curator.
"Curate" is the word I think fits best, because with prompts we're trying to produce a certain body language that fits the goal we want to reach. That doesn't mean you can't make art. The "patchwork" of our choices could be seen as a unique story, and so as art. But creating is something else entirely: it means giving exact shape, through technique, to what your mind sees. Today, AI can't do that.
The good news is that we're not alone in this. A large, passionate community keeps sharing results, experiments and discoveries. Thanks to that exchange, we're starting to see a few standards emerge in prompt engineering. And in this guide, we'll focus on some of the most established and promising techniques.
Picking your tools is a creative choice
First, which platform should you generate with? Your brief will already list requirements that point you in a direction. For example, Midjourney v7 is unbeatable for artistic images with a "cinematic" quality, hyper-realistic photographic textures and character consistency that's finally solved, thanks to the new Omni Reference system. But even though it has improved, precise text control in Midjourney can still slip on long phrases. Ideogram 3.0, Nano Banana Pro or GPT Image 1.5, on the other hand, were designed to master exactly that, so you get flawless lettering and complex typographic layouts inside your images.
If your use case involves logos, posters with long slogans, or packaging with specific copy, Ideogram 3.0 is still the ideal choice, or a great companion. It runs in the browser, with plans that scale based on generation speed, and it includes advanced features like Magic Fill and hex-code control over color palettes.
Beyond these, open source tools have changed radically. FLUX.2, for example, is the new family of models that has made the old Stable Diffusion obsolete. FLUX.2's strength is how well it understands the logic of a prompt, plus its "raw," unpolished photorealism. Because the weights are open, the community has built quantized versions (GGUF) that run even on consumer GPUs, although the requirements are steep. The downside: you need technical skills to get the most out of it through node-based interfaces. To give you an idea, FLUX.2 can run locally on a PC with an RTX 5090 or 5080, with full privacy and zero monthly subscription costs.
A key outsider in 2026 is Wan 2.1. It started as a video model, but people use it off-label, and with remarkable success, to generate single still frames with an organic, cinematic look, often beating pure photo models at handling light.
Finally, there's Adobe Firefly Image 5, built into Photoshop and Illustrator 2026. It's the only one designed for 100% "safe" commercial use by large companies, trained on clean datasets. It now supports native 4 Megapixel generation and Layered Editing, which makes it indispensable if your workflow includes immediate post-production.
Cloud vs. Local vs. Workflow
A quick note, for clarity. Cloud models (like Midjourney v7 or Recraft V3) are online services that generate images quickly with nothing to install, ideal if you want high quality without any technical setup.
Local models (like FLUX.2, Wan, Image-z) run on your own PC and give you full control, but they need serious hardware (VRAM) and setup.
Workflow tools (like ComfyUI or SwarmUI) let you orchestrate several models and fine-tune the process, which is useful for advanced users who want to combine LLMs and image generation.
In short: use the cloud for speed and ease, local for privacy and deep customization, and workflow tools for maximum flexibility and creative control.
Closed Models
In the tables below, I've listed the most widely used platforms as of Q1 2026.
| Model | Developer | Hardware Requirements (Min/Rec) | Operational Focus & Strengths | License & Usage Rights (What you can do) |
|---|---|---|---|---|
| GPT Image 1.5 | OpenAI | Cloud API Only | Top-tier prompt adherence, complex logical consistency, LLM integration. | Proprietary (Commercial via API).✅ Yes: Immediate commercial use. The image rights are yours.⚠️ Watch out: You pay per use/subscription. Your data may be used for training (unless you have Enterprise/Team privacy options). You can't download the model. |
| Gemini 3 Pro Image | Cloud API Only | Extreme photorealism, built-in reasoning, Google ecosystem. | Proprietary (Commercial via API).✅ Yes: Full commercial integration. Legal coverage (IP indemnity) for Enterprise users.❌ No: No local control. If Google changes its policies or the API, your workflow stops. | |
| FLUX.2 Max | Black Forest Labs | 24GB (FP8) / 48GB (FP16) | The Open Weights benchmark. Texture detail, JSON control, multi-reference. | Open Weights (Non-Commercial).✅ Yes: Internal R&D, personal portfolio, unpaid drafts.❌ No: You may not sell outputs or use them in ad campaigns without a specific Enterprise license. It's a "trap" for agencies: it looks free, but to do real work you have to pay BFL. |
| FLUX.2 Flex | Black Forest Labs | 16GB (FP8) / 24GB (FP16) | Ideal speed/quality balance for iterative workflows. | Hybrid (Commercial API / Restricted Weights).✅ Yes: Commercial use allowed only if you use their paid API or buy the license for local hosting.💡 Tip: Use the API for final production, and the local weights only for testing. |
| Hunyuan Image 3.0 | Tencent | 80GB+ (Quant) / 3x80GB | LLM-like semantic understanding, excellent CJK/Latin text rendering. | Apache 2.0 (Pure Open Source).✅ Yes: Total commercial freedom. You can install it on your agency's servers, modify it and sell the results royalty-free.⚠️ Hurdle: The license is free, but the hardware it needs is extremely expensive (server-grade). |
| FLUX.2 Dev | Black Forest Labs | 16GB (FP8) / 24GB | Base version for development, extended LoRA support, great quality. | Open Weights (Non-Commercial).✅ Yes: Experimentation, LoRA training (style training), academic use.❌ No: Like the Max version, you can't use it for paid work without a commercial agreement. |
| Qwen-Image-2512 | Alibaba | 24GB VRAM (Standard) | "Anti-AI" realism, natural textures, superior typography rendering. | Apache 2.0 (Pure Open Source).✅ Yes: The safe choice. You can generate posters, logos and ad visuals that are 100% sellable.🛡️ Safety: No hidden costs, no royalties owed to Alibaba. Ideal for proprietary pipelines. |
| Seedream 4.5 | ByteDance | Cloud API / Private | Vibrant look, strong on human subjects and social/commercial style. | Proprietary (Commercial via API).✅ Yes: Great for fast social campaigns (TikTok/IG).⚠️ Watch out: Content policies (censorship) are often very strict. Data goes through proprietary servers (check GDPR/China compliance). |
Open Source/Open Weight Models
To know what to install, you need to understand three fundamental shifts that happened in 2025-2026.
Open Source vs. Open Weights.
Not every model is "Open Source" (free code and license). Many of the new giants, like FLUX.2 [dev], are "Open Weights": you can download them, look inside and use them for free for personal projects, but you need a commercial license to sell the images or use them in a company. Models like Wan or Lumina, on the other hand, keep more permissive licenses (Apache 2.0).
The DiT Architecture (Diffusion Transformer)
The "old guard" (SDXL, SD1.5) used an architecture called U-Net. The new models (FLUX, Lumina, Wan) use Transformers, the same technology behind ChatGPT. That means they "understand" the prompt much better, scale more intelligently and handle fine details (like text or fingers) with a consistency the old U-Nets physically couldn't reach.
The VRAM Wall and Quantization
Modern models are huge. An old SDXL weighed about 6GB. A FLUX.2 weighs over 30GB in its original format. To run them on graphics cards with "only" 12GB or 16GB, Quantization (GGUF) has become essential. This technique compresses the model by lowering the precision of its numbers (from 16-bit to 8 or 4-bit) with an almost imperceptible loss in visual quality, so you can run cinema-grade AI on your home PC.
| Model | License & Usage Rights (What you can do) | Main Strengths (Advertising Focus) | Hardware Req. (Local 2026) |
|---|---|---|---|
| FLUX.2 [dev] | Proprietary License (Non-Comm).✅ Yes: Internal research, personal portfolio, pipeline testing, unpaid drafts.❌ No: You can't sell the generated images, or use them in live campaigns or on company social accounts, without paying for the Commercial license (or using the paid API). | The Studio "Photographer." Unbeatable for product packshots and realistic portraits. The native Multi-Reference feature lets you feed in 2-3 photos of a product/spokesperson and generate it in different poses while keeping the identity perfect (brand consistency), with no lengthy training. | Extreme. Needs 24GB+ VRAM (RTX 3090/4090/5090) for top quality. Usable on 12-16GB only with compromises via GGUF (Q4/Q6). |
| Qwen-Image-2512 | Apache 2.0.✅ Yes: Free commercial use. You can sell the posters, use them for billboards worldwide and modify the model to build your agency's own proprietary fine-tune.🛡️ Safety: Royalty-free for the end client. | The Ad Designer. Currently the best open source model for handling text in images. It can generate posters with long slogans and complex layouts without spelling mistakes. Ideal for key visuals that need built-in lettering and natural textures. | High. A 20B-parameter model. Needs 24GB VRAM to run smoothly, but scales well to 16GB using quantized versions (Int8). |
| Wan 2.1 (Image Mode) | Apache 2.0.✅ Yes: Free commercial use. Perfect for video spots, B-roll, motion graphics assets and mood boards you can sell to the client.💡 Note: Great for production houses that want to bring in AI without legal risk. | The Director (Cinematic). Built for video, but it generates still frames with lighting and organic "motion blur" better than the photo models. Use it for storyboards, emotional mood boards or "candid" shots that don't look like perfect 3D renders. | High. A 14B-parameter model. Needs 16GB-24GB VRAM. It's heavy, but it delivers a unique look you can't replicate with Flux. |
| Janus Pro 7B | MIT License.✅ Yes: The most permissive license of all. You can use the images, modify the model's code, build it into an app for your clients and even resell the software.🔧 Flexibility: Maximum legal freedom. | The Technical Assistant. A "Unified" model that both understands and generates. Its strength is analyzing a reference image (e.g. a layout/sketch) and following its logical structure better than anything else. Perfect for turning wireframes into finished images. | Medium. Runs on 12-16GB VRAM. Since it's hybrid, it benefits from plenty of system RAM (64GB recommended) to load the visual understanding part. |
| Z-Image-Turbo | Apache 2.0.✅ Yes: Free commercial use. Ideal for generating huge numbers of variants to show the client without worrying about license costs or API calls.🚀 Production: Safe for work and business ready. | For quick sketches. Pure speed. It generates high-quality images in just 8 steps. Essential during brainstorming to generate 50 variants of a concept in a few minutes and show them to the client before moving to the final render. | Low. Very efficient (6B parameters). Runs on almost any modern consumer GPU (8GB+) while keeping production-grade speed. |
For Freelancers and Agencies.
For maximum legal safety at zero cost (hardware aside), go with Qwen-Image-2512 (or Wan 2.1 and Janus Pro from the previous table). They're Apache 2.0/MIT licenses, so the output is 100% yours.
The "Flux" risk. You'll notice that the whole FLUX.2 family (except any "Schnell" versions not listed here) has restrictive licenses on the local weights. They're powerful tools, but an agency that bills clients needs either an API subscription or an Enterprise license to stay "compliant."
SaaS vs. Local. Cloud models (GPT, Gemini, Seedream) solve the licensing problem with payment ("Pay to play"), but they take away control over your data and over fine-tuning for your clients' brands.
Advanced Control Technologies: Image-to-Image, Reference-to-Image and ControlNet
If diffusion models are the engine, control technologies are the steering wheel and the brakes. Without them, the output is left to chance. To turn strategic vision into technical execution, you need to master, on top of the prompt, three methods that constrain the model: Image-to-Image, Reference-to-Image and ControlNet.
In marketing, we rarely start from a blank page. Often we have a product photo, a layout, a sketch or a specific spokesperson. Relying on text alone in these cases is operational suicide: the AI will "hallucinate" different details every time.
In 2026, models don't just read anymore: they look. On top of fine control through prompt engineering, we can now place our products, ourselves and entire sets inside the composition.
Here's what we can do with these technologies.
Image-to-Image (I2I)
Image-to-Image is the "oldest" technique, but it's still vital. You take an existing image and ask the AI to "dream on top of it." The AI changes only the fine details (light, texture), while the structure stays identical. You can use it to restyle a rough 3D render so it looks like a photo, to add brand colors, or to turn a pencil sketch on a napkin into a 4K scene.
Reference-to-Image
Unlike I2I, which blends everything, the new models let you pick what to copy from a reference image. For example, you can drop your product into an image.
Style Reference (Copy the Look)
Found that Pinterest image with the perfect color palette and that "Dark Academia" mood? Don't drive yourself crazy describing it in words. The AI will ignore the subject but apply the style (light, color, brushwork) with full force.
Structure Reference (Copy the Composition)
Decided the headline goes top right and the product bottom left? The AI couldn't care less about your text... unless you use a Structure Reference.
Character/Object Reference (Lock the Identity)
Problem number one: "The model changes the face in every photo." Here you can upload several photos of the same subject (profile, front, 3/4). The model builds a solid "triangulation" of the identity. It's the only real choice for real spokespeople or complex products.
Logical Editing and Inpainting
The image is almost perfect, but there's a mistake, or you want to change one specific detail. Don't regenerate the whole thing!
Spatial Logical Editing.
This is where GPT-Image 1.5 comes in. Unlike the others, it understands logic. Tell it "Move the vase to the right and put the cat inside the box," and it does it. Other models often merge the cat into the box. Use it for complex compositions where the relative position of objects is vital.
Inpainting (Generative Fill)
Paint over just one part of the image (say, the head). Nano Banana Pro (Google) and Adobe Firefly 5 are the best here because they read the context (light, shadows) better than the rest and blend the edit in invisibly.
Which technique should you use?
Not every model "sees" the same way. Here's a table to help you pick the right tool for the advertising problem you need to solve.
| Your problem (Goal) | The Technical Solution | Recommended Tool (2026) | Why? |
|---|---|---|---|
| "I need to place my product/spokesperson without distorting it" | Multi-Reference | FLUX.2 [dev/pro] | It's the only one that accepts several input photos to triangulate the 3D identity of the product/face. |
| "I have a precise sketch/layout to follow for the copy" | Structure Reference (ControlNet) | FLUX.2 | It follows the guides down to the pixel. Essential for banners and rigid layouts. |
| "I want this exact style/mood but with my subject" | Style Reference | Midjourney v7 (--sref) | Unbeatable at transferring "atmospheres" and complex color palettes. |
| "I need to create a consistent set of icons/graphics for the brand" | Brand Style Anchor | Recraft V3 | The only natively vector tool that guarantees consistency with the company design system. |
| "The image is complex: I need to move objects or change the logic" | Logical Editing | GPT-Image 1.5 | It understands spatial semantics ("above," "below," "inside") better than anything else. |
| "I have a static photo but I want it more 'alive' and emotional" | Image-to-Video (1 frame) | Wan 2.1 | It gives you that organic, "cinematic" look you can't get from standard photo generators. |
| "I need to fix a detail or swap an outfit on the fly" | Inpainting / Reasoning | Nano Banana Pro | It understands the photo's context and makes surgical, photorealistic edits. |
Workflow tools
Workflow tools are the control layer between you and the AI models. If the models (like FLUX or Wan) are the raw "engine," powerful but complex, the workflow tool is the chassis, the dashboard and the transmission that let you drive it. They don't just turn text into an image: they manage the entire processing pipeline (loading the model, applying styles, decoding, upscaling).
In 2026, the key split is between two philosophies:
Linear Interfaces (e.g. Forge, Fooocus): they hide the technical complexity behind a classic control panel with sliders and buttons. They're ideal if you want the final result without worrying about the "how."
Node-Based Interfaces (e.g. ComfyUI): they break the generation process down into a visual flowchart. Every operation is a "node" linked by virtual cables, and this modular approach gives you total flexibility. You can build hybrid pipelines that use one model for the composition and another for the details, or run complex video workflows, squeezing every bit out of your video memory (VRAM).
| Tool | Interface Type | Main Strengths | Target User | Recommended Hardware 2026 |
|---|---|---|---|---|
| ComfyUI | Node-based | The industry standard in 2026. Supports GGUF, FP8 and all the new models (Flux, Wan) on day one. Unbeatable VRAM optimization thanks to its modular design. | Power users, developers, anyone who wants pixel-level control. | NVIDIA RTX 3060 (12GB) minimum. RTX 5080/5090 recommended. |
| SwarmUI | Hybrid (WebUI + Comfy Backend) | The spiritual successor to A1111. A clean interface with the ComfyUI engine under the hood. It handles multiple networked GPUs (cluster) and hides the complexity of nodes. | Intermediate/advanced users who want power without the node chaos. | Similar to ComfyUI, scales well across multiple machines. |
| WebUI Forge | Classic (A1111-like) | A fork optimized to handle FLUX and SDXL better than the original A1111 (now legacy). A familiar interface for Stable Diffusion veterans. | A1111 nostalgics, anyone who refuses nodes. | Optimized for NVIDIA 30/40/50 series GPUs. 12GB+ VRAM. |
| Fooocus | Minimalist | "Midjourney running locally." It hides the technical complexity completely. Great for good-looking images from simple prompts using distilled models. | Total beginners, focused on fast results. | Very lightweight, runs even on 8GB VRAM. |
2026 Hardware Note: With the arrival of the NVIDIA GeForce RTX 50 series, the RTX 5090 (32GB) is the queen of local AI cards. The RTX 5060 Ti (16GB) holds its spot as the entry-level "best buy" if you want to load heavy GGUF models without spending a fortune. 12GB is now considered the bare minimum for working with 2026 models.
The workflow for creating advertising images (Overview)
Why this workflow is still your life insurance
At this point you might be thinking: "Pietro, if I can take a photo, drag it in and say 'make me this,' what's the rest of this for? Why do I need a brief, concept research, or to know the difference between Rembrandt lighting and Butterfly lighting?"
The blunt answer is
So you don't turn into a photocopier.
Reference and Image-to-Image techniques are powerful, but they're multipliers, not a substitute for strategy. Multiply by zero (a mediocre idea) and you still get zero, just in 4K.
That's why the 4-Phase process below is the only thing that will save you when these tools become a commodity anyone can use (meaning: tomorrow morning).
A well-defined pipeline helps you keep consistency and quality when you create AI images for a business project.
Here are the main phases of the workflow we'll cover:
Kickoff – Writing the creative brief and the technical requirements (e.g. format, dimensions); setting the goals and the initial vision.
Visual research – Gathering inspiration through mood boards, reference images and prompts, and exploring online communities and AI image databases.
AI production – Actually building the images: choosing the best-fit model and using advanced structured prompts (subject, composition, mood, light, etc.), possibly with help from language models (LLMs) to refine the prompts, plus inpainting to edit the images.
Distribution – Final polish and adapting the generated images to each use: outpainting to extend or reframe an image, upscale to raise its resolution, and exporting in the right formats for each destination platform.
These phases keep the approach organized: from the first idea all the way to output you can use in the real world (websites, social media, presentations, marketing materials, etc.). In the next chapters we'll go through each phase in detail, with practical tips and examples.
Phase 1 - Kickoff (starting the project)
The Kickoff phase is about gathering and defining everything the image project needs to get started. In practice, it's when you prepare a clear brief for the AI, the same way you would for a human designer or photographer. One important rule: imagine you're commissioning a flesh-and-blood artist. You'd explain precisely what you want, and share visual examples if you have them. In the same way, when you "talk" to an AI model, it pays to describe what you want to create the way you'd describe it to a designer, maybe showing sketches or sample images
The essentials of a brief: start by defining the image's goal (what it needs to communicate or show) and its context of use (e.g. a 16:9 website banner, a square Instagram post, a cover for a printed report, etc.). Specify the tone and visual style you want, in line with the brand or the message (e.g. realistic vs. illustrated, futuristic vs. vintage, minimal vs. detailed). Then list any visual references: for example,
"we'd like something inspired by the Alice in Wonderland illustrations"
or
"the style should recall '90s fashion photography".
It can help to include real reference images, or ones you generated earlier, in the brief as a guide to the result you expect.
Technical requirements and formats: a good brief doesn't skip the technical details of the output. Make sure you state the dimensions or the ratio (aspect ratio) of the final image. For example, if you need a horizontal 16:9 image for a video or a presentation, generate it in those proportions to avoid unwanted cropping. Most tools let you set the ratio.
Here are some common ratios and what they're typically used for. With these formats you can cover almost every case:
1:1 – Square format (e.g. Instagram posts).
16:9 – Wide panoramic format, the standard for HD video and horizontal banners.
9:16 – Vertical format, used for stories and full-screen mobile content.
4:3 – Slightly rectangular format, traditional for photos and presentations.
2:3 – Vertical format used for photo prints (e.g. poster sizes).
I know this isn't easy at all, especially if you don't have hundreds of briefs written over years of experience, so I built a prompt that helps you through the creative process.
Or you can use Design Team, a tool I built specifically for advertising images. It does everything you'll read in this guide on its own, through a network of AI agents. In one click.
Copy and paste the prompt into the LLM you usually use. If you pick a "Reasoning" model like Deep Seek R1 or O3-mini, it works better:
Let's put the prompts and the workflow to the test right away by creating a banner for a social campaign for a hotel in Venice.
The brief
To recap: I need to decide what I want to get. Which elements I want in it, what the information hierarchy should be (meaning what I want the user to see first), what the copy should say and how much space it should take up. What action the user should take, the colors, the contrast, which kind of font to use.
Let's do it by building an ad campaign for a hypothetical boutique hotel in Venice that wants to sell romantic packages for couples.
Creative Brief: Advertising Images for a Boutique Hotel in Venice (Gemini 2.5 Flash)
We have a brief, we've got a great guide, and now it's time to find some ideas for our campaign
Phase 2 - Research
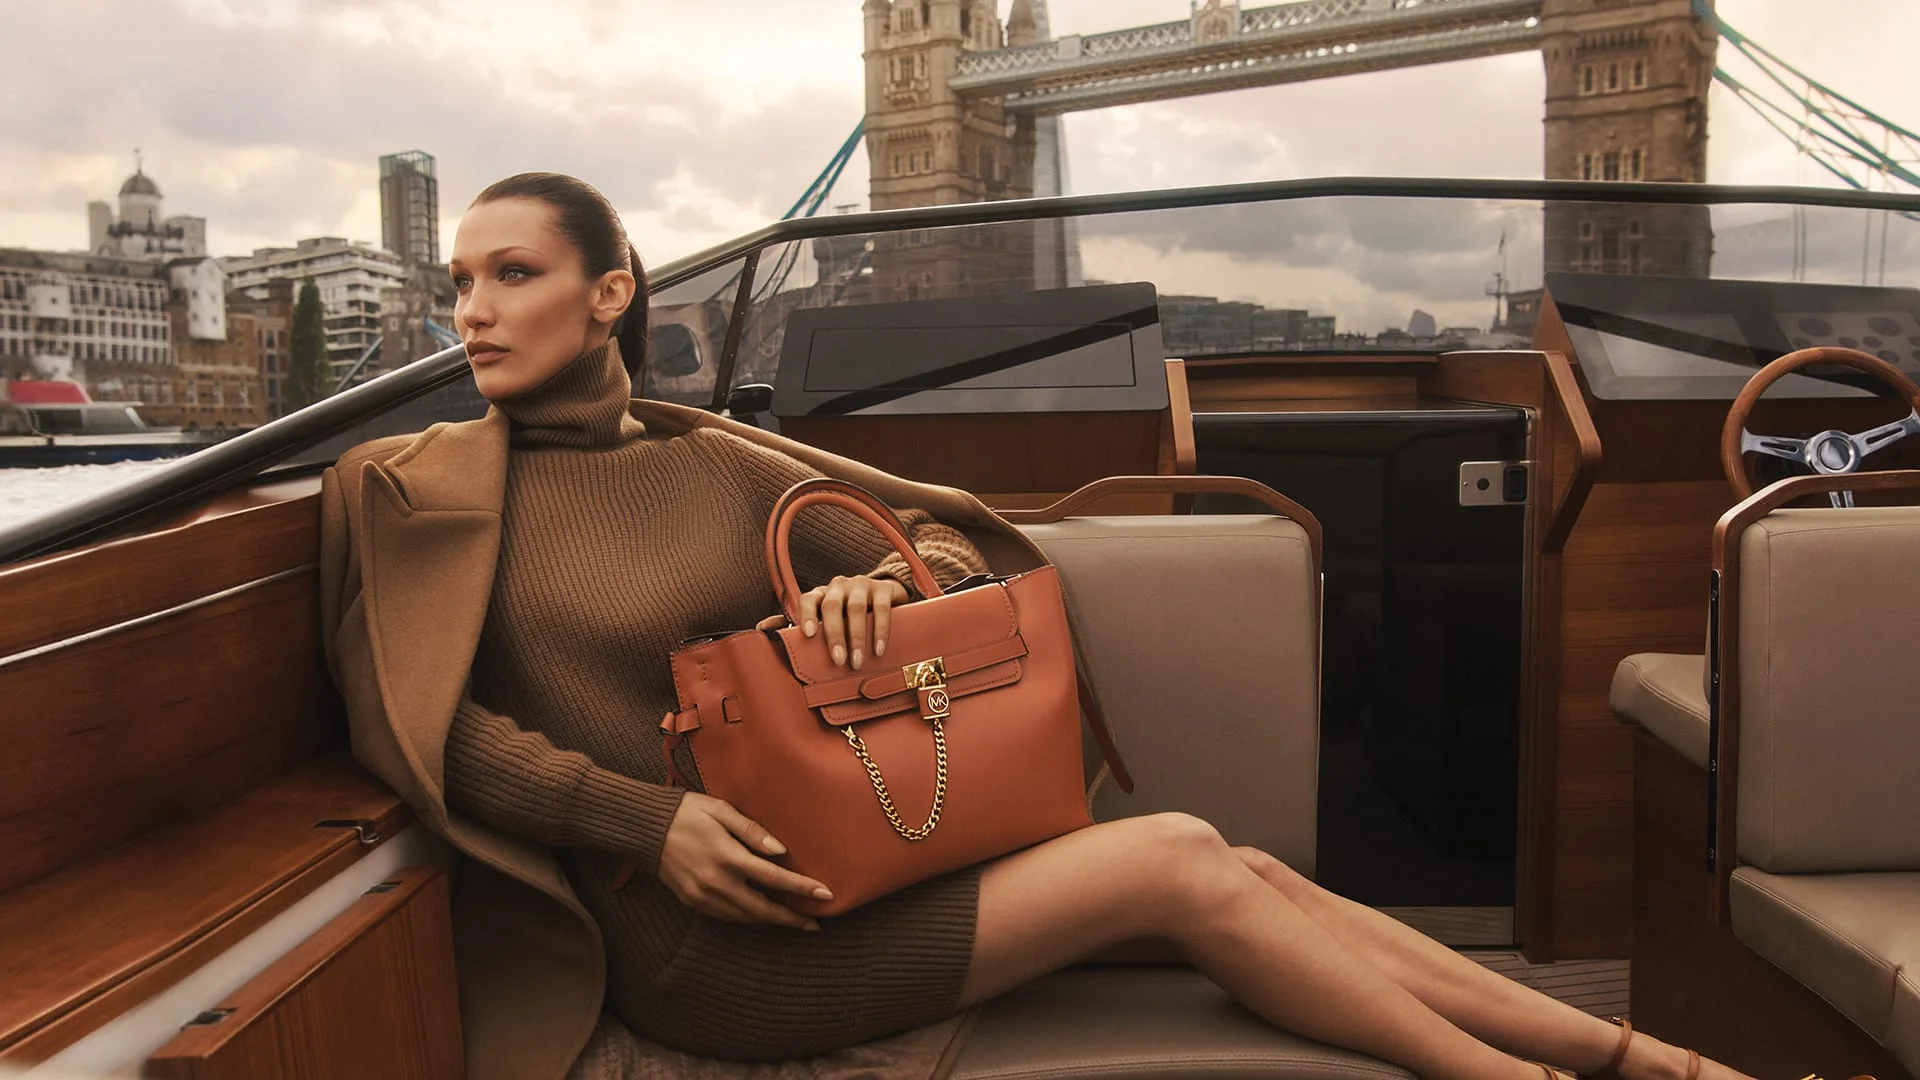
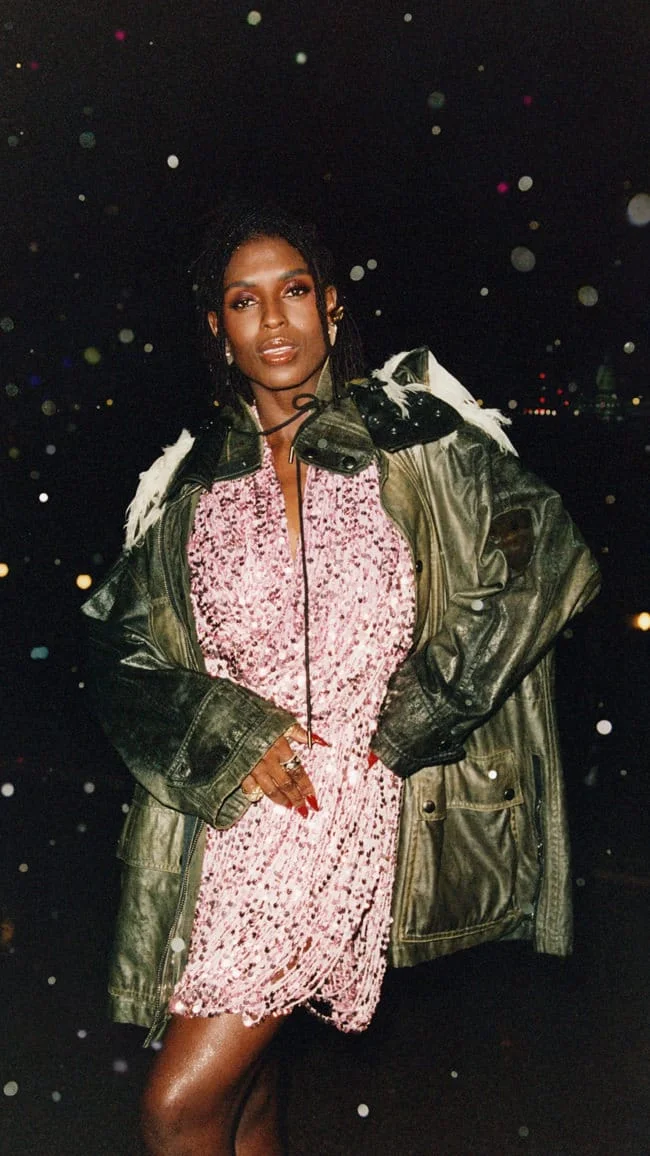
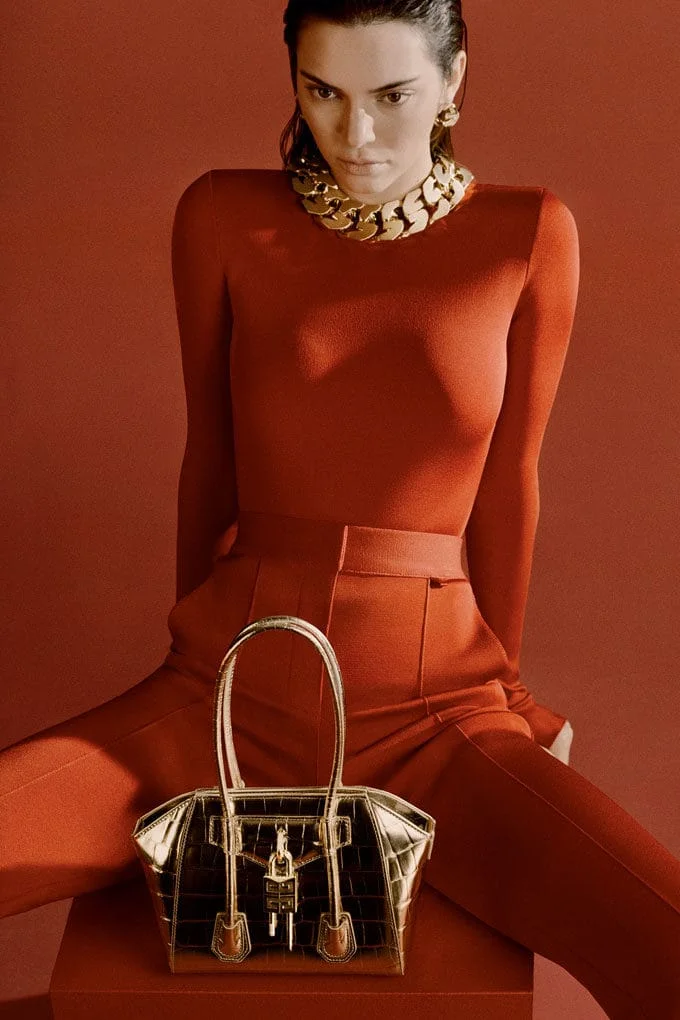
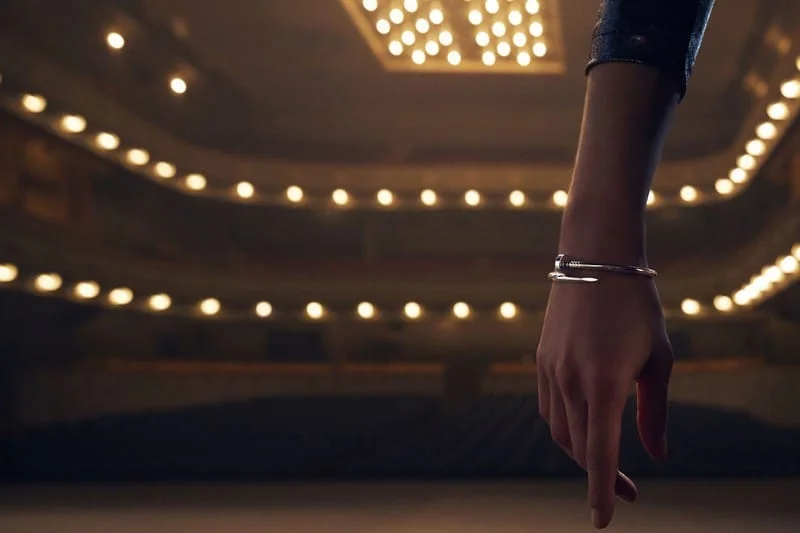
Before you start firing off random prompts, it's essential to spend time on visual and conceptual research. This phase helps you pin down the art direction and enrich the brief with concrete ideas. The main tools are the classics of the creative world: reference imagery and mood boards.
The mood board. Real images and databases of images generated by others
Before you start firing off random prompts, it's essential to spend time on visual and conceptual research. This phase helps you pin down the art direction and enrich the brief with concrete ideas. The main tools are the classics of the creative world: reference imagery and mood boards.
Mood board: a collection of visual elements – images, sketches, colors, maybe keywords – put together to evoke the atmosphere or style you're after. In practice, a collage that shows the look of a project at a glance.
In our case, building a mood board at the start helps you stay consistent: you can include images you found online or in the company portfolio that capture the right tone for the AI images you want. For a winter campaign, for example, you might collect photos of snowy landscapes, vintage Christmas graphics, illustrations in cool colors and so on. The mood board will be your style North Star every time you judge the generated results.
Reference images: beyond the overall mood board, it's worth picking specific images as references for particular details. Say you want to generate a render of a new product: you could take the lighting from an existing professional photo as a reference, or a model's pose in a certain shot, or the line style of a famous illustration.
You can use these references by eye (that is, looking at them and then describing them in the prompt: "dramatic lighting like in Blade Runner") or directly through AI. Many generators let you feed in an image along with the text (the image-to-image technique): Midjourney, for example, lets you put an image URL in front of your text prompt, shaping the composition around it; other tools like Stable Diffusion offer advanced controls (ControlNet, etc.) to make the output resemble a given image.
You can also use dedicated tools: for example, the CLIP Interrogator on HuggingFace is a model that takes an image you give it and generates a possible descriptive prompt, which helps you figure out which keywords to use to get something similar from a text model.
AI communities and databases: online AI art communities are a gold mine of inspiration. Join forums and Discord servers full of creators and you can see what others are making, pick up tricks and get ideas. The official Midjourney Discord, for example, is a great place to browse thousands of images generated every day and read the prompts behind them (unless users keep them private).
Beyond interactive communities, there are ready-made prompt galleries and AI image banks. These are extremely useful: by studying other people's prompts you learn new keywords and structures. You might discover, for instance, that images you like use terms like "cinematic lighting" or "ultra-detailed, 8k". Write them down! A good habit is to build a small personal database of interesting prompts you find online: save them in a document, maybe sorted by category (e.g. portrait prompts, fantasy landscape prompts, etc.), so you can adapt them to your needs. Reverse-engineering other users' prompts is great practice: take a complex prompt and break it down, and try to understand what each fragment does (there's the subject part, then maybe an art style, then technical parameters). With practice, you'll start to recognize common patterns that work.
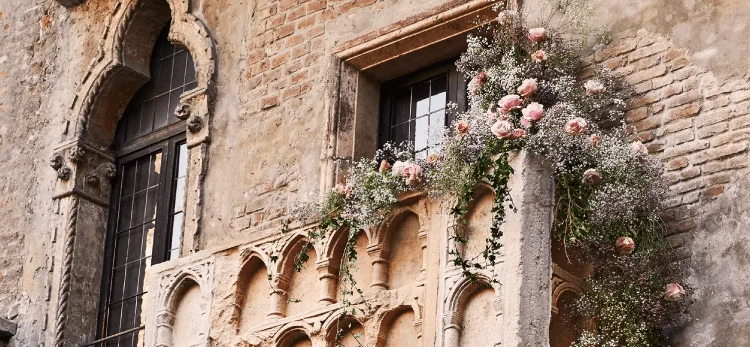
Vision Models
To read your mood board better and find the keywords that pin down the style, you can use vision models. Put simply, AIs that "see."
Vision models are AIs that specialize in analyzing and interpreting visual information, which includes, among other things, classifying images and generating text descriptions.
To pull the "aesthetic reference" out of an image, you use specific models or tools (often based on CLIP, like the "CLIP Interrogators," or models like Llava/BLIP that can write detailed descriptions). They analyze the image and produce a text description that includes style elements: type of art (e.g. "watercolor," "photorealism"), an artist's style (e.g. "Van Gogh style"), lighting (e.g. "cinematic lighting"), mood, technique, etc.
Then, as I said, you can take that text description (keywords, phrases) and drop it into an image model's prompt, adding the descriptive terms to the subject you want (e.g. "a sleeping cat, pastel watercolor style, soft lighting"). That guides the generator to create a new image that captures the look of the original reference.
We'll look at this in detail in the next phase. In the meantime, here's a solid prompt for analyzing images for our purposes:
Visual Brief
And here's the result of our research, which we'll use in the production phase:
Phase 3 - Production
Now we get to the heart of the guide: producing the images.
For this test I picked the state of the art as of January 2026. To see which models the pros like best, check LMArena https://lmarena.ai/leaderboard
The stars here are: seedream v4.5, flux-2-pro, nano-banana-pro and Reve. An honorable mention goes to Midjourney: still relevant but on the way down, which is why I wanted to give this guide a fresh coat of paint. There's a quality new entry, OpenAI's GPT Image 1.5, but I'm not convinced by how it handles advertising images, so it isn't very relevant to this guide.
Now we put the plan into practice. The process breaks down into a few key sub-steps: choosing the right tool and settings, writing the prompts (starting simple and then refining), possibly using language models to improve them, and finally generating and iterating until you get a result you're happy with.
We have plenty of options, as you saw earlier. I chose these two tools because they're easy to use, the results are good, and the differences between them show nicely what it means to treat the tool as a creative choice.
Keep in mind that every model reacts to prompts differently, so each one needs its own adjustments. That detail adds another layer of complexity, and of fascination, to our trip through AI image generation.
As I said at the start, you don't create images, you choose them. Or rather, you set a direction and then pick the one that fits best. How do you choose? You need to know the basics of advertising and visuals. Through the prompts, I'll try to bring in all the theory you need to choose well
Basic Prompts
Let's start with basic prompts, which give the model maximum freedom to generate the image probabilistically, and work our way up to more granular control
Basic Prompts (also called ZeroShot) = Leave it to chance
Basic Prompts are simple and direct and give the AI a general direction on what you want to see.
For this guide I want to do an exercise and create a campaign for a hotel in Venice. I need an image:
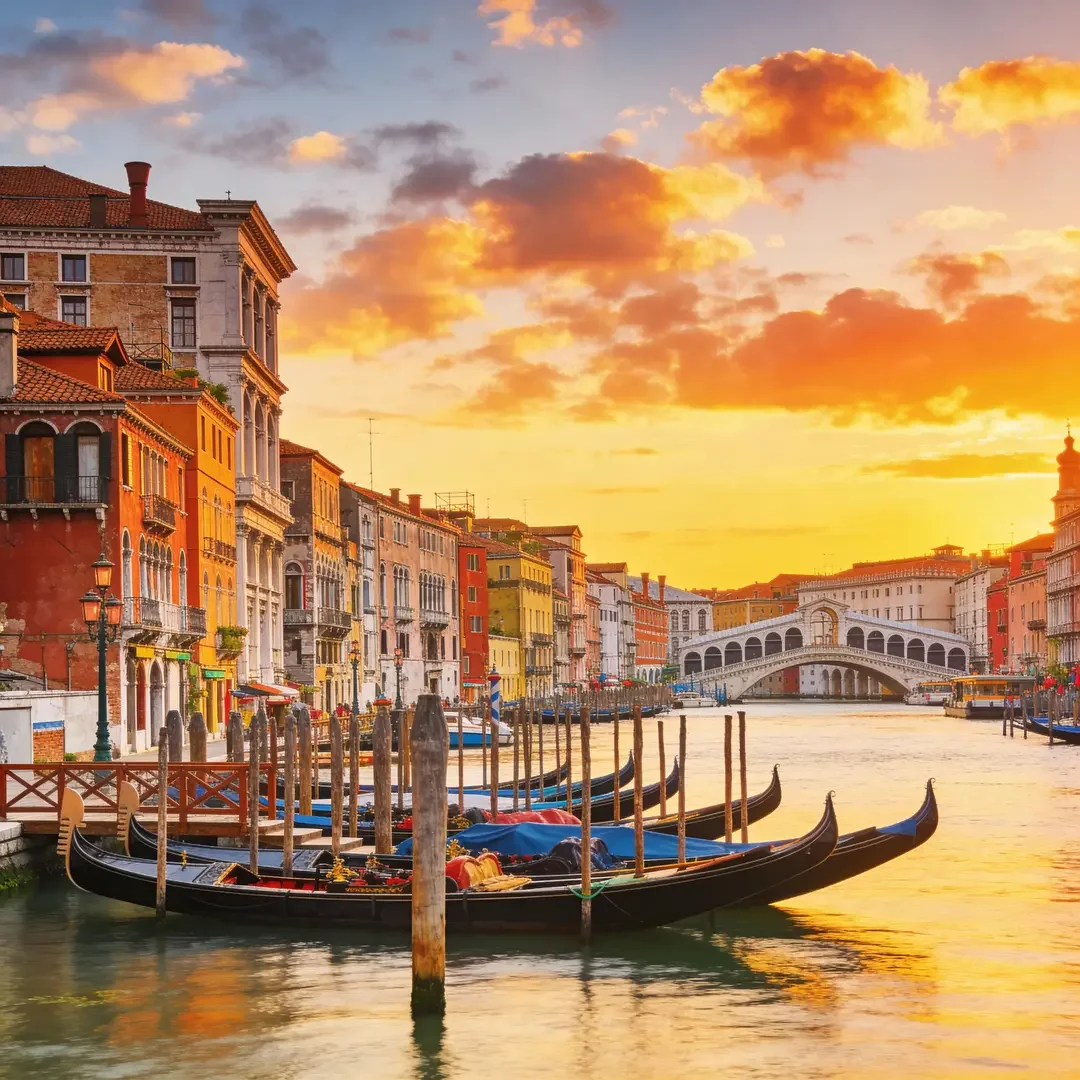
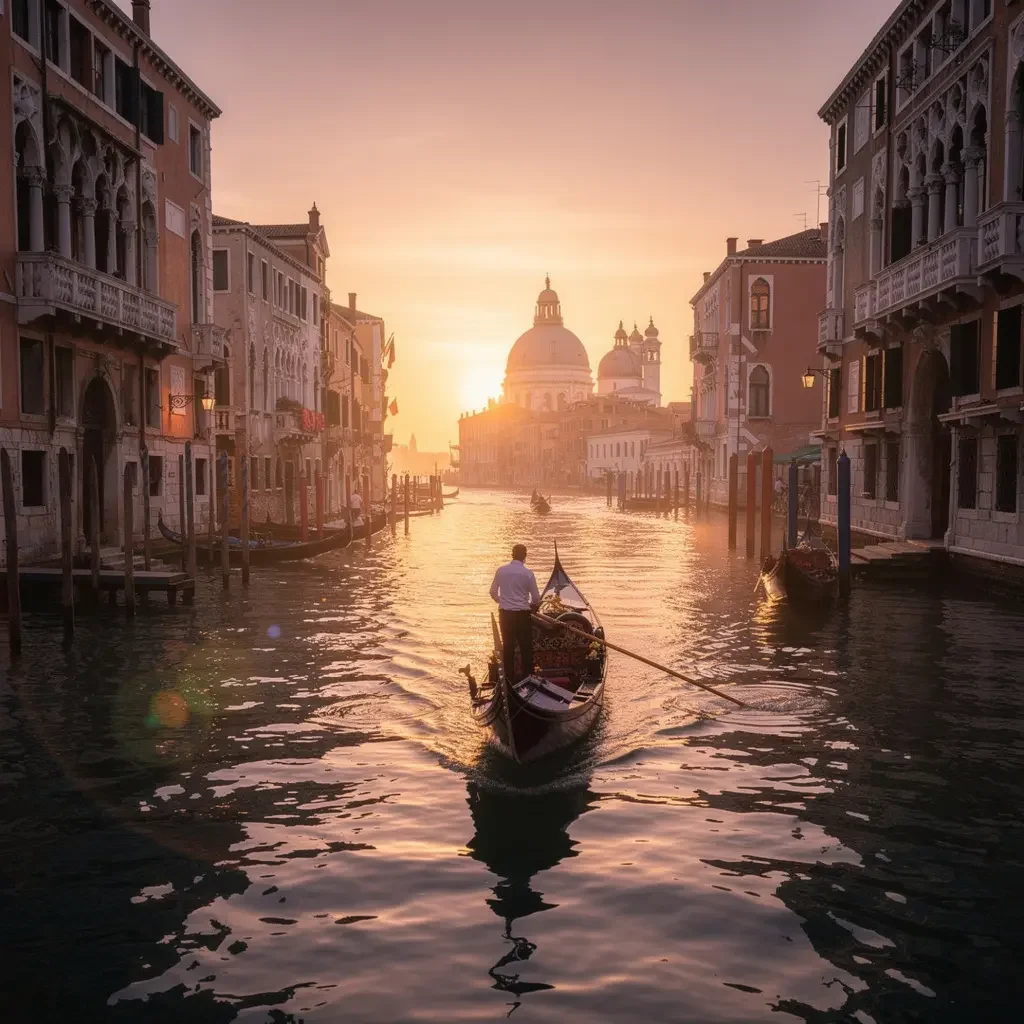
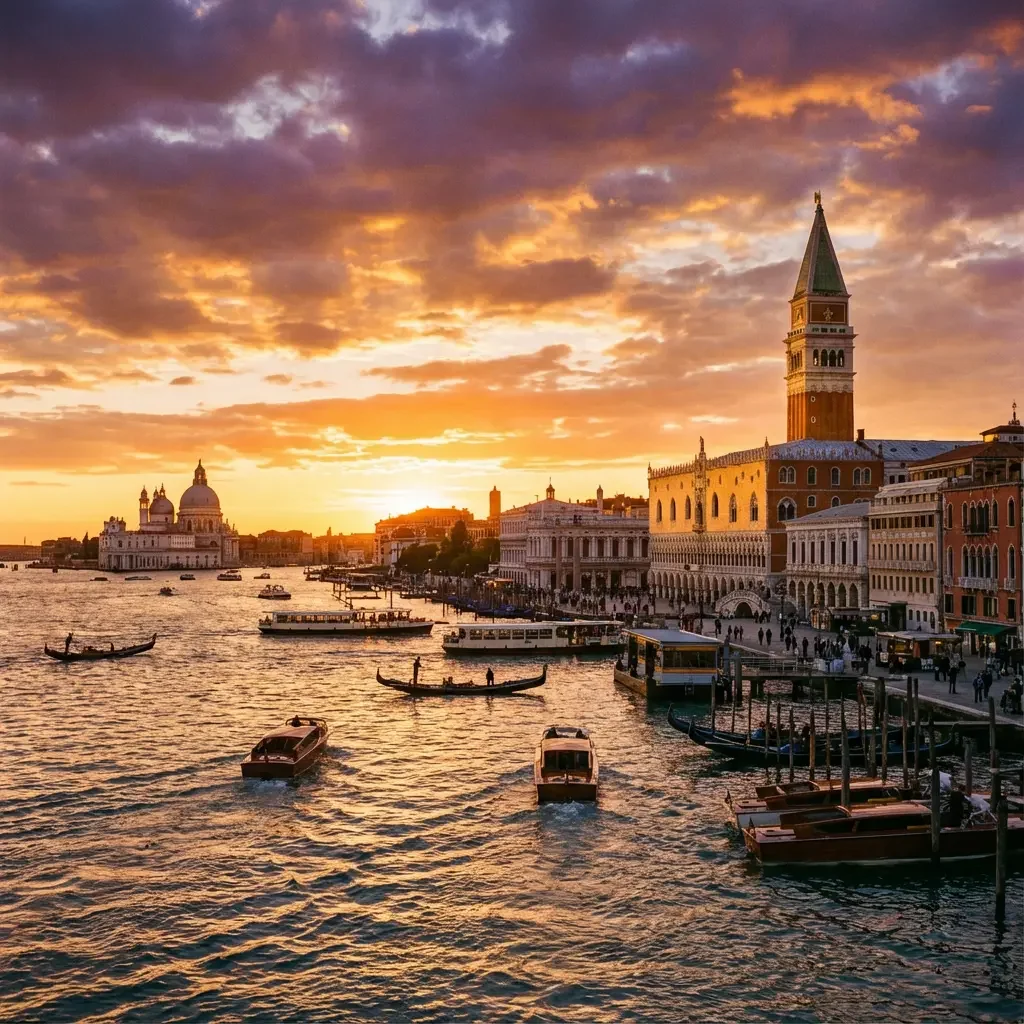
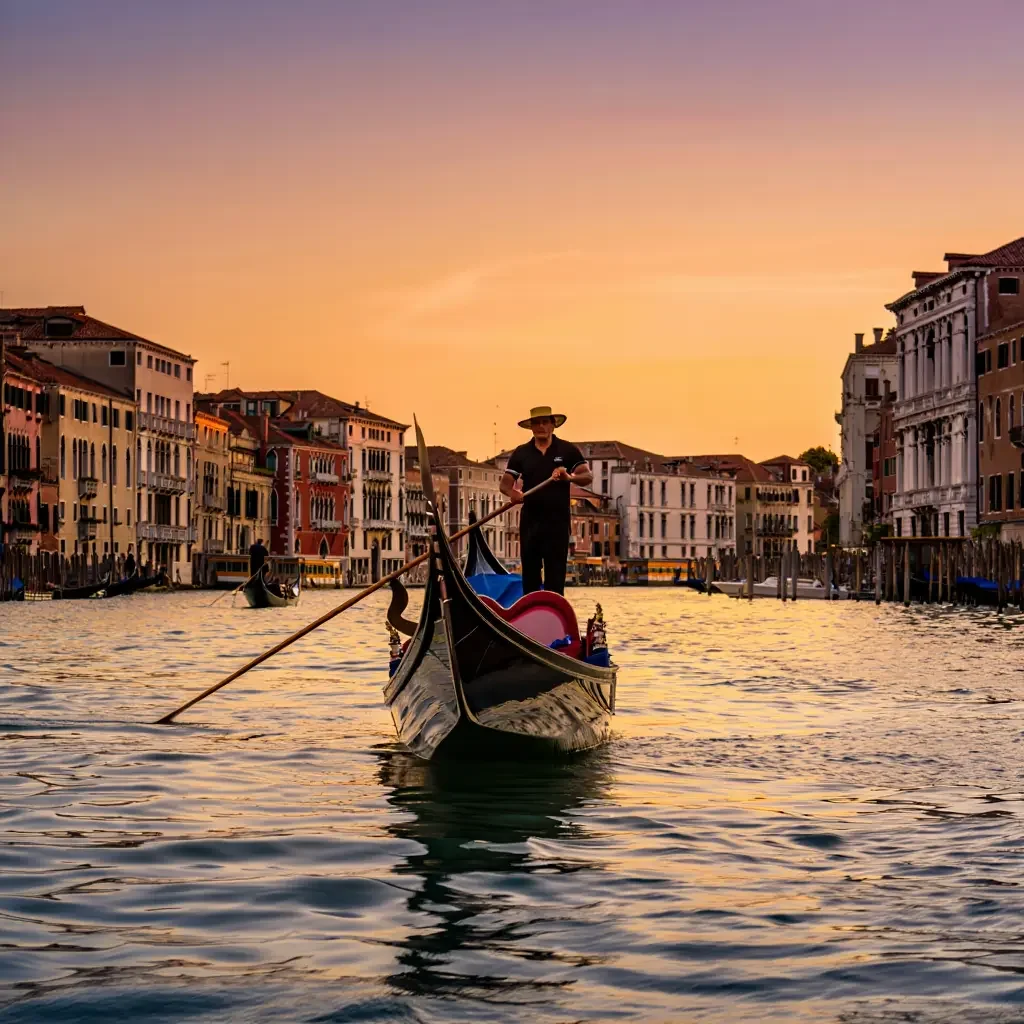
They're pretty, but there's nothing in them that helps me win the war for attention: I need to find a way to connect with the needs of someone who, right then, was thinking about Venice, a vacation, or something that might make their ears perk up.
Do you know how Berlusconi got his start as a businessman (at least the version he told us)? When he was trying to sell apartments, he furnished them, so visitors could immediately put themselves in the picture and see themselves living there.
The human brain processes images far faster than text. Images can be processed up to 60,000 times faster than text; the brain categorizes visual scenes in 100-150 milliseconds.
That's because visual information is processed almost instantly, and in parallel, by our visual cortex, a skill honed by evolution. Reading text, by contrast, requires sequential decoding (letters, words, meaning), which is inherently slower.
As a result, the message of an image lands far more immediately.
Studies like Simon Thorpe's (for example, Thorpe, Fize & Marlot, 1996 in Nature) showed that the brain can process and categorize complex visual scenes in a very short time (on the order of 100-150 milliseconds).
National Science Review (2024) - Diffusion Models and Stochastic Image Generation; Thorpe, Fize & Marlot (1996) 'Speed of processing in the human visual system', Nature.
So how do we find the right image? We have to design it, drawing the expertise out of language models. Every serious project starts with a brief; we already saw in phase 1 how to create one, and I followed exactly those instructions to build my campaign for the Venice hotel.
Structured Prompts
Structured Prompts are more complex and can include extra details or specific parameters. They're useful when you want more specific output. An example of an Advanced Prompt could be:
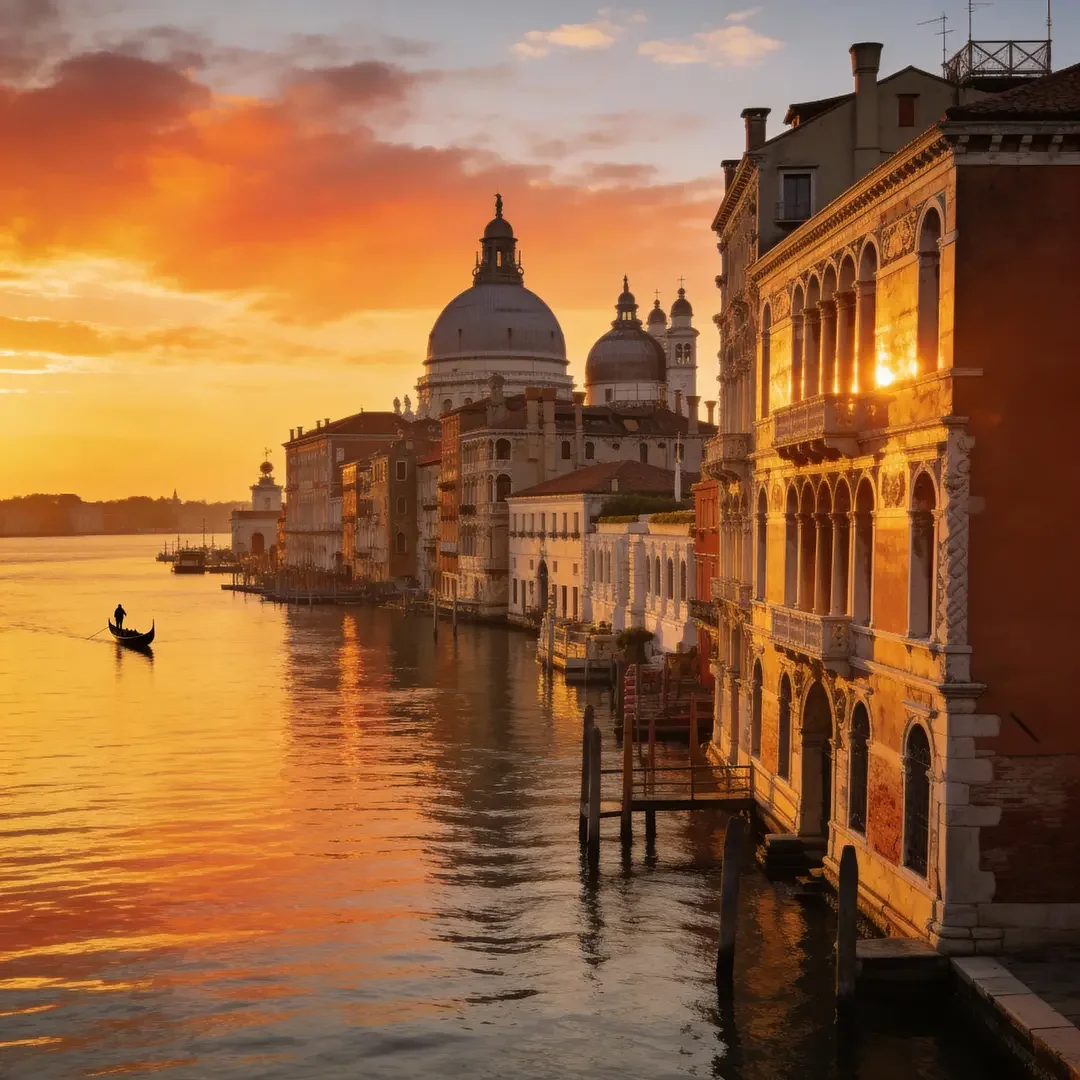
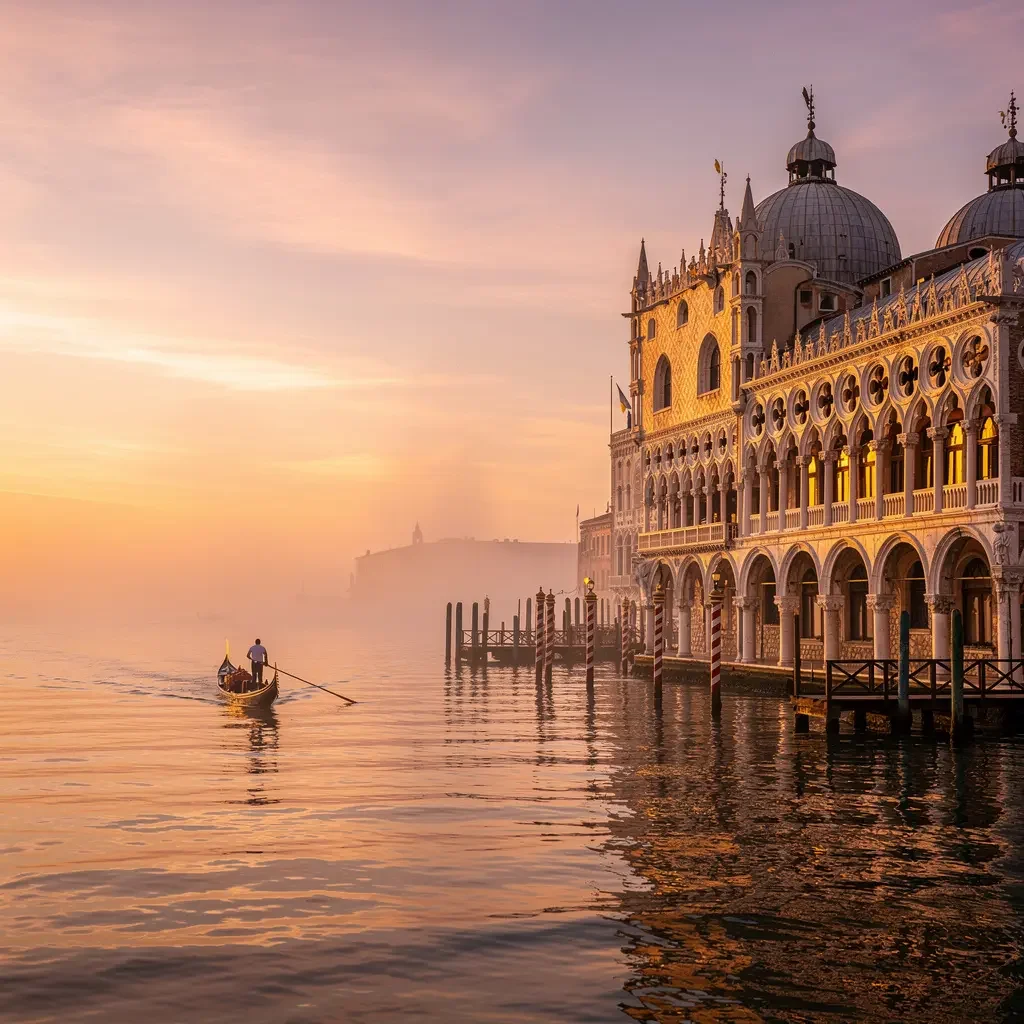
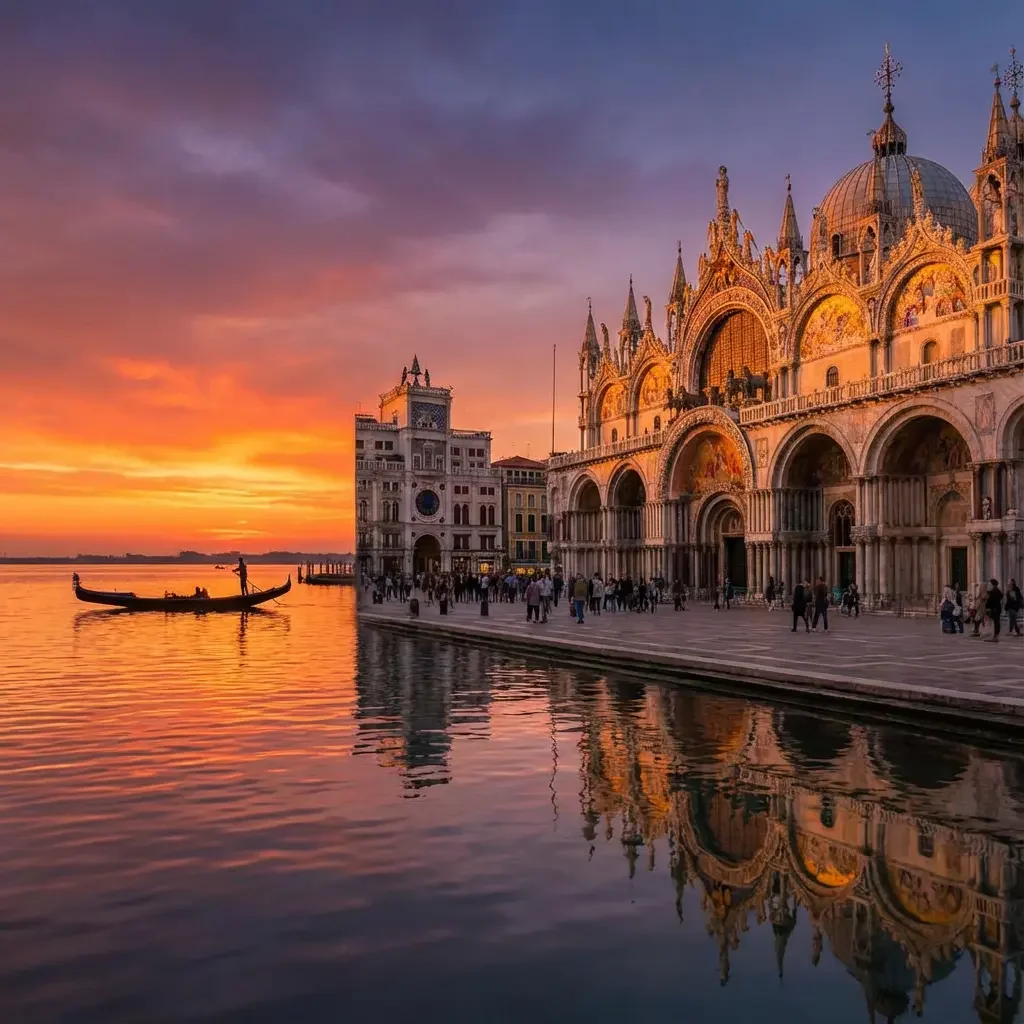
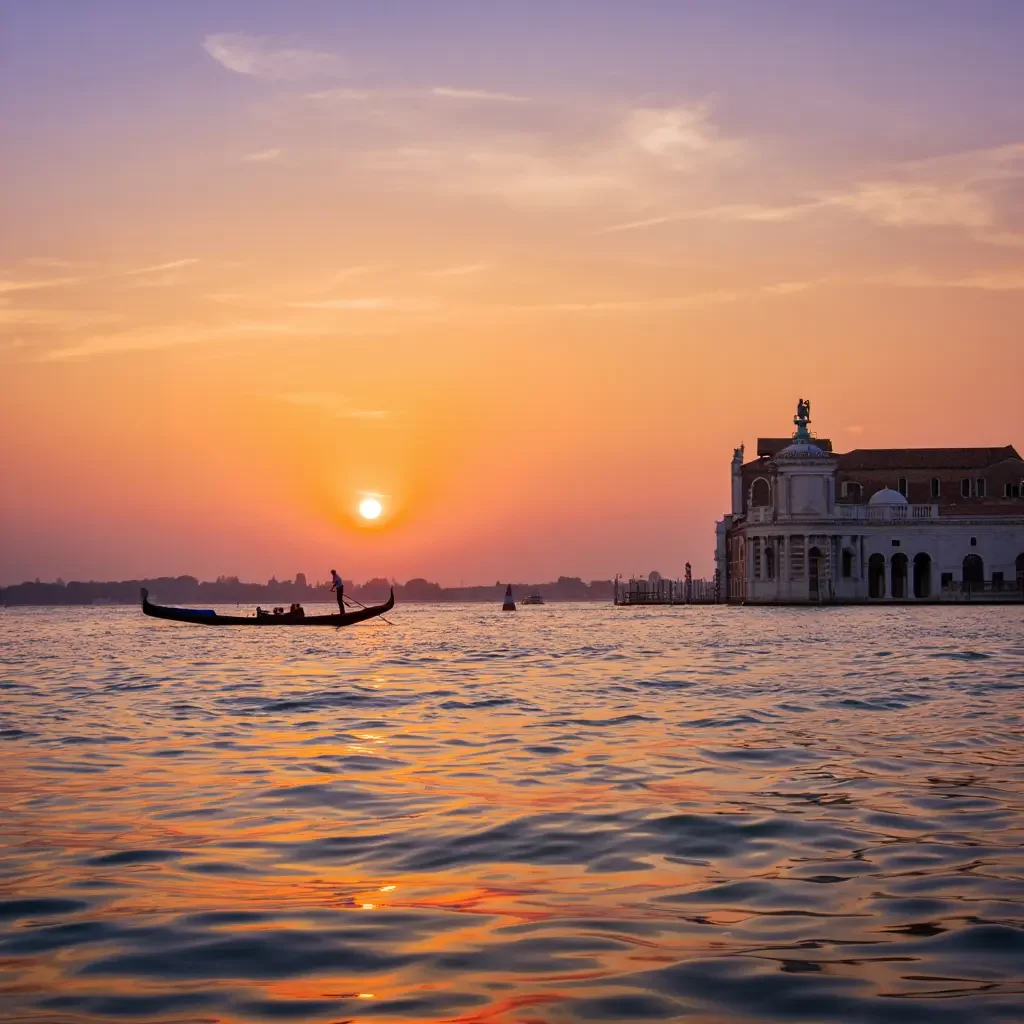
While Basic Prompts give the AI some room to interpret, Structured Prompts tend to narrow that room to produce results closer to the vision you have in mind.
Advanced Prompt
Image prompts: more skill than art or science
Prompts, as you know, are the main way we talk to AI. You give it instructions to process and you get back what you asked for, in this case an image. But owning a star chef's pans doesn't make you a star chef. A well-written prompt can make the difference between a pretty image and an image that makes sense. Where's the difference? In the expertise.
Later in the lesson you'll see exactly what I mean.
Let's start with a few ground rules.
Be specific: The more details you give, the more guidance the AI has on what to generate. But stay concise and try to avoid filler words.
Let's look at a practical example.
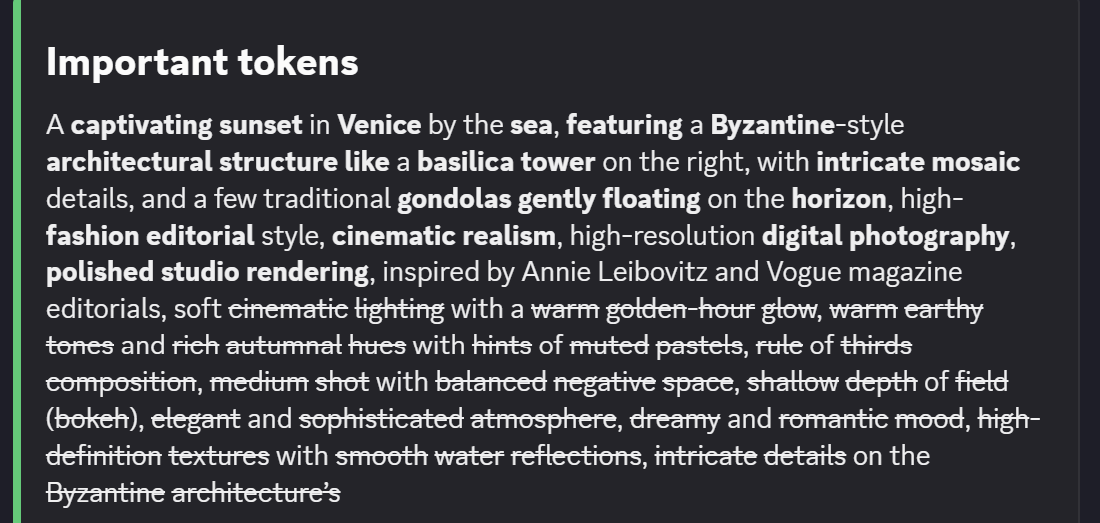
Midjourney has a tool that shows you which tokens it considers and how much weight it gives each one when it creates images.
For example, let's put a bunch of words into the prompt we got from the vision model in the research phase:
We get
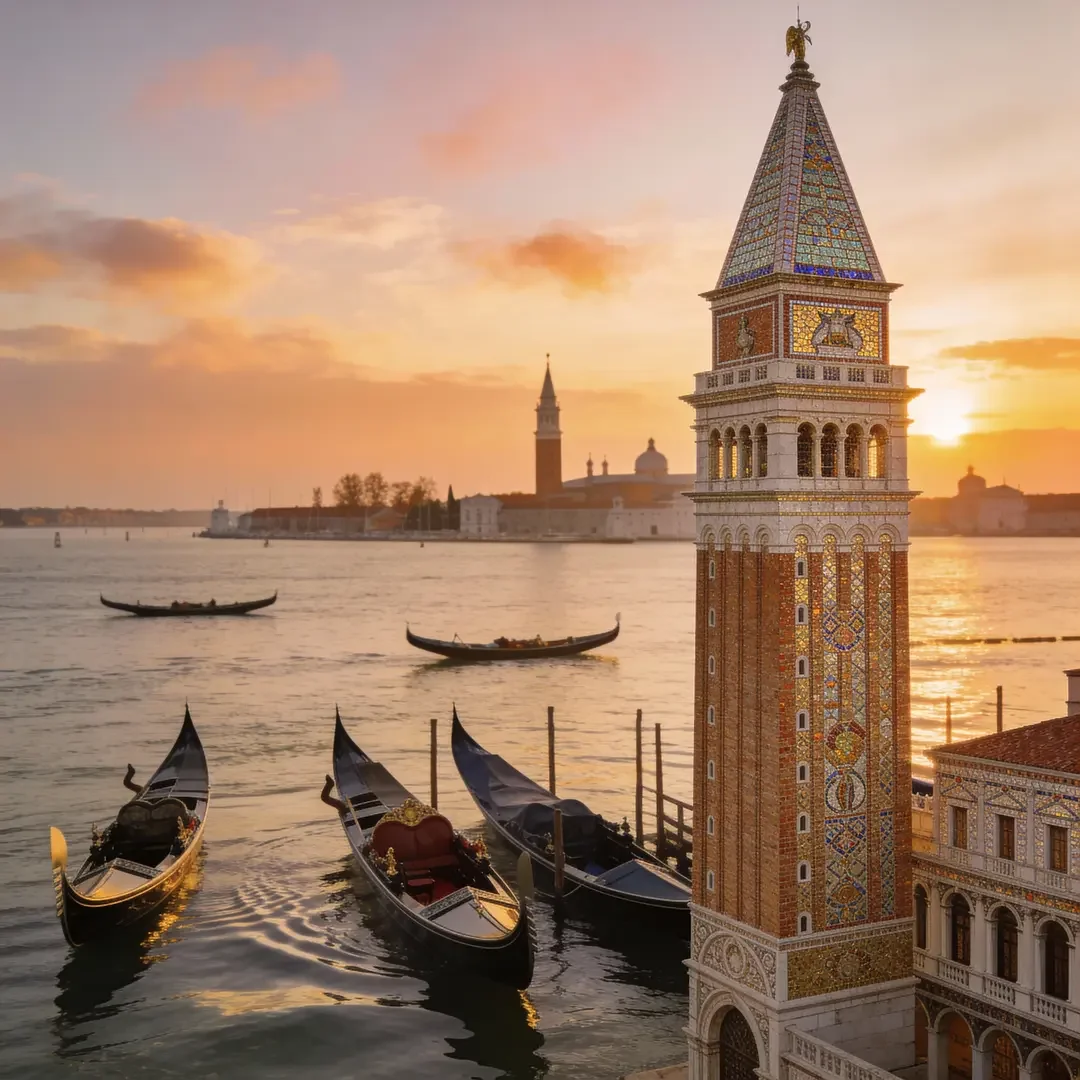
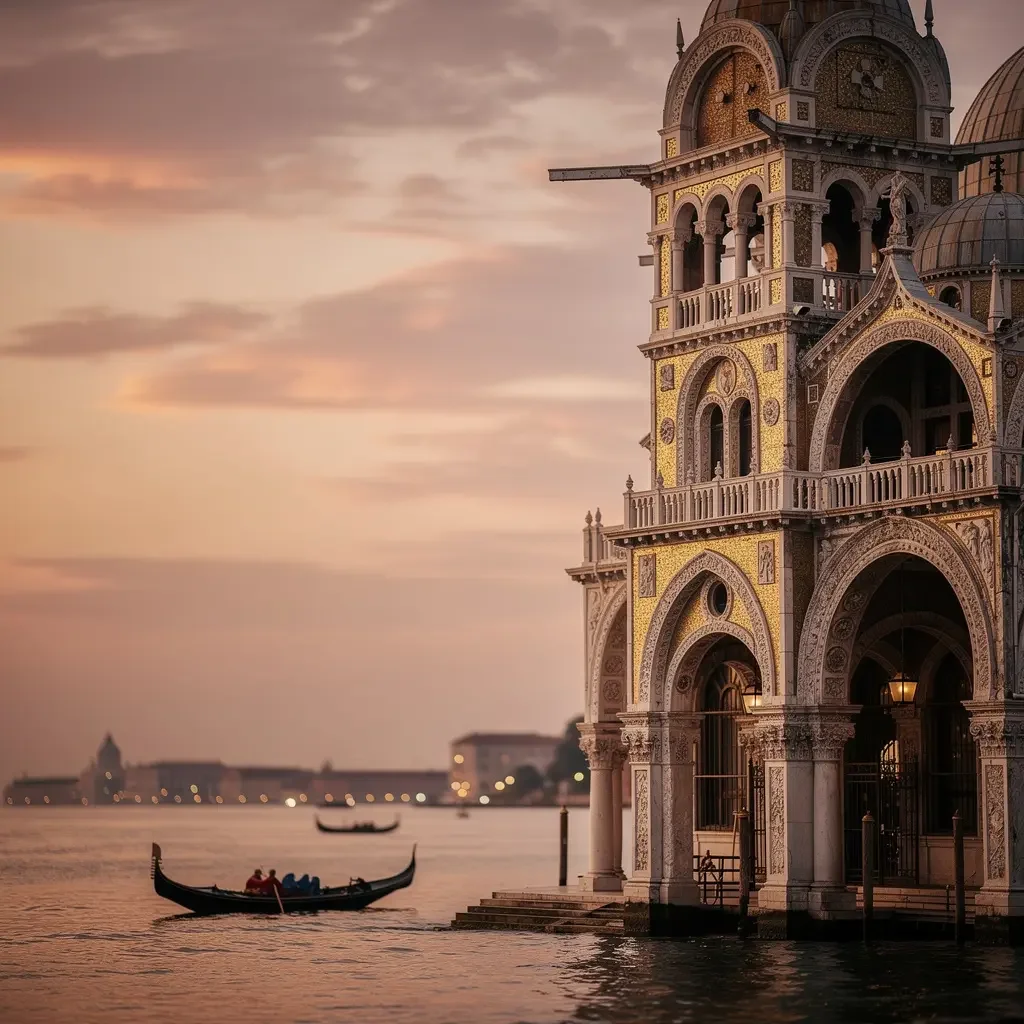
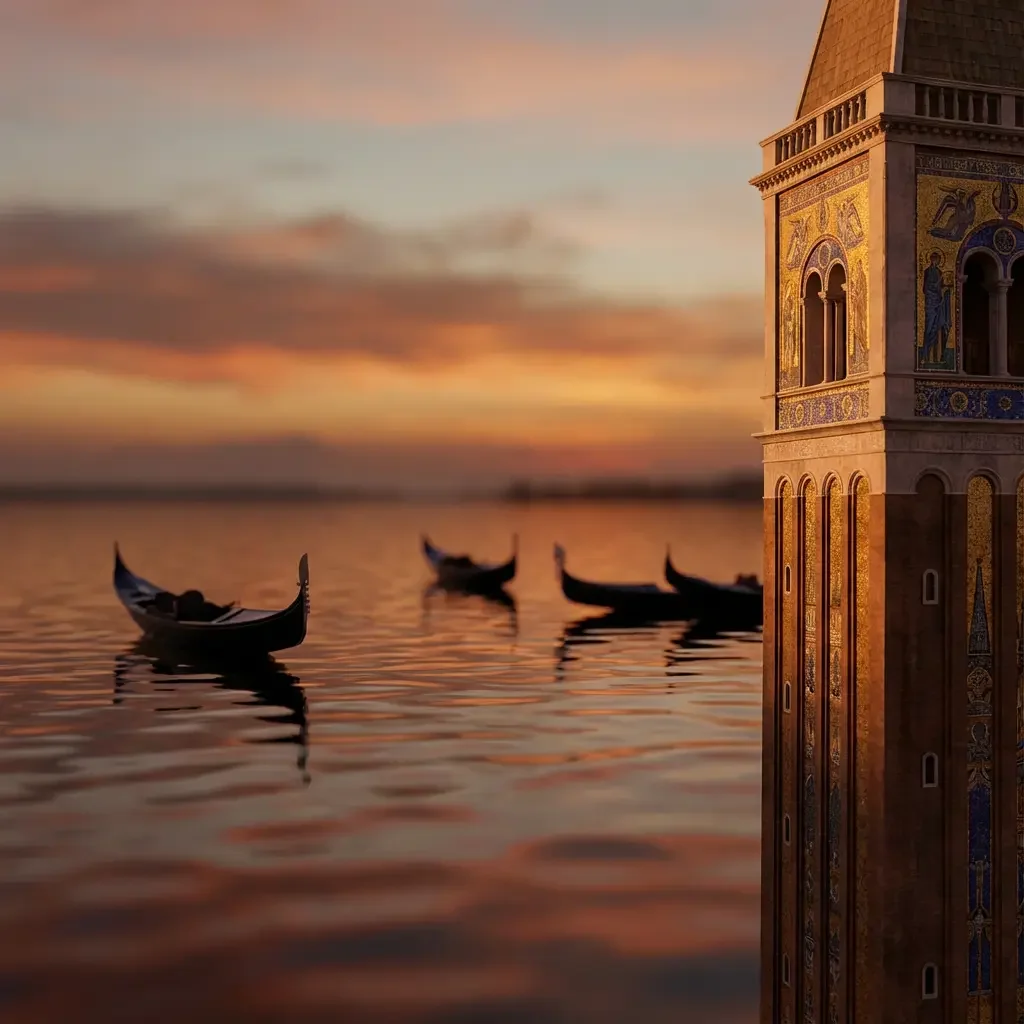
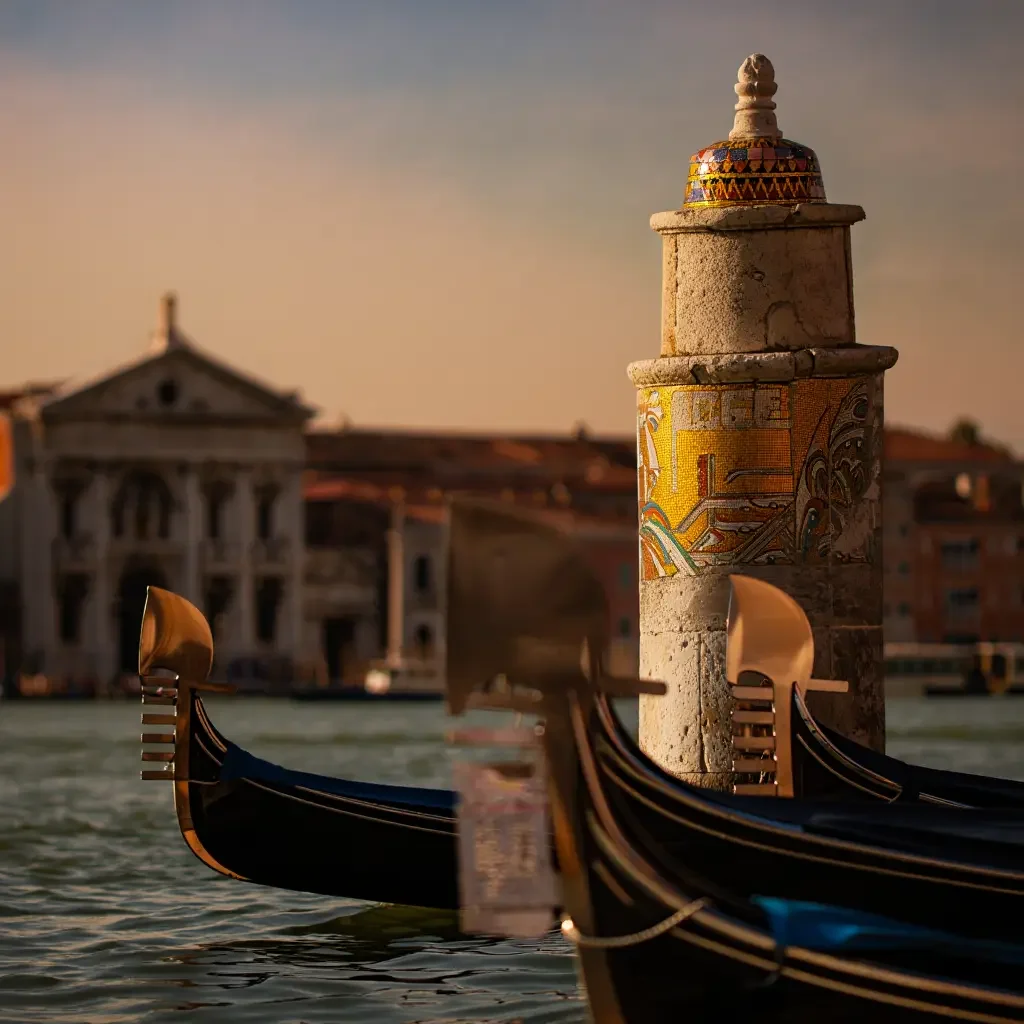
If we ask the AI, using Midjourney's tool, how it reads the prompt (the /shorter command), we find that most of the words (tokens) have no effect at all on what the tool produces
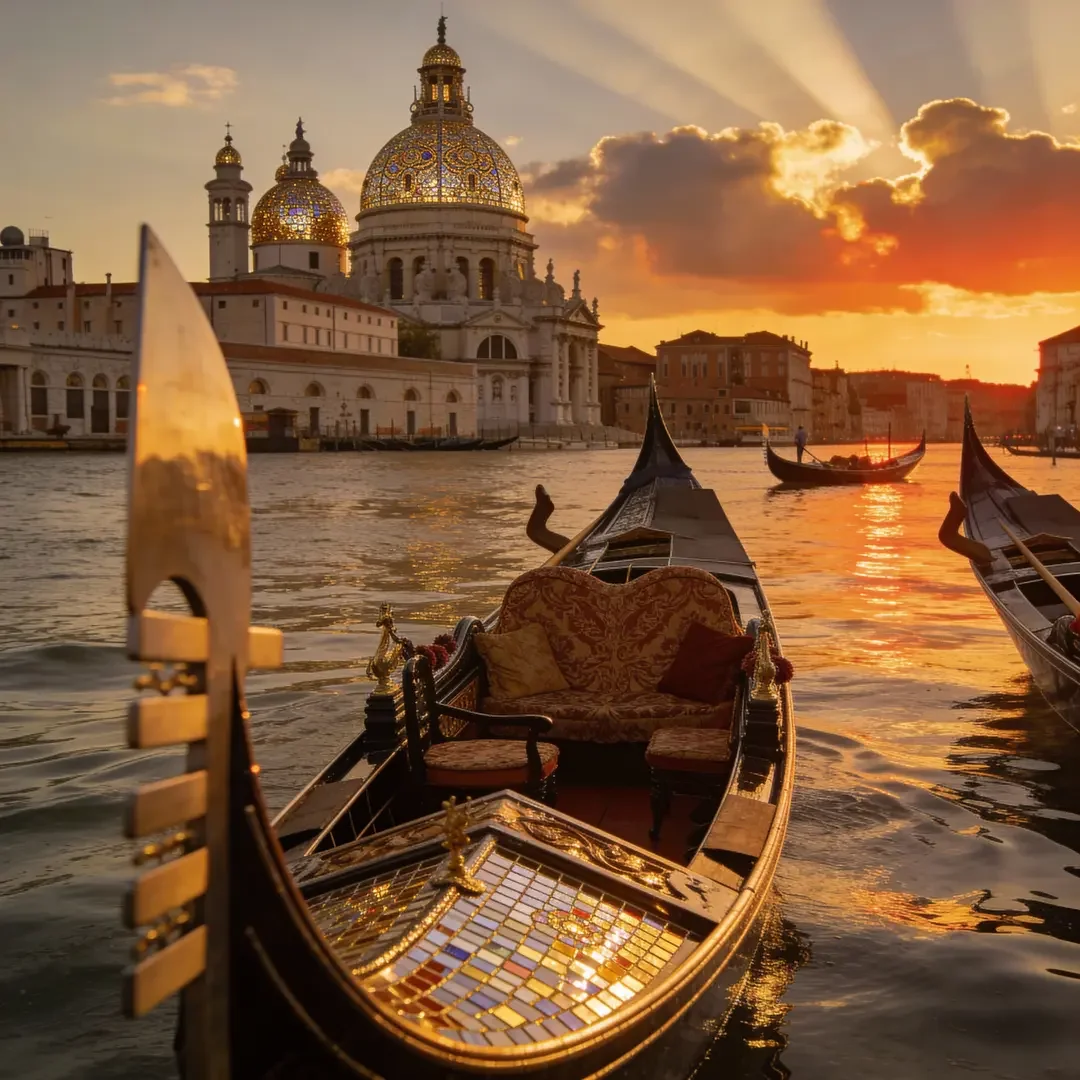
Cutting the "useless" words, we can write:
and we get a similar image with a similar mood from far fewer words. Of course, zero control, zero charm. Let's keep going.
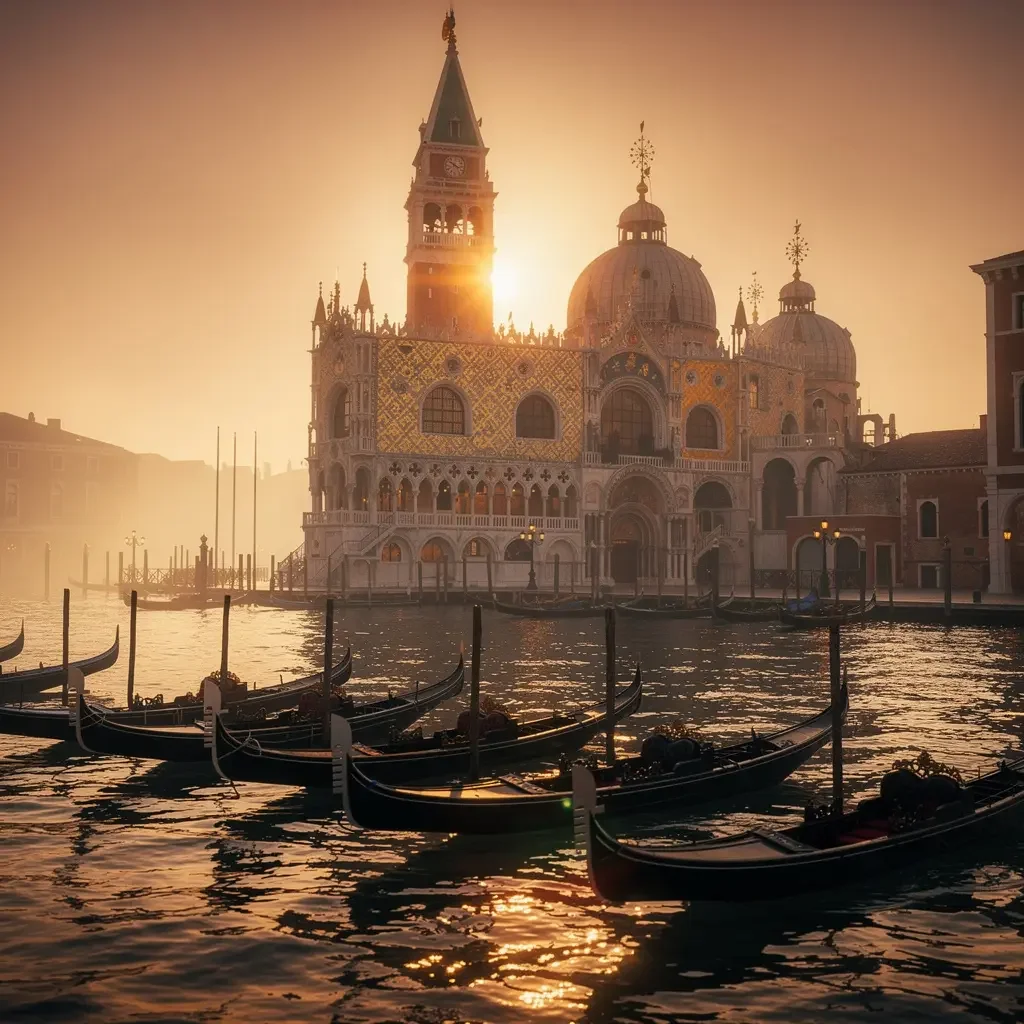
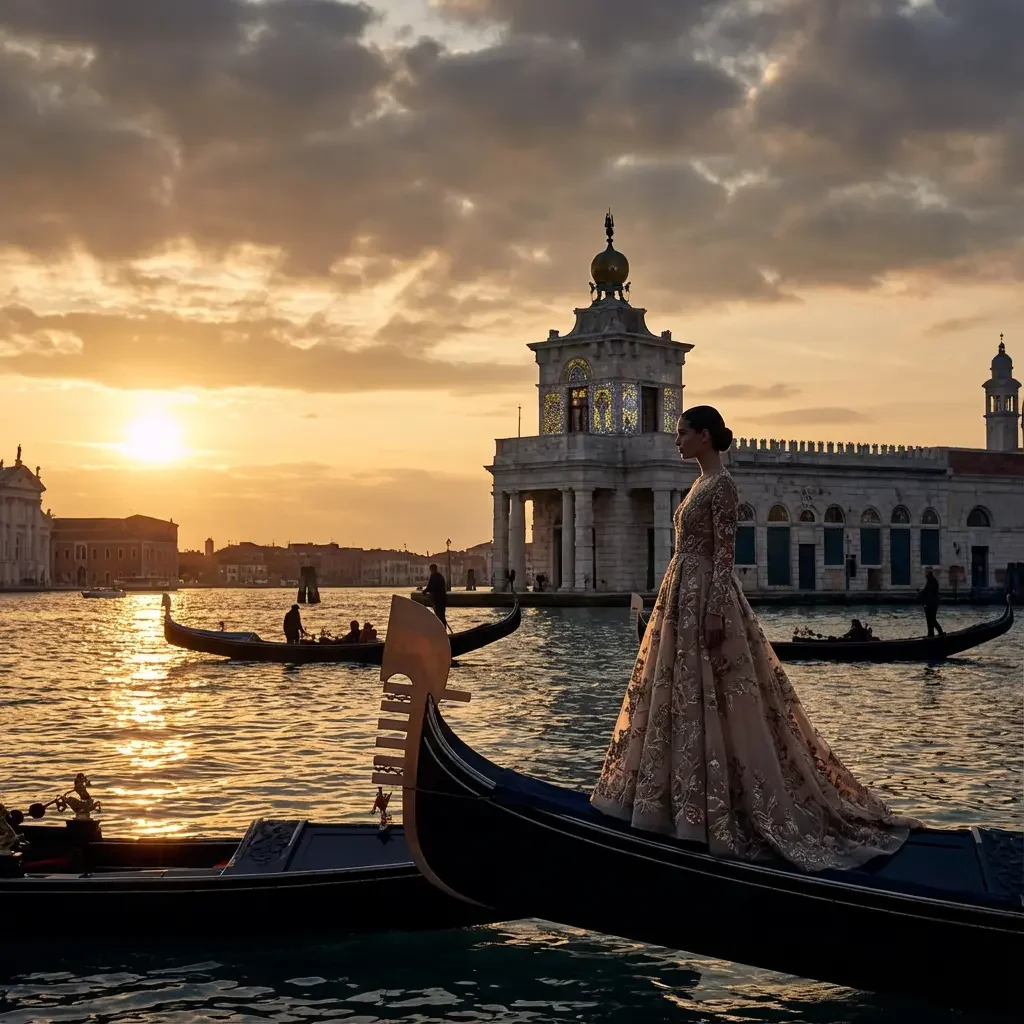
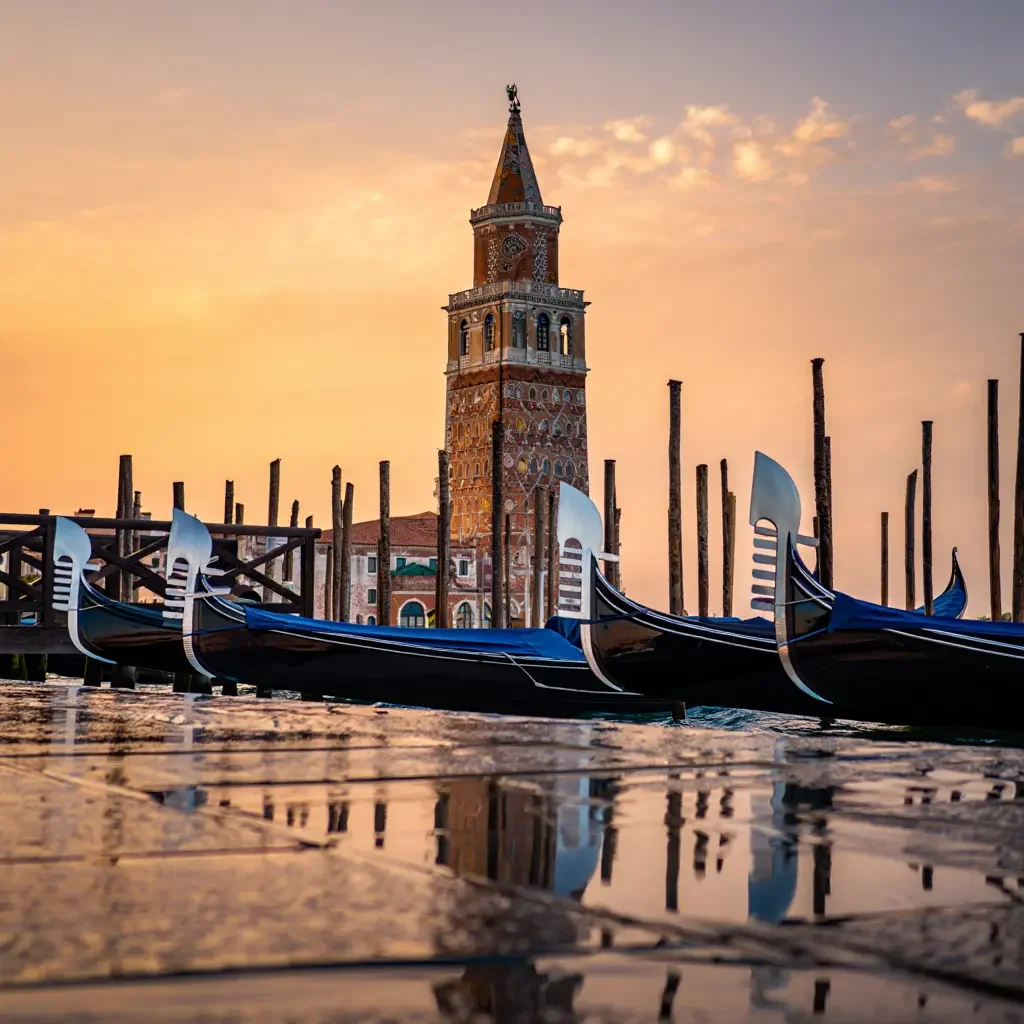
Along the way, my experiments turned up a few good practices:
Experiment with synonyms: sometimes small changes in wording can produce very different results.
Think about word order: The order of the words in your prompt can change the output.
Feedback loop: after generating an image, use what you learned to refine and improve your next prompts.
Experiment and Observe: one of the best ways to find the right prompt is to experiment. Generate several images from variations of a prompt and watch how small changes affect the output.
Prompt Hacking
Trash in, trash out.
As I mentioned, to get images that make sense, you need to know your subject.
It's not like starting from a blank canvas and painting what you want, or walking around with a camera and taking random shots. Whatever prompt you give the machine, you'll get an image; but to get the image you want, one that fits inside a campaign, you need to know quite a few things.
If you want to create photographs, you need to know about lighting, photographers, angles, cameras, lenses and so on. If it's a painting or an illustration, you need to know painting techniques, art movements, artists, and so on. Now let's see what all that looks like in practice.
Creating photorealistic images
One of the most fascinating uses of AI image tools is their ability to produce images that look incredibly real. That ability has huge potential in marketing, where authenticity and detail can make a strong impression on an audience.
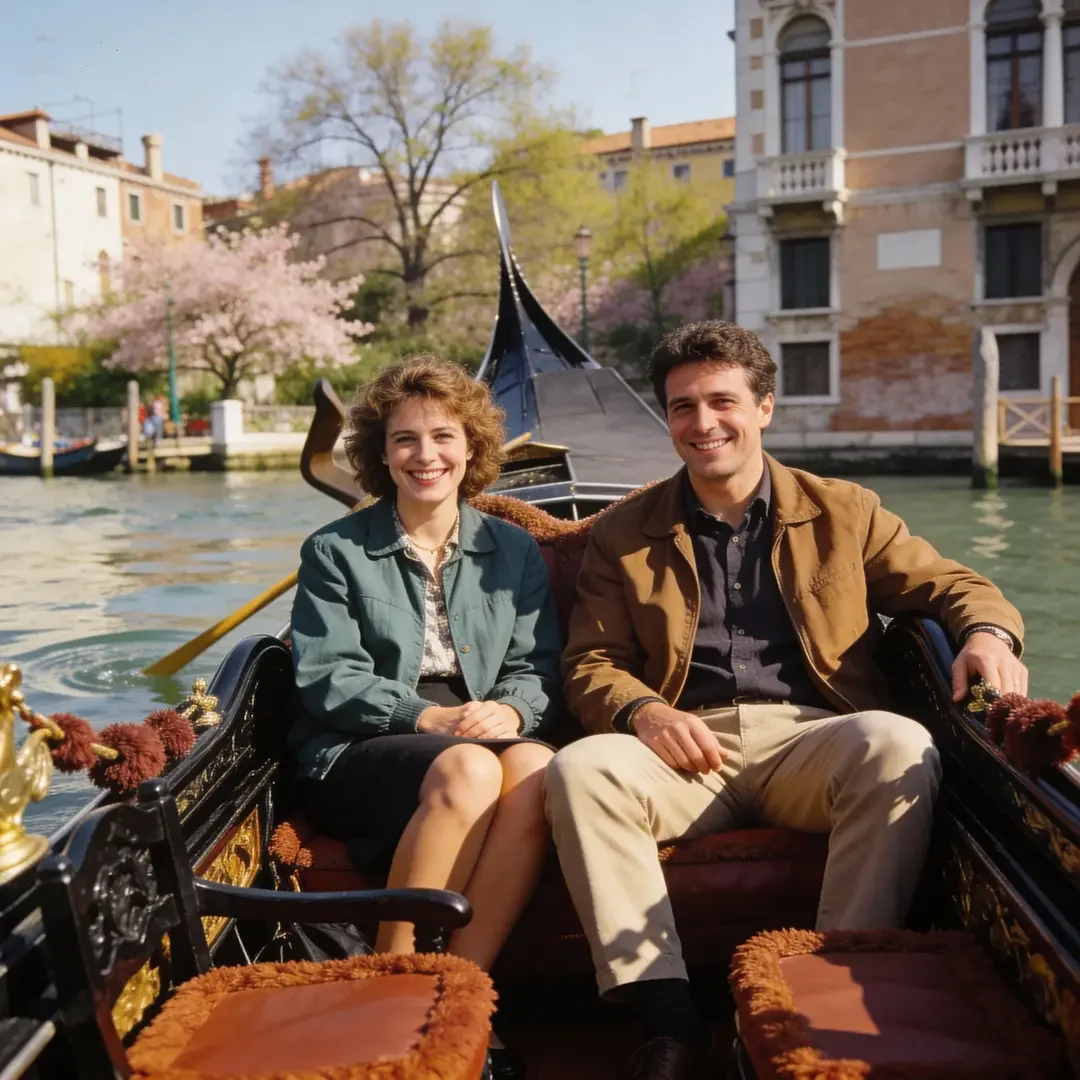
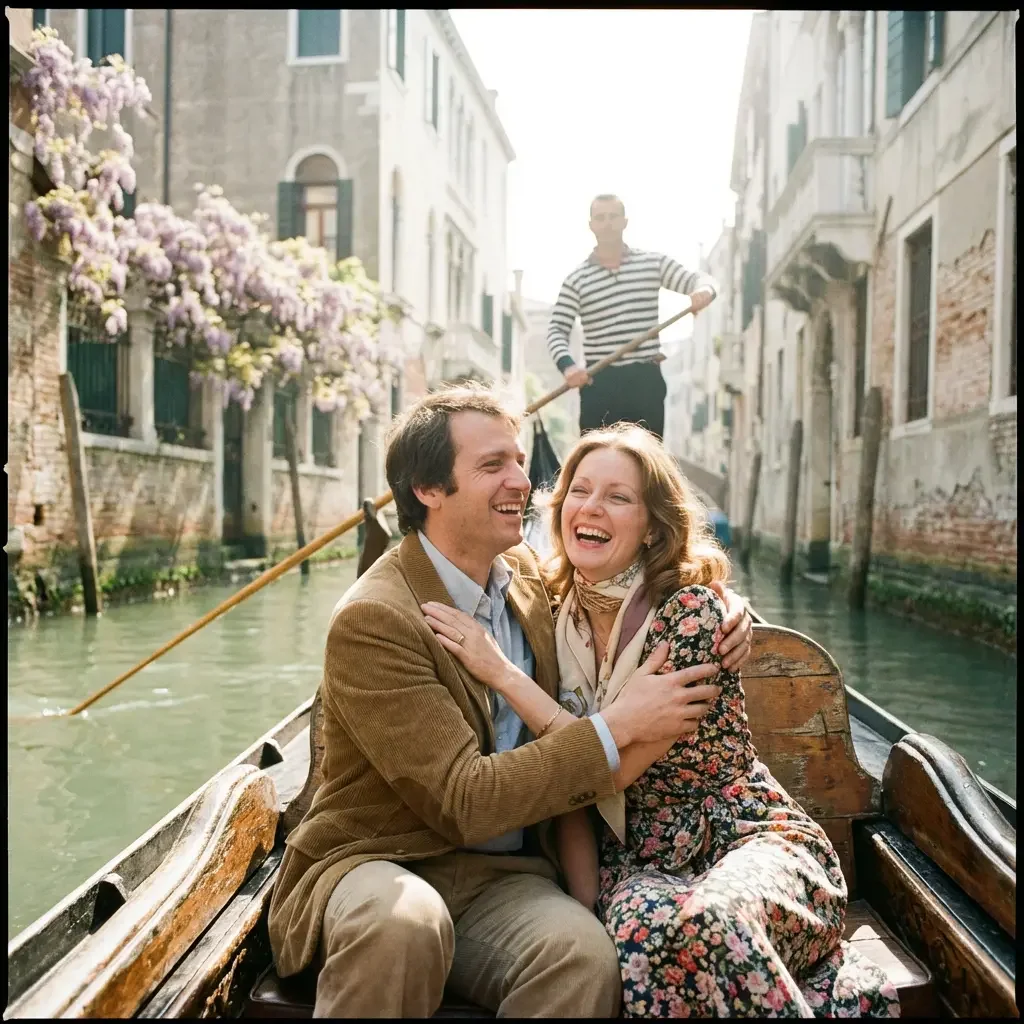
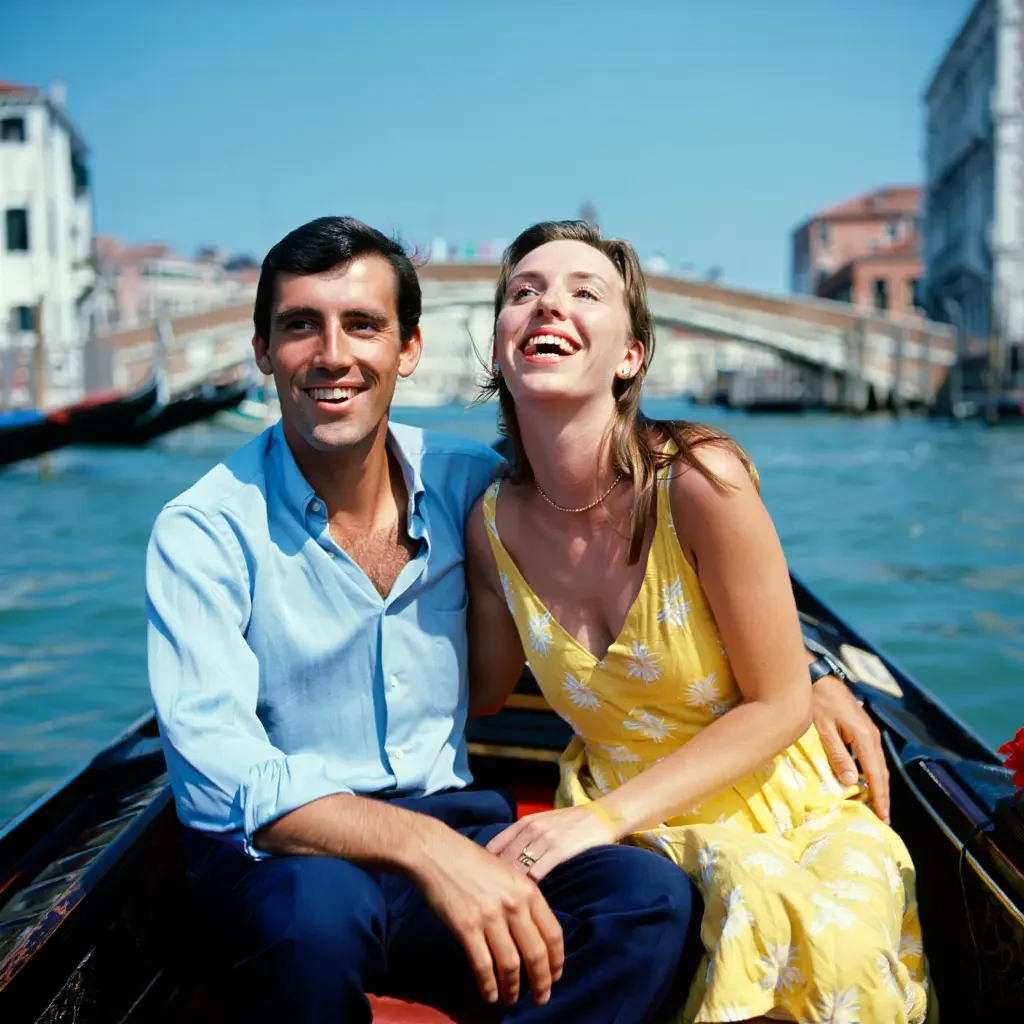
Here is the prompt, piece by piece:
Subject: a couple in their 30s
Composition: in a gondola
Aesthetic reference: spring 1980
Mood: happiness
Light: direct Sunlight
Shot: Wide Shot
Gear: Minolta X-570, Kodak Professional Portra 400 Film, Kiron 75-150mm f/3.8 lens
So the template will be:
[Subject], [Composition],[aesthetic reference],[mood], [Light], [Shot], [Gear]
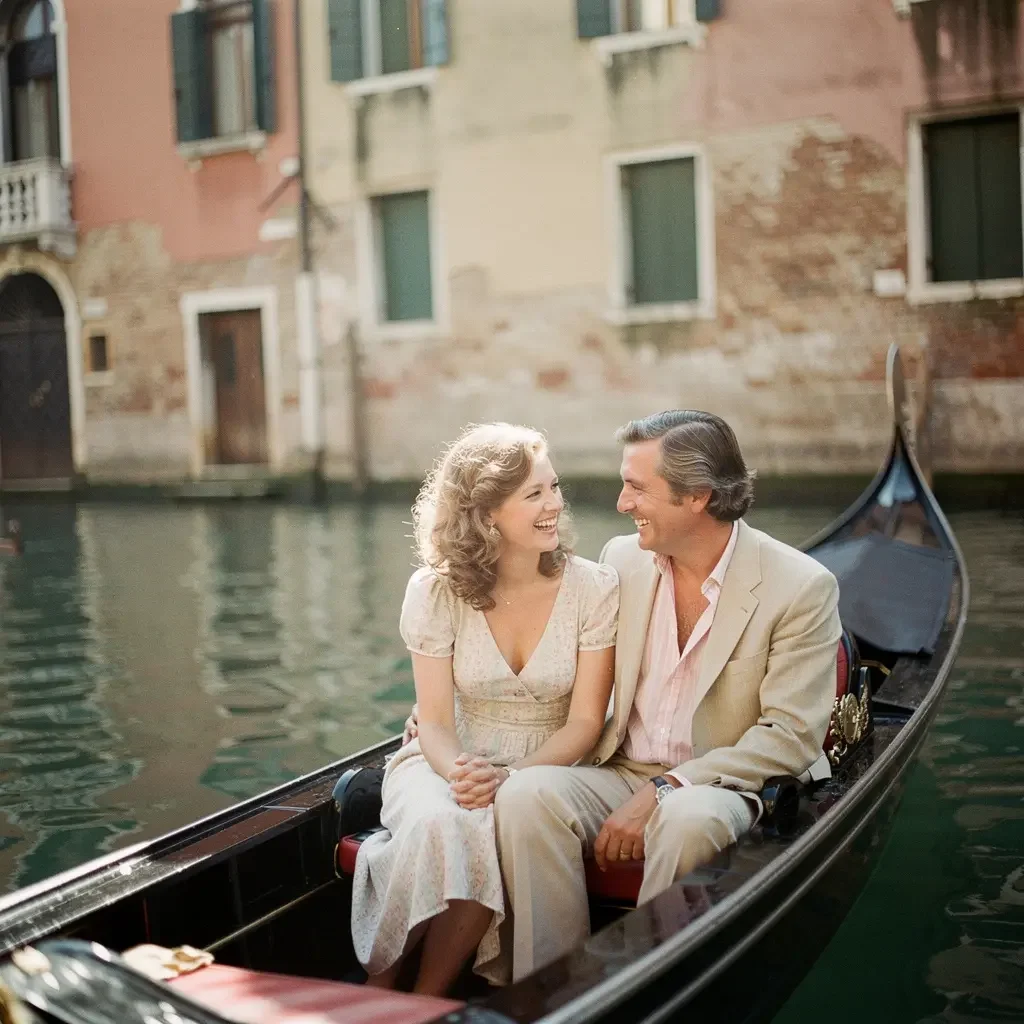
Let's change just a few elements and see what happens. In this exercise we're going for a more elegant look by changing the "mood."
The prompt could change like this:
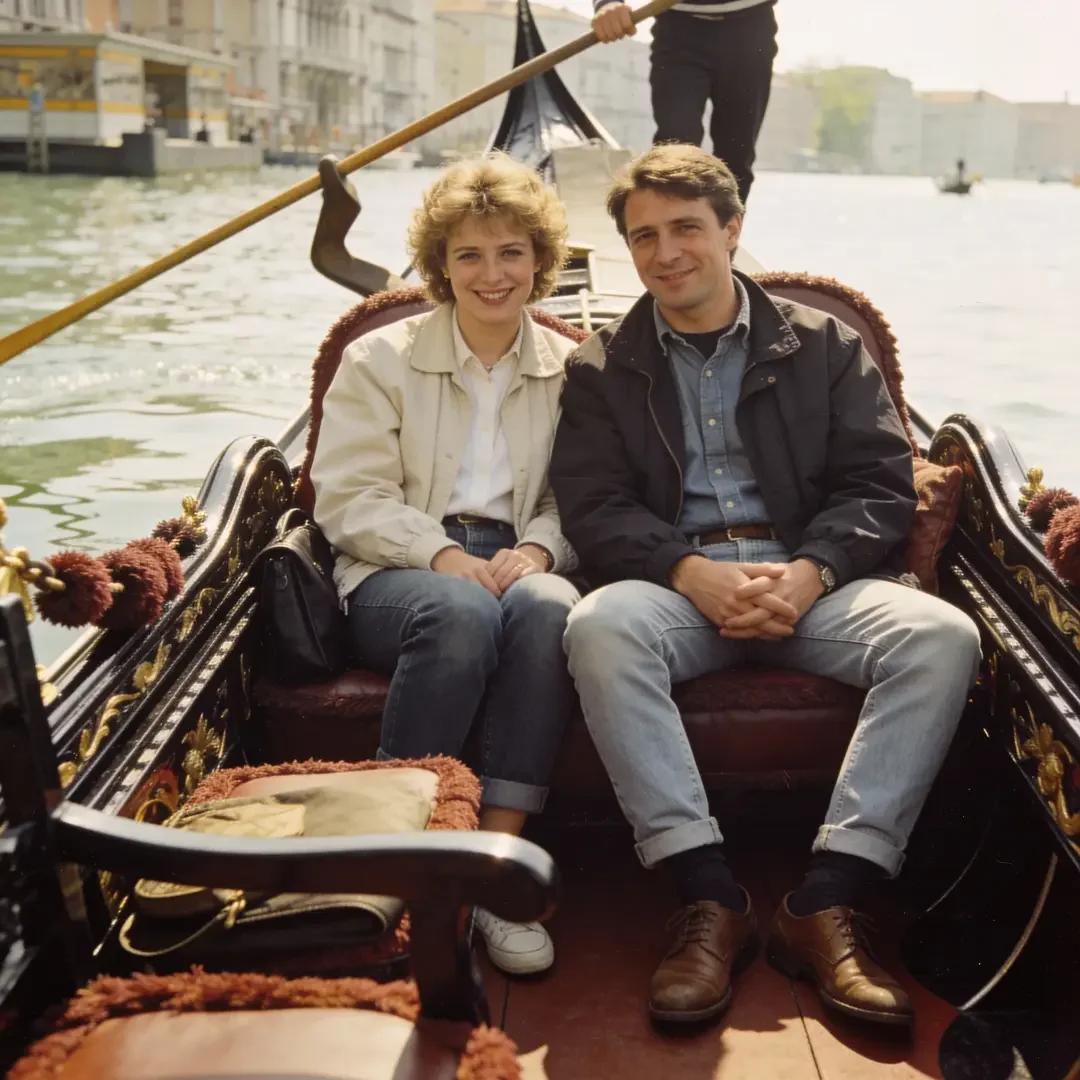
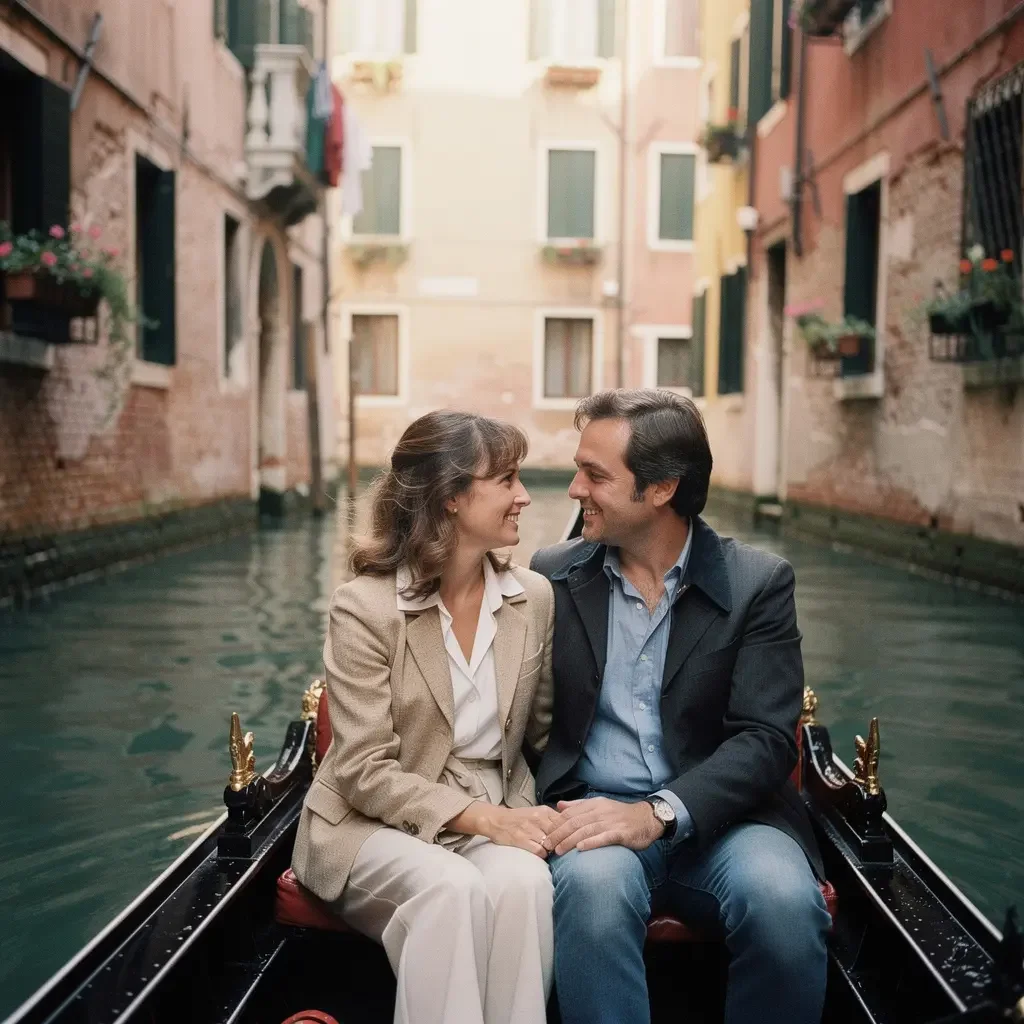
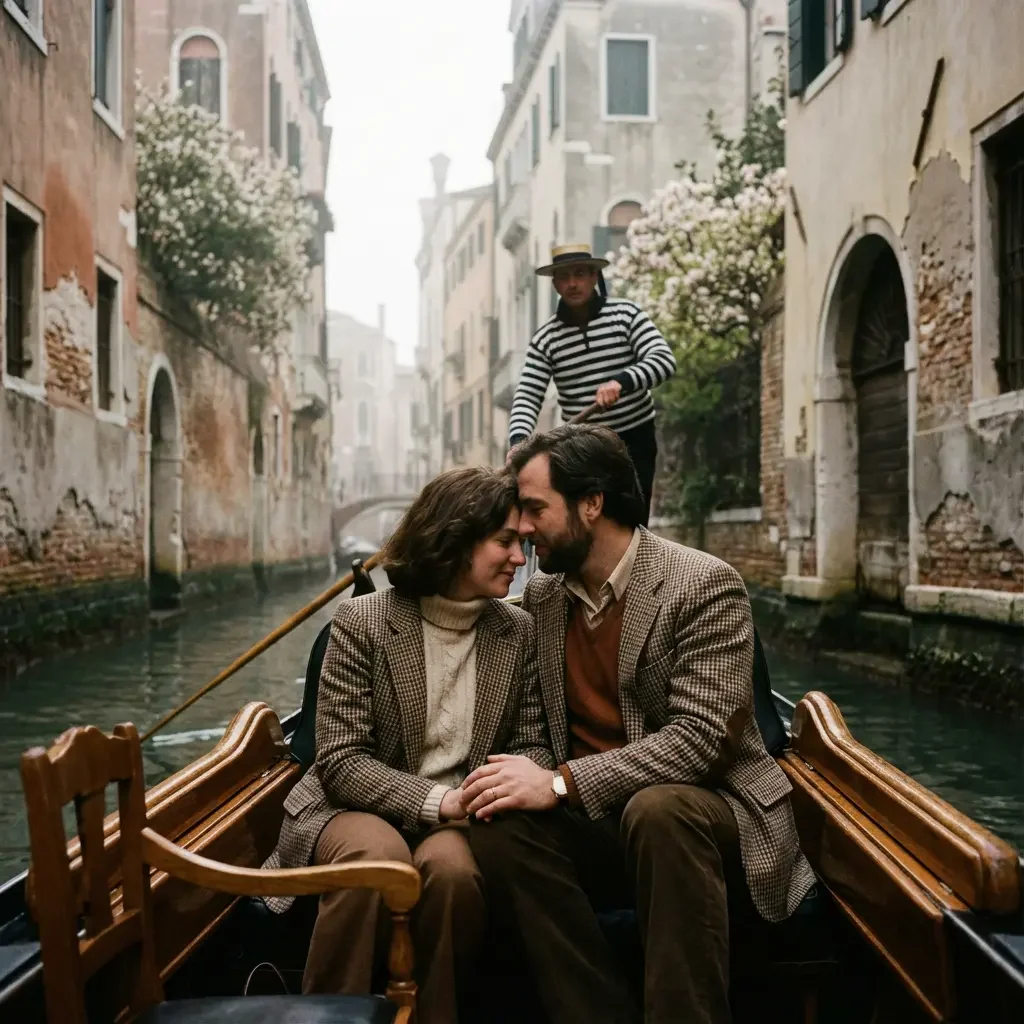
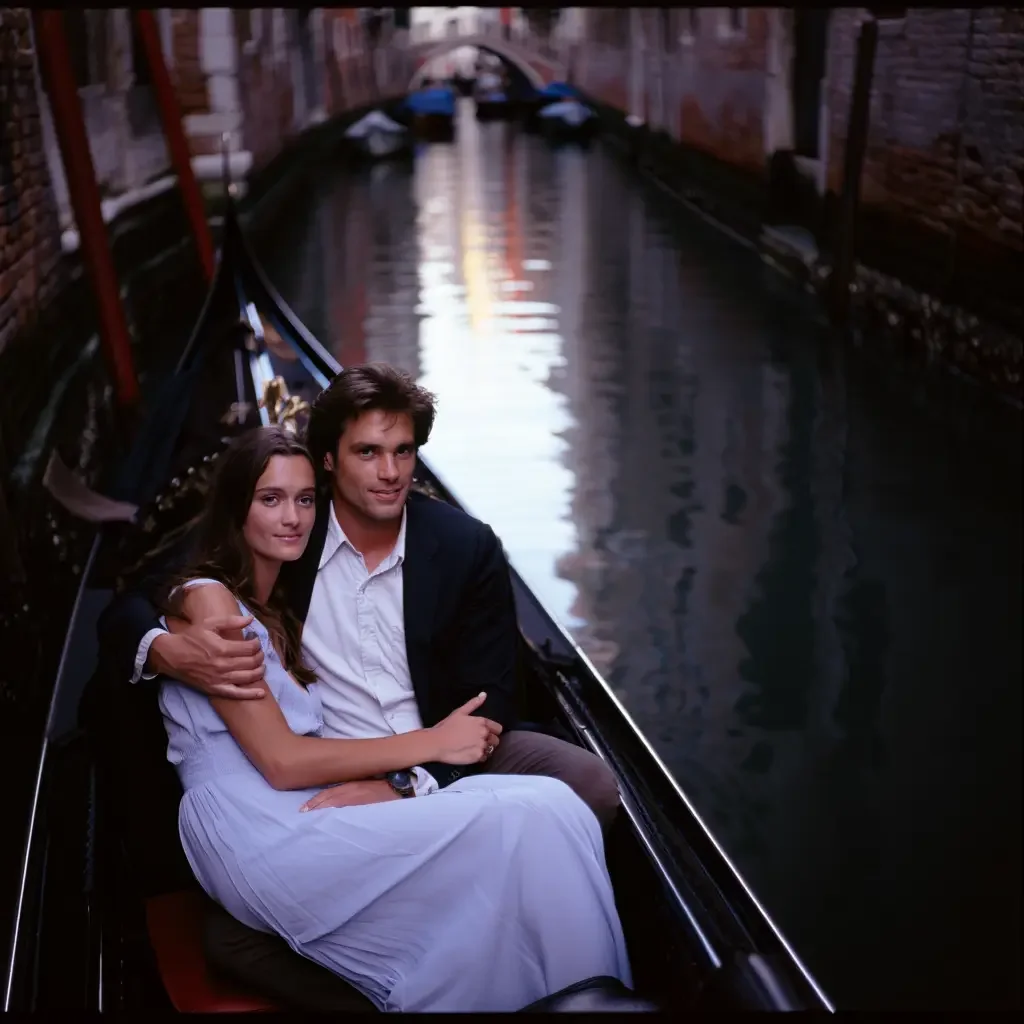
By changing only the mood [charmed] and the light [moody light], we got a completely different atmosphere.
Bringing artists into your prompts
One shortcut to a particular effect can be to draw on specific photographers. Whether that's stealing or inspiration, I'll let you decide after you've seen this experiment.
To get closer to the final effect we want, we'll pick the artist suggested in the brief: Annie Leibovitz.
Annie Leibovitz is an American portrait photographer best known for her portraits, especially of celebrities, often showing her subjects in intimate settings and poses (wikipedia).
Here's one of her fashion shots.
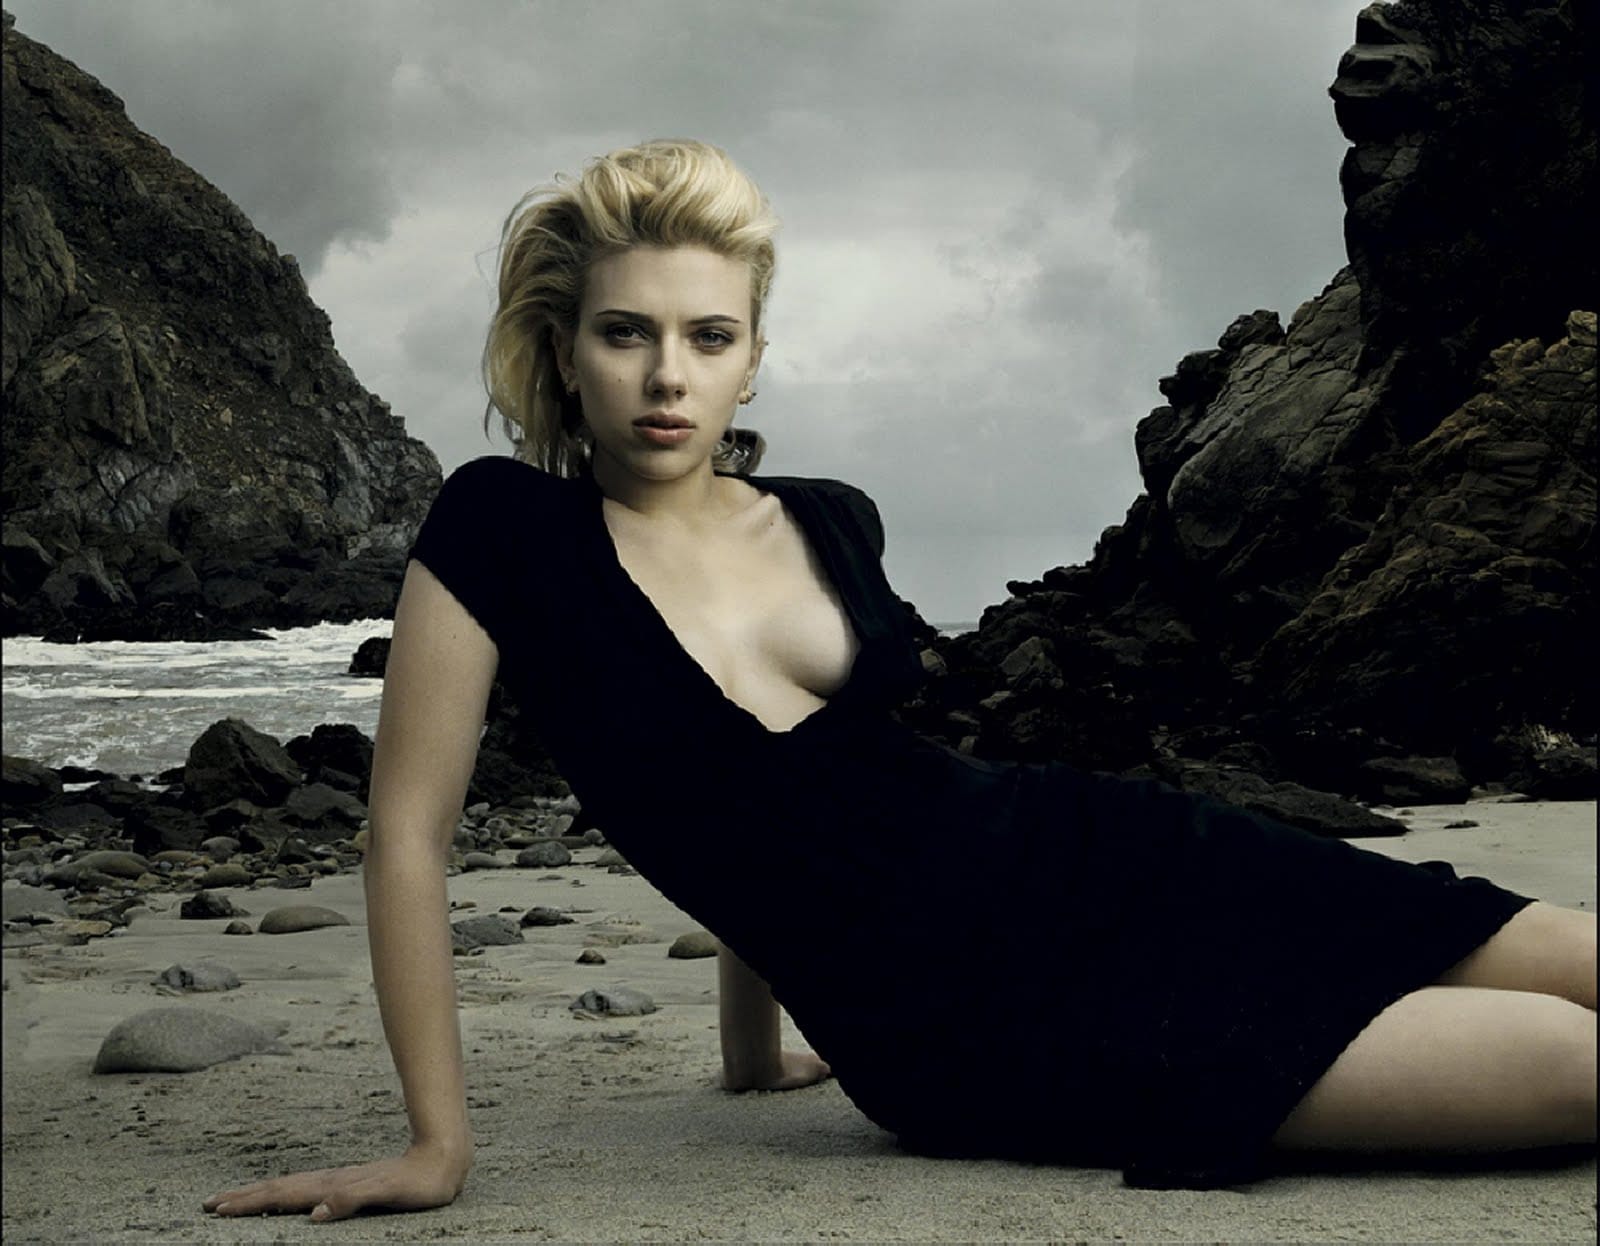
Credit: https://www.manamediagroup.com/nike-annie-leibovitz
What we have seen so far is that the more we narrow the field, the more control we have. Now we have two options: copy or draw inspiration.
let's add a piece to our prompt template
[Subject], [Composition],[aesthetic reference],[mood], [Light], [Shot], [Gear], [artist or art style]
If we want to copy her creativity and let the machine do the work on its own, we go back to the basic ZeroShot prompt, like this:
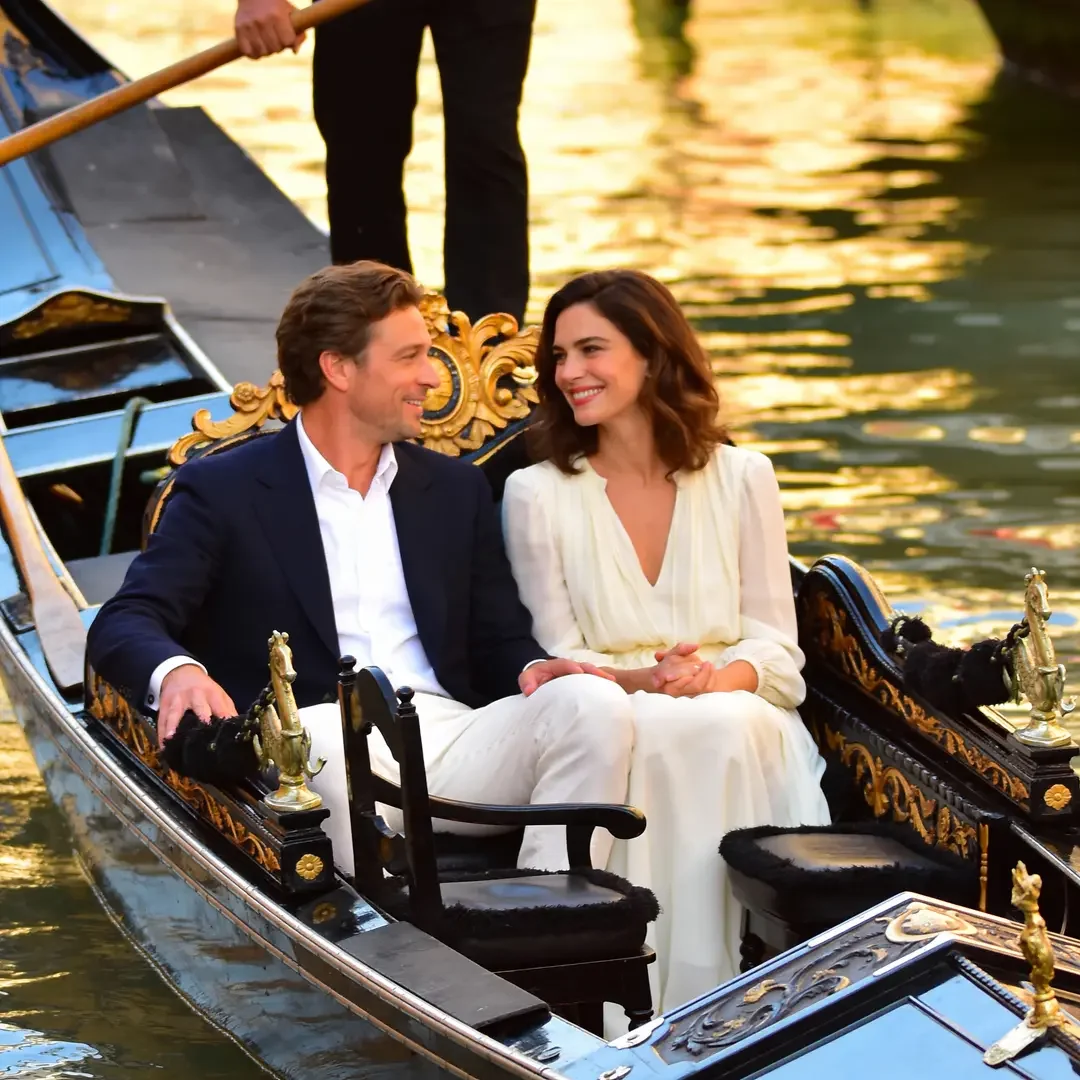
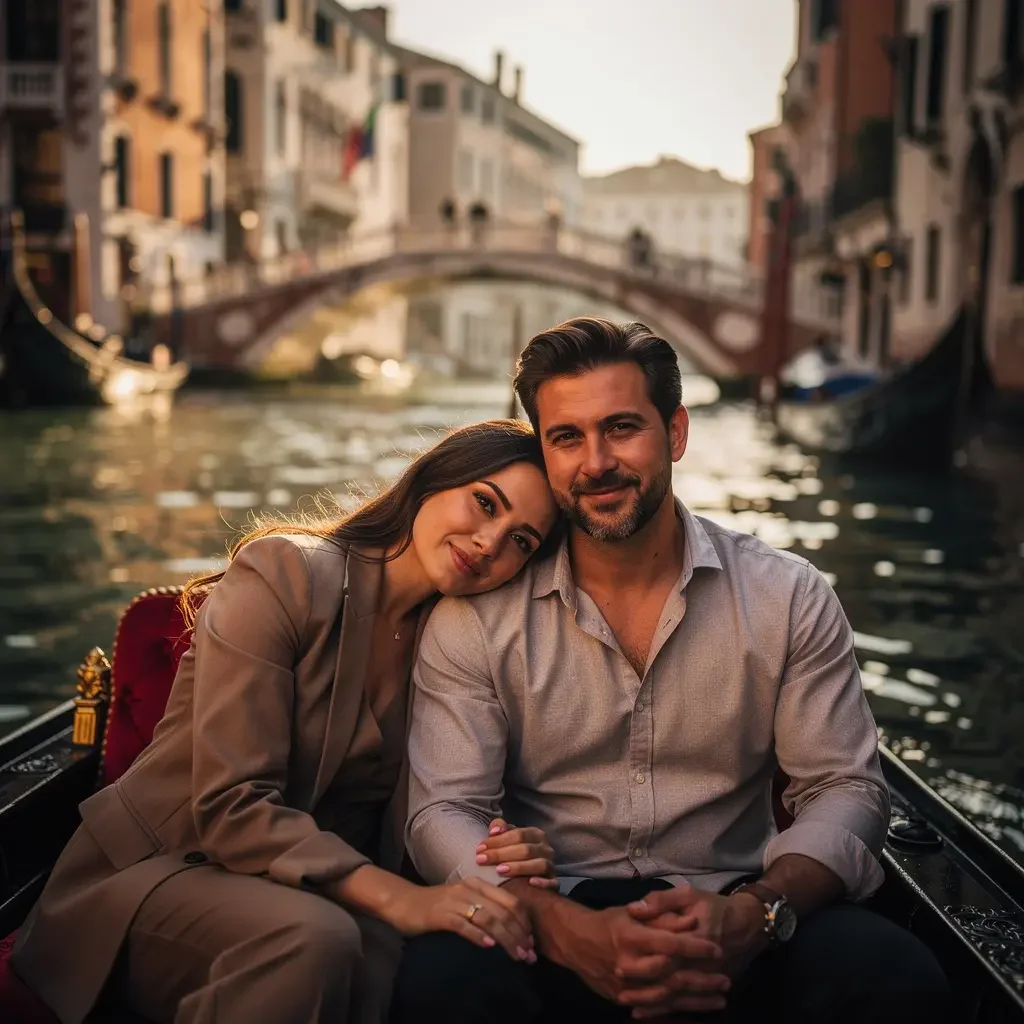
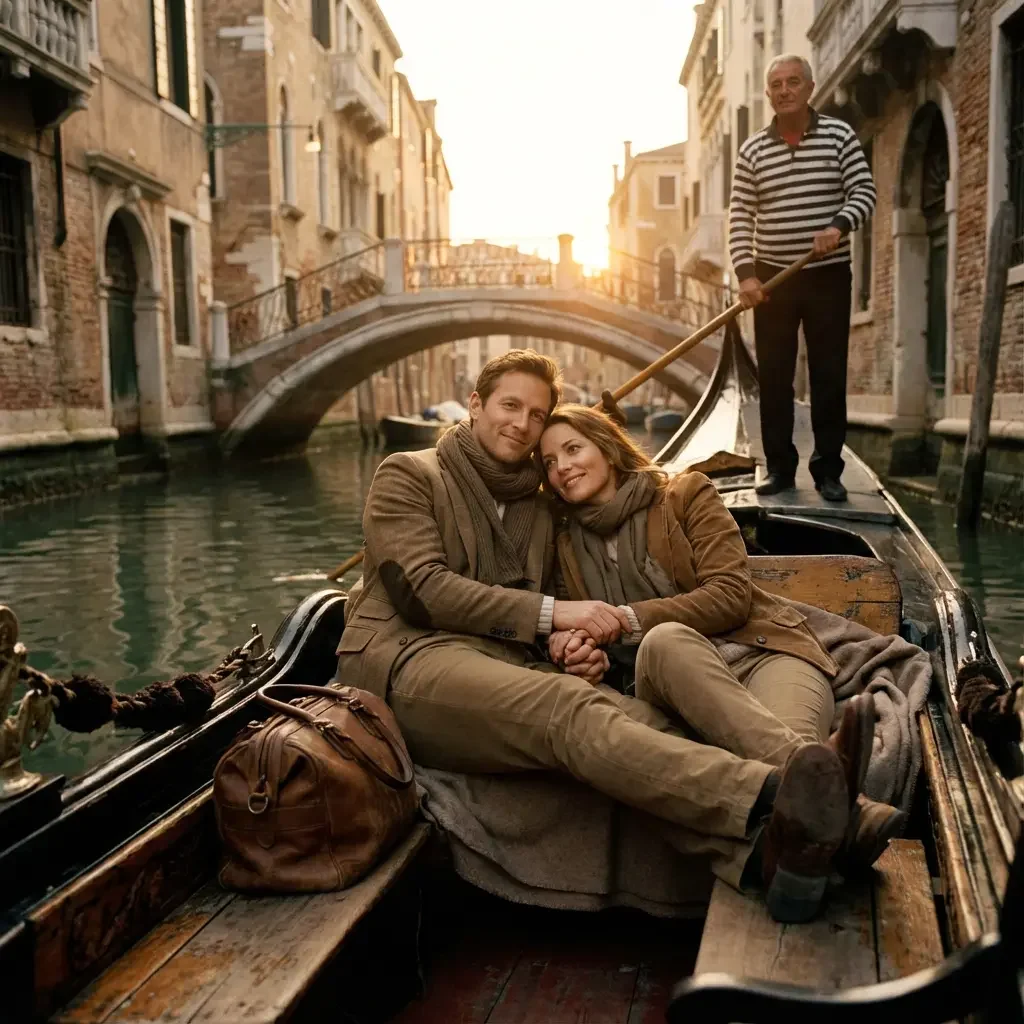
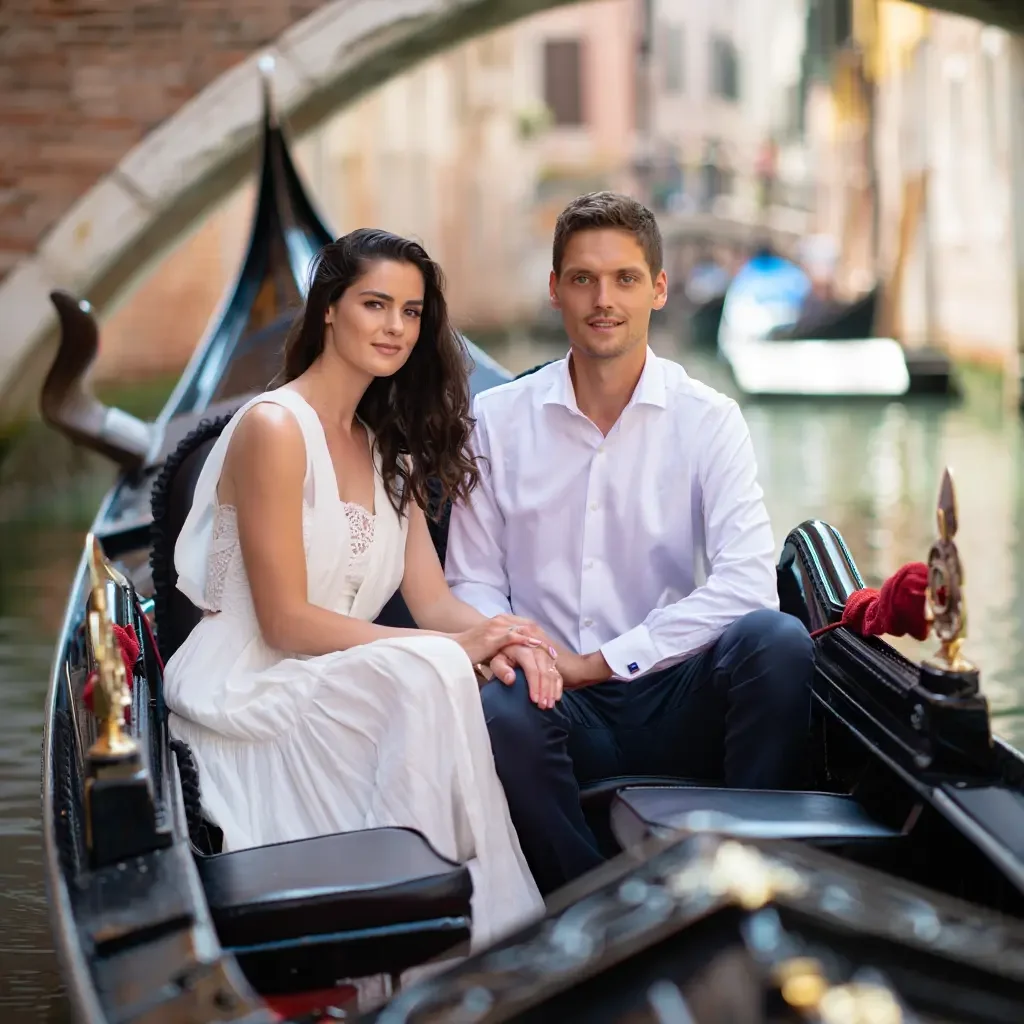
Welcome to the world of fashion. Now let's try drawing inspiration instead and setting the mood ourselves through the lenses and the aesthetic references.
let's add a piece to our prompt template [artist or art style]
[Subject], [Composition],[aesthetic reference],[mood], [Light], [Shot], [Gear], [artist or art style]
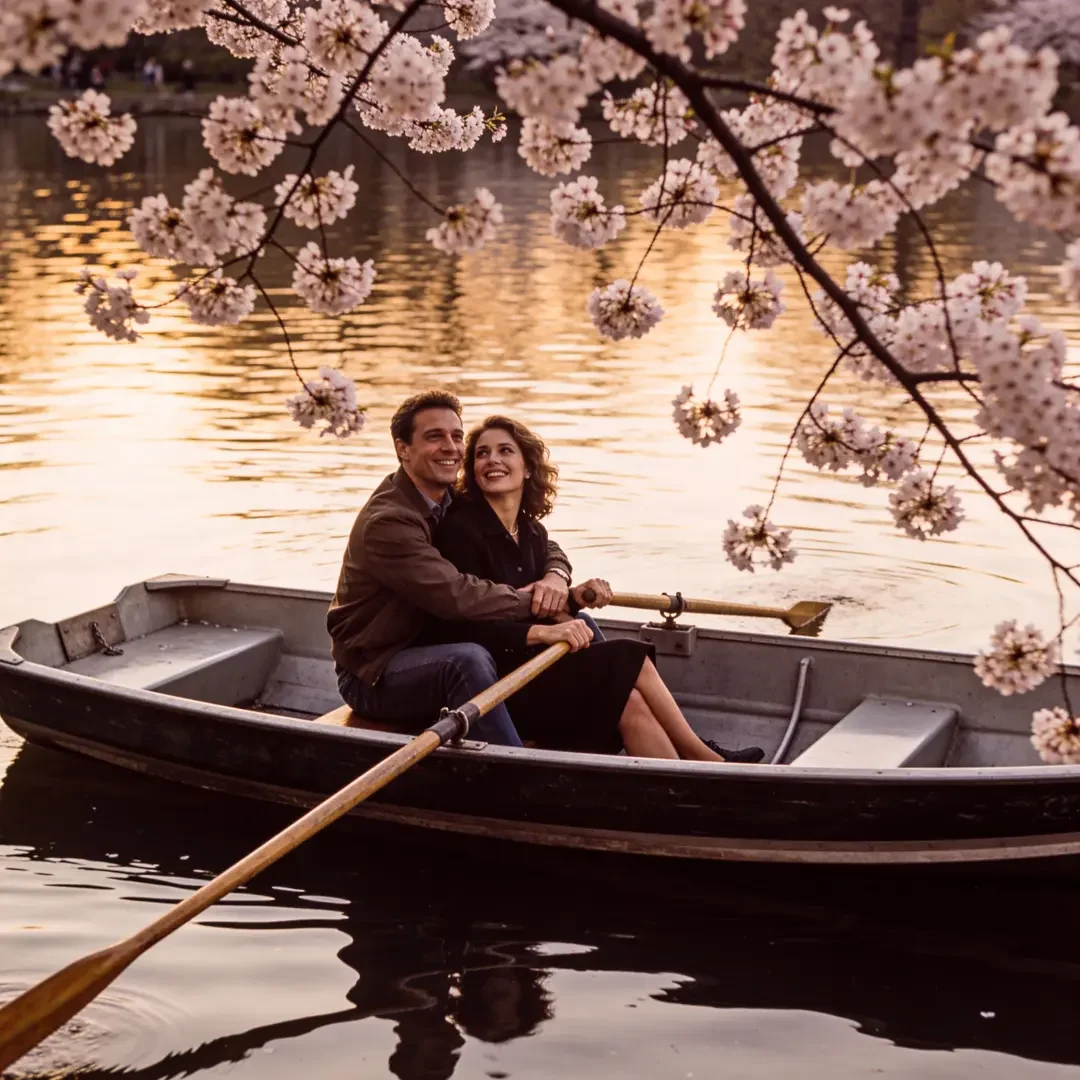
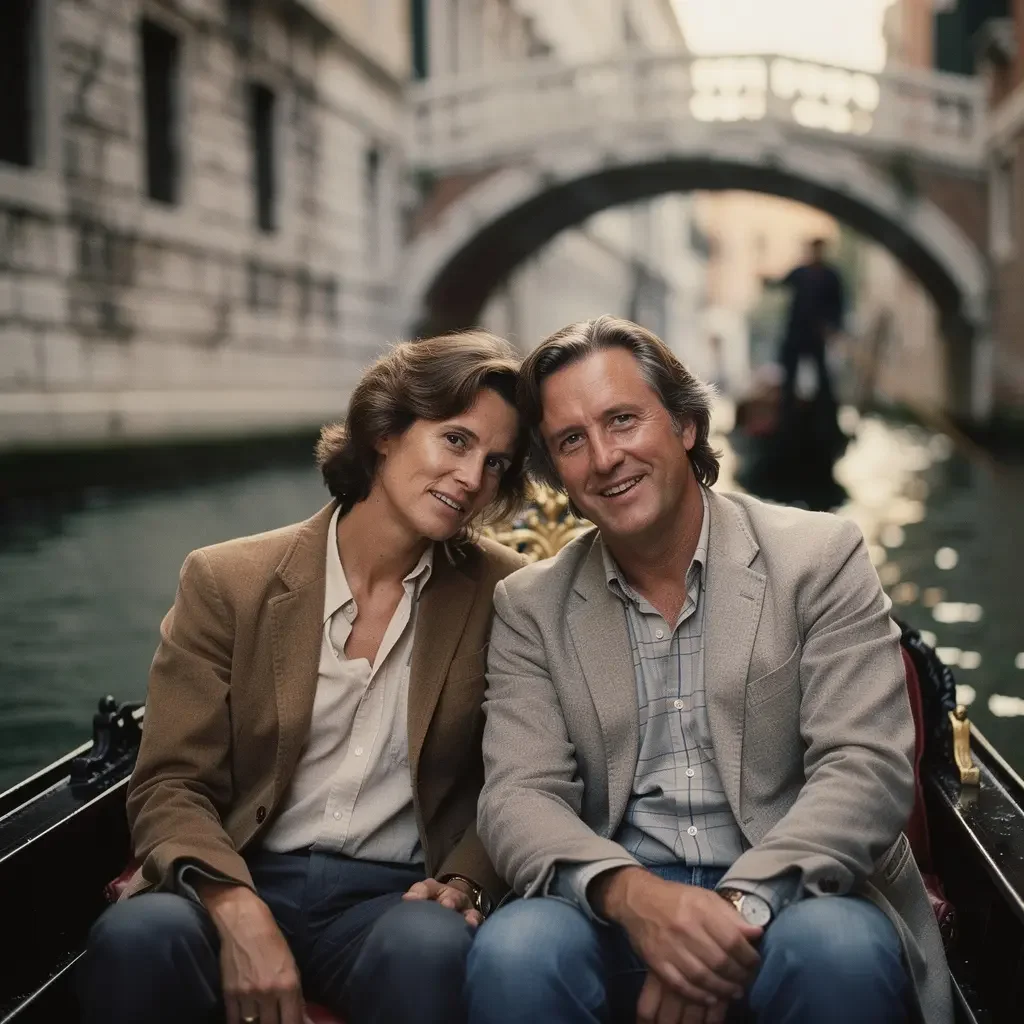
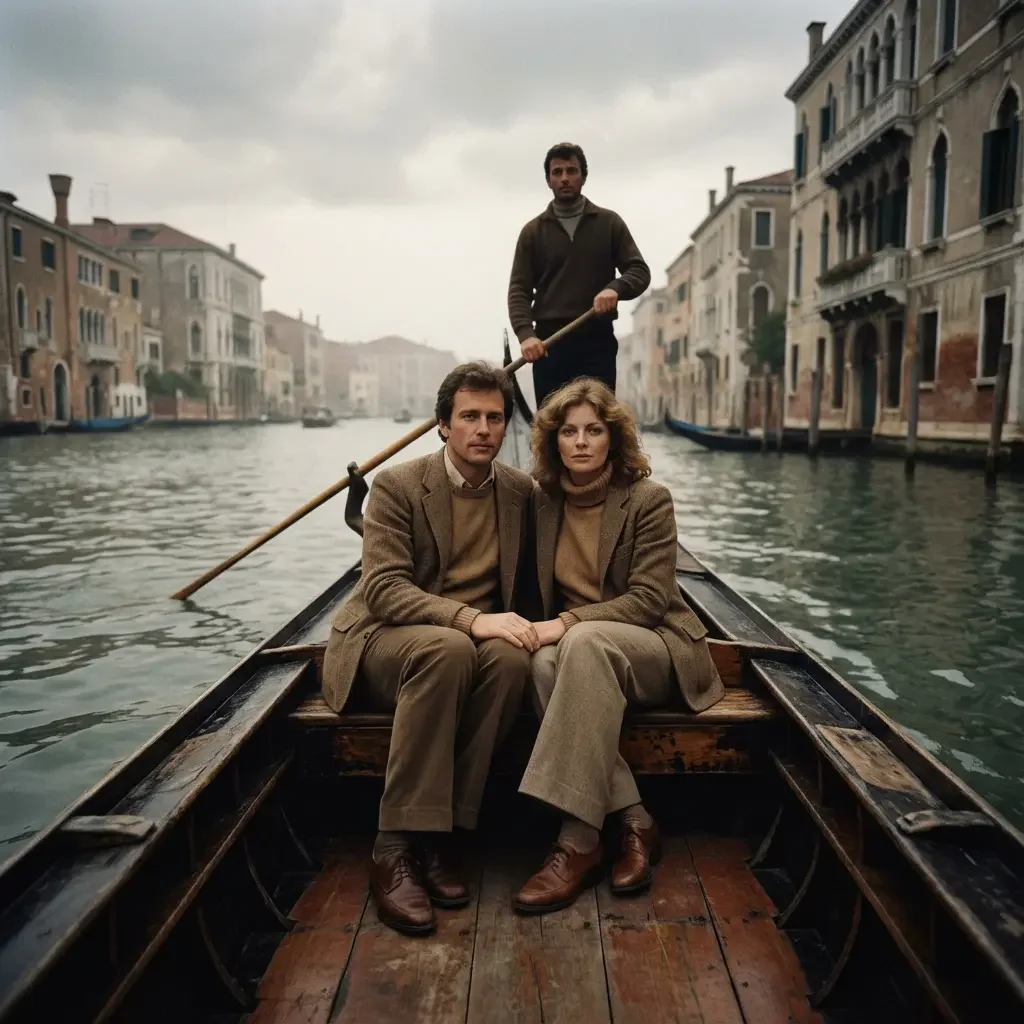
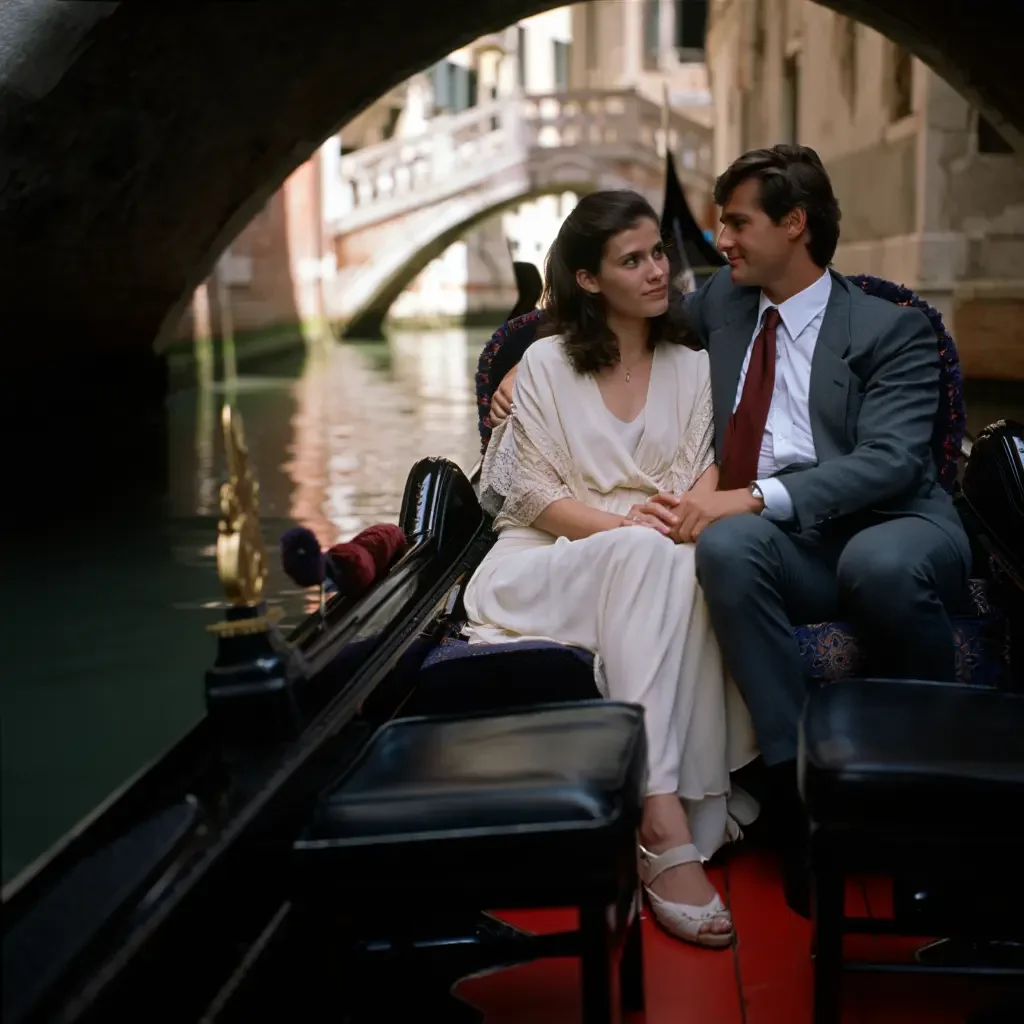
Right away we're dropped into a fashion look thanks to the artist we named, but with the mood we set at the start, driven by the aesthetic reference (Spring 1980), the lighting and the gear, which makes it feel much less like a "studio" image.
My personal takeaway from this experiment is that you can use artists, not so much to "steal" their style, but to set the scene better and better capture customs, habits and body language.
With a few changes that come from specific expertise, we went from a flat "family photo" to a far more emotionally intense shot.
Is it enough to win the war for attention? I don't think so.
Let's change the subject to match the brief:
Visual Idea: evocative images that suggest intimacy and secrecy. Key example: the hint of a gondola gliding silently past, seen from a half-open hotel window. Focus on atmosphere, details, the play of light and shadow, suggesting more than openly showing.
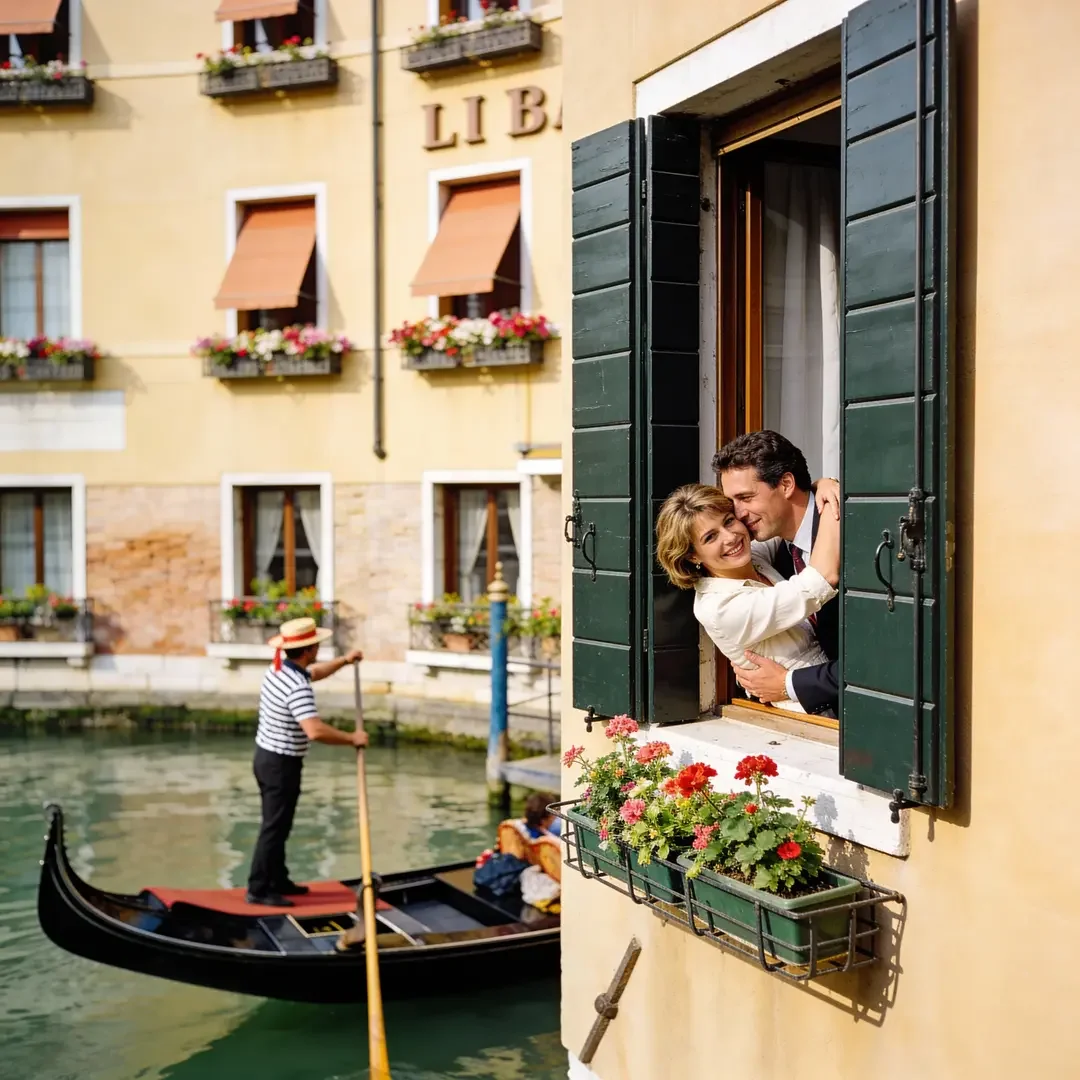
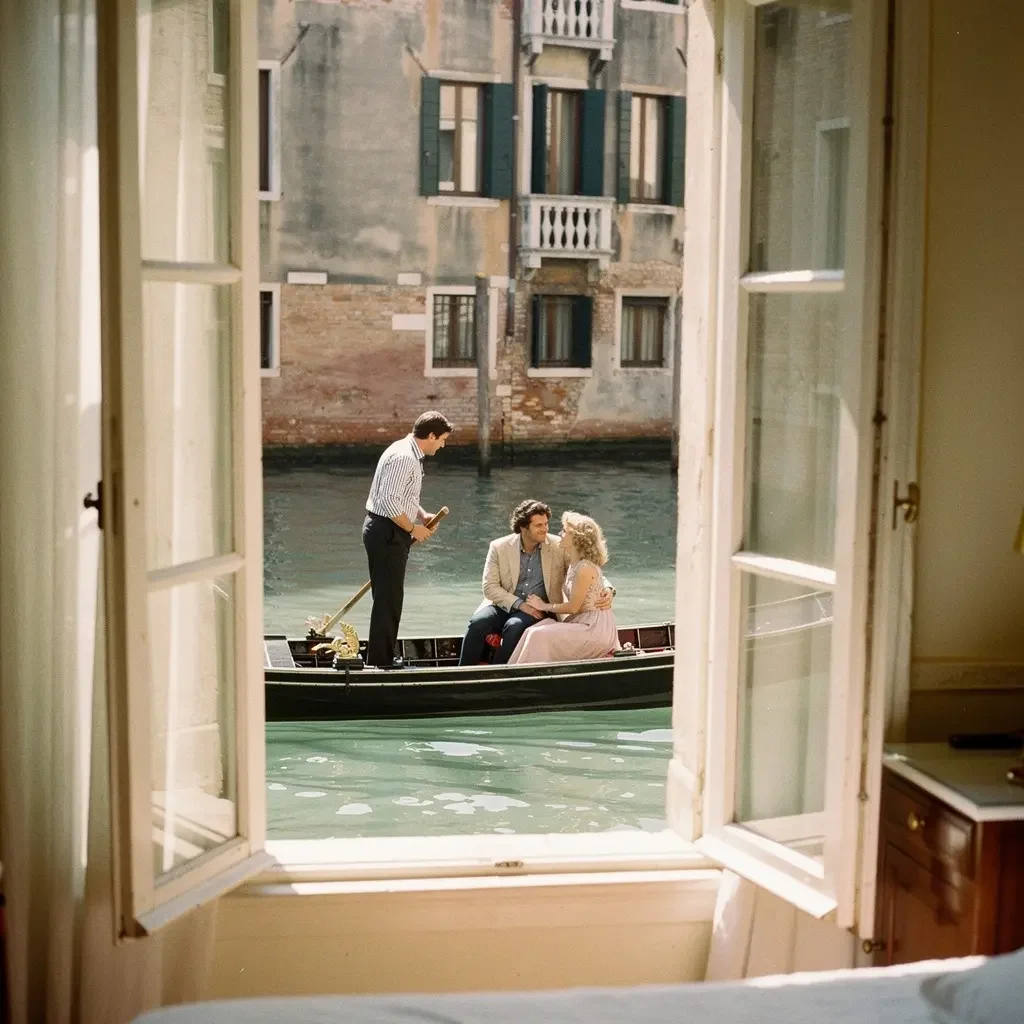
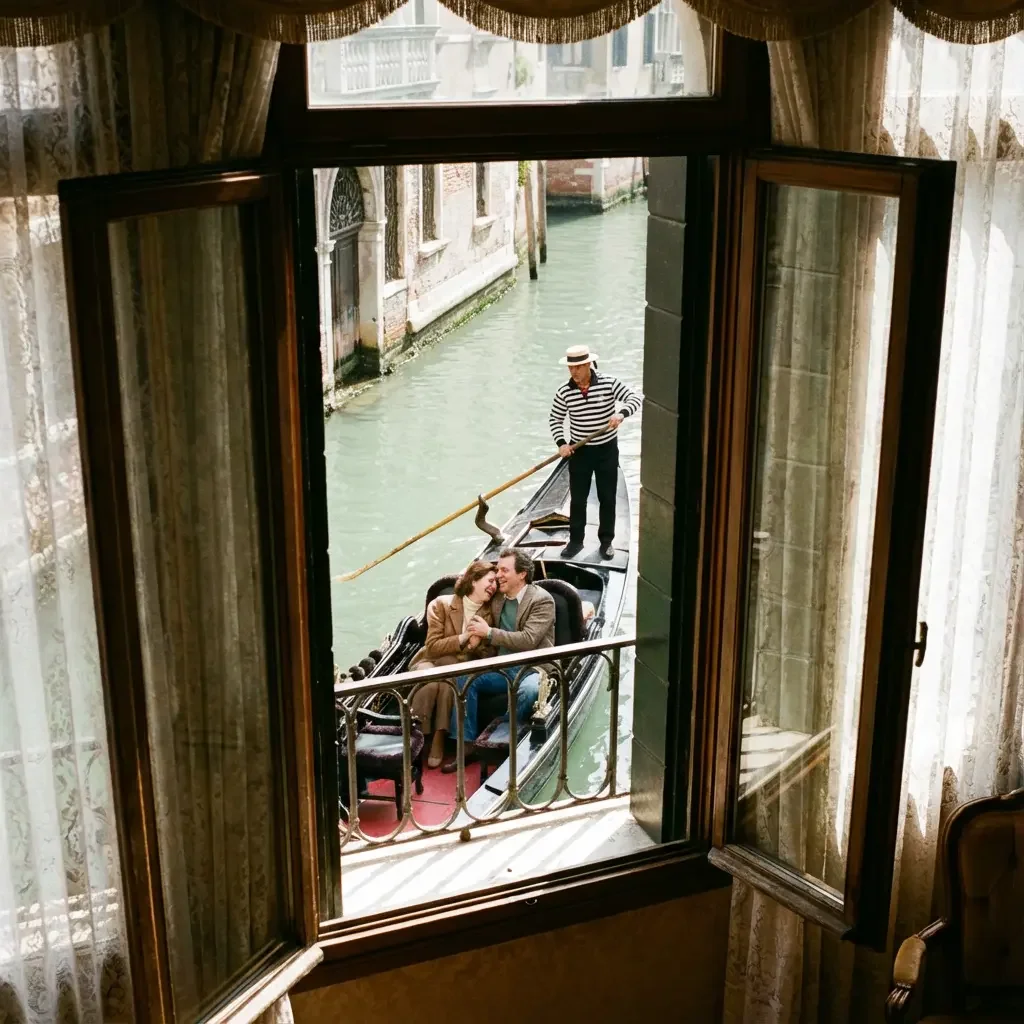
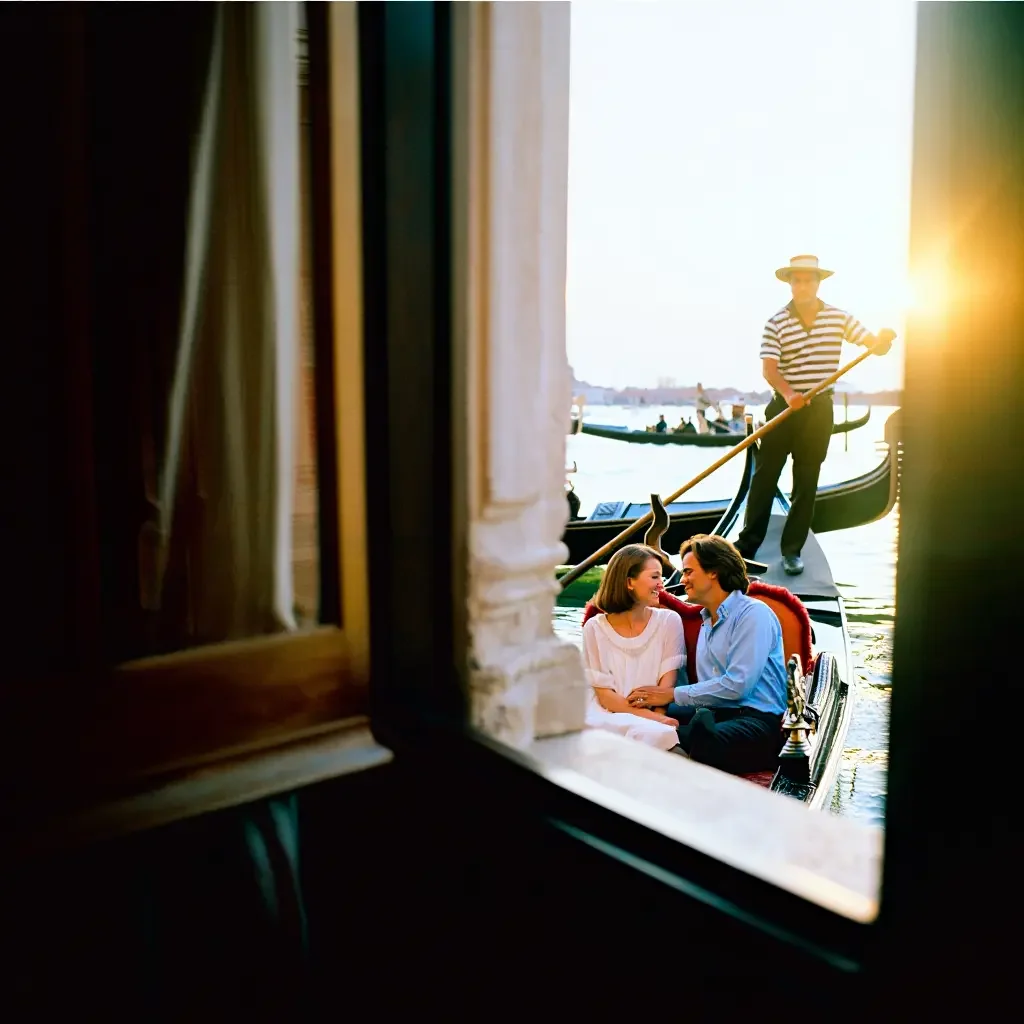
We've got our composition, and it all starts to make sense: there's suggestion, there's body language.
Let's go further and add all the references we found in phase 1, the kickoff, and in phase 2, research, while keeping our prompt structure:
Drumroll, please...
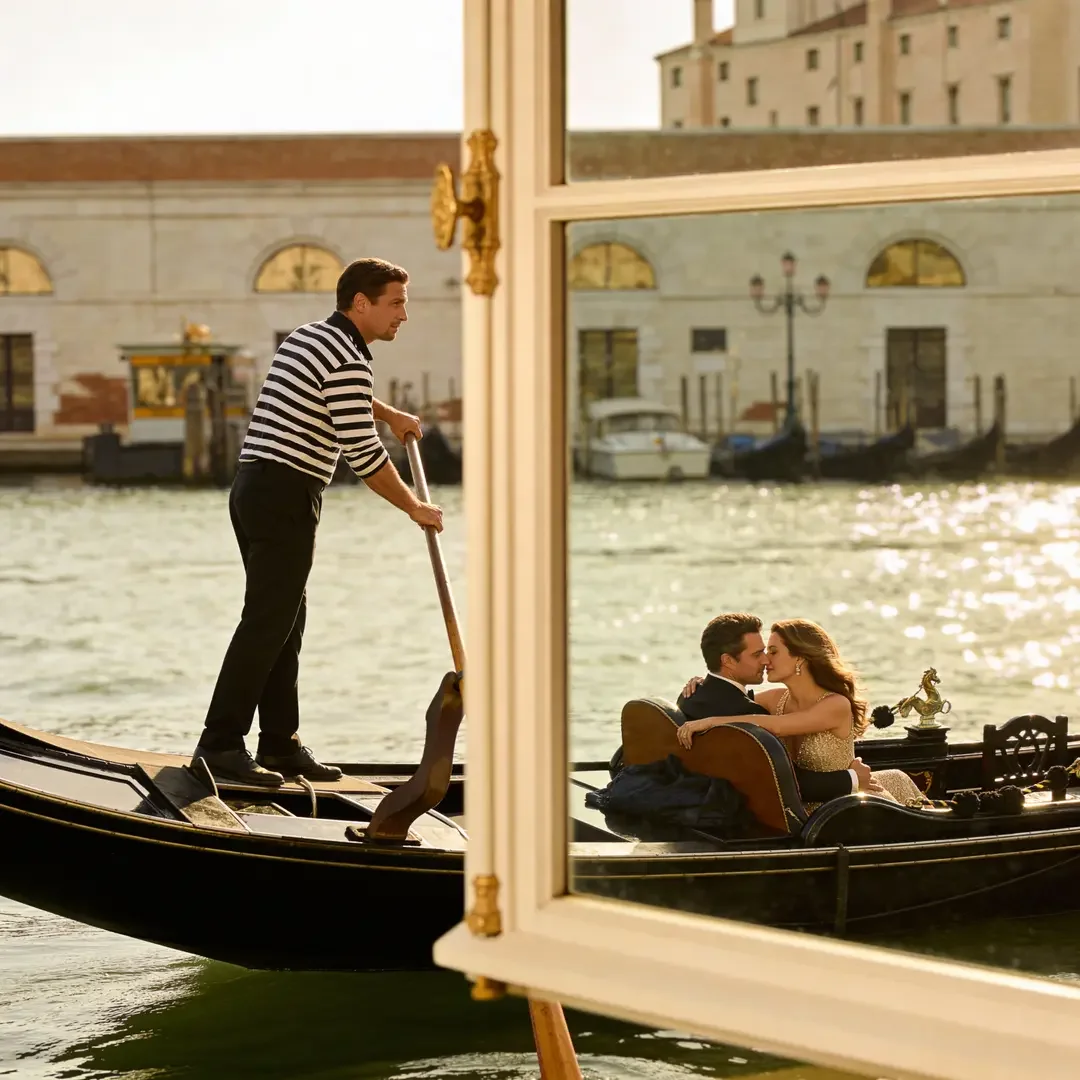
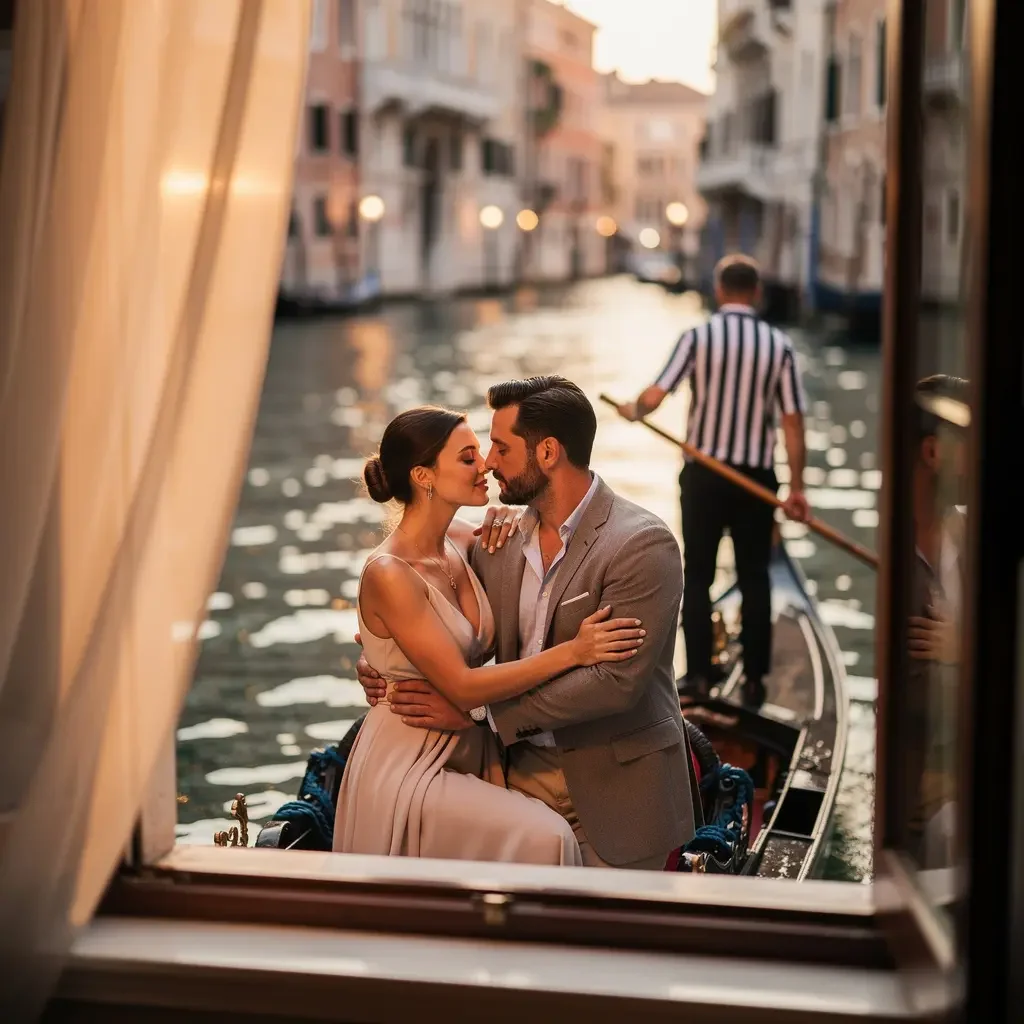
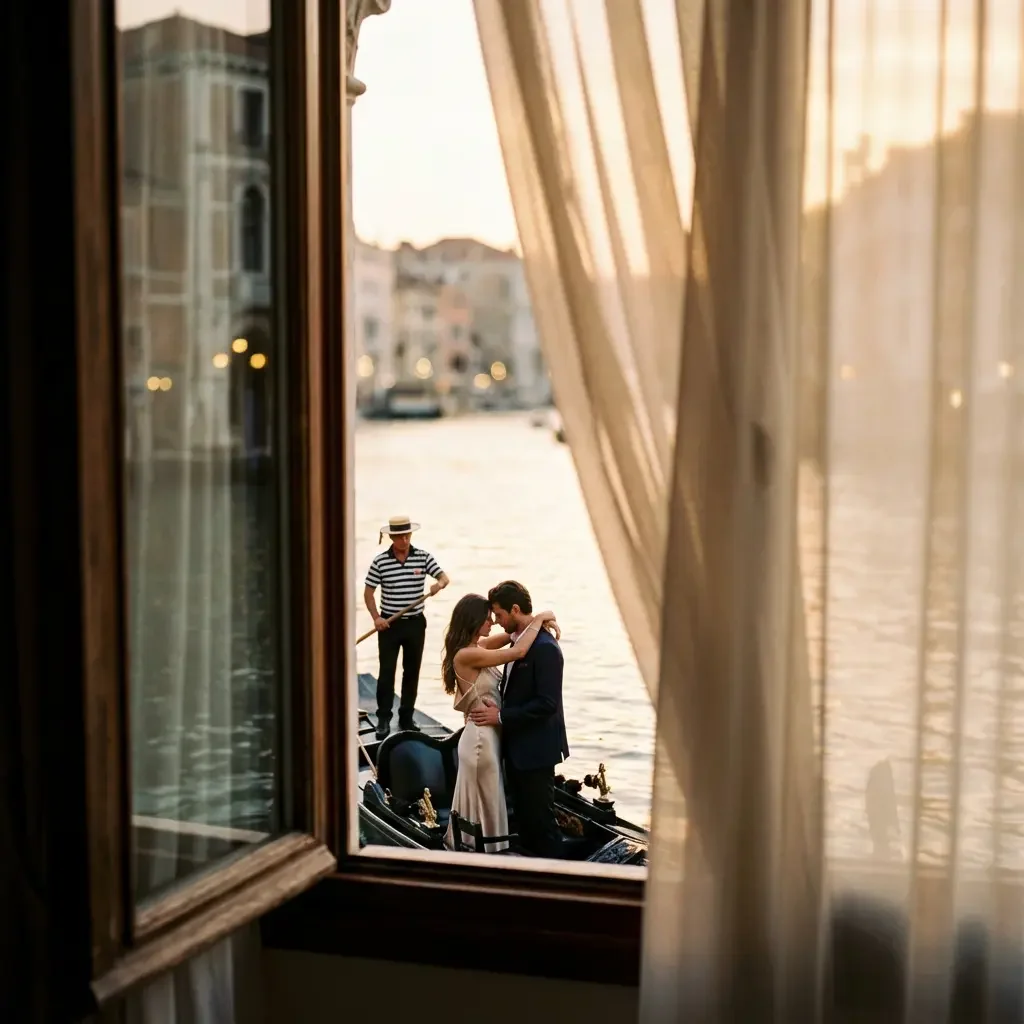
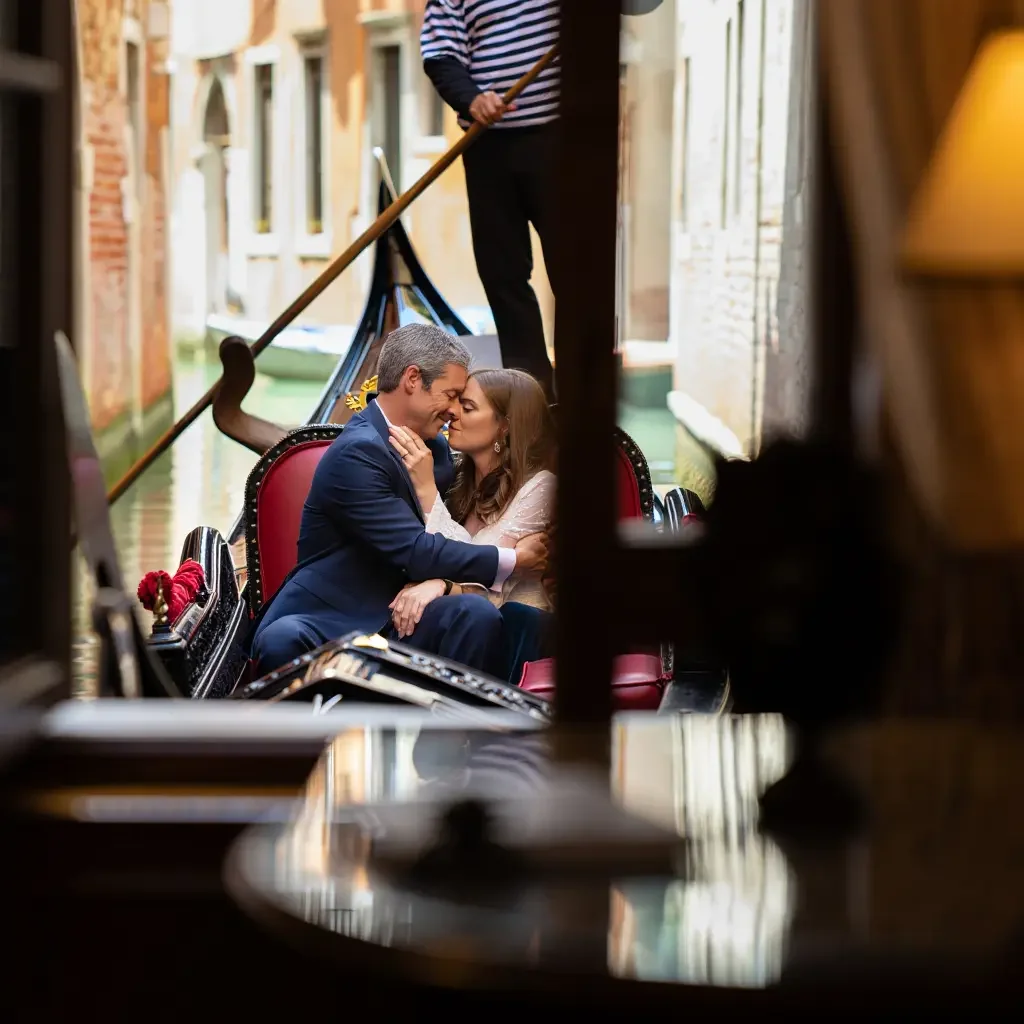
I'd say we've reached a more than respectable result. Of course it isn't 100% perfect: it isn't Venice, the hotel shown doesn't exist, and so a real professional shoot would be better. But that isn't always possible.
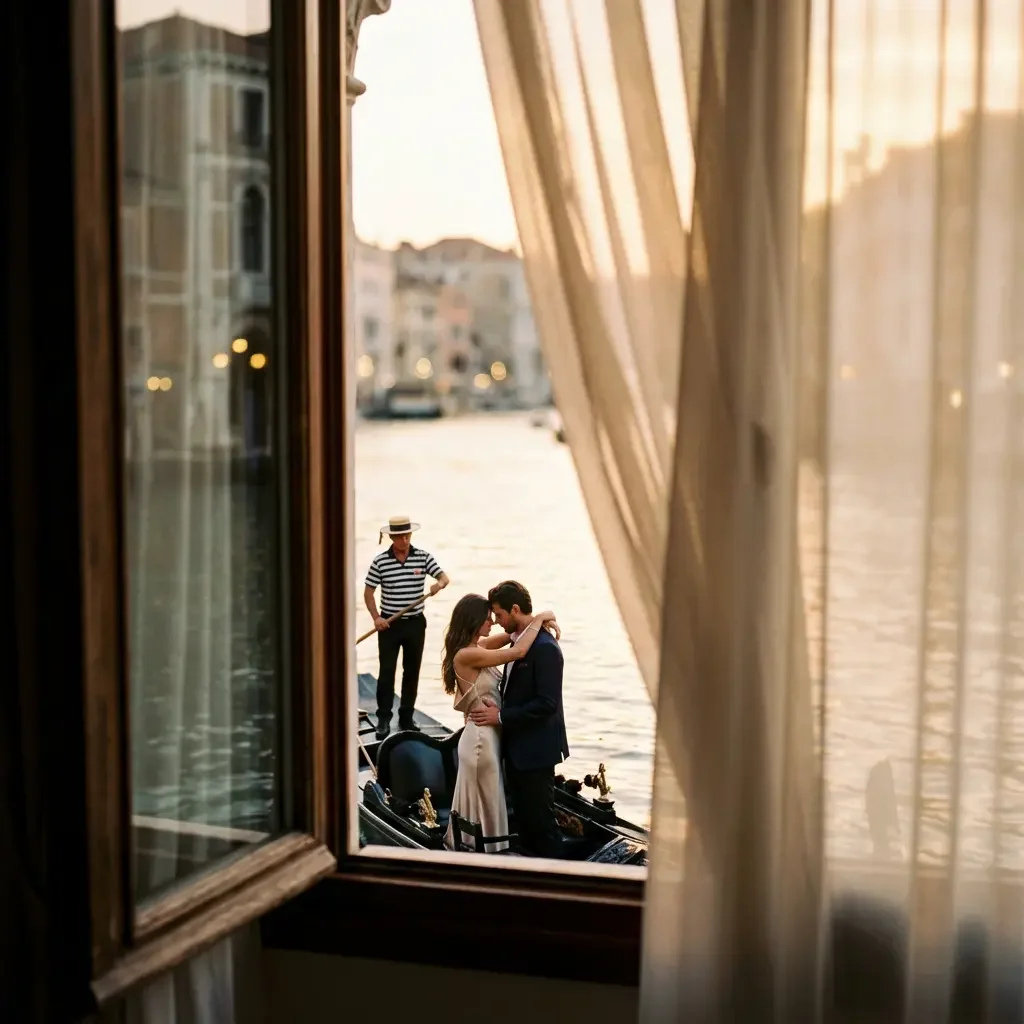
You'll also notice plenty of mistakes in the generations. That's because I didn't want to cherry-pick or iterate: I wanted to show the current limits and potential of the models in 2026. The workflow can stay the same for the next 5 years or more, while the models will keep changing.
With this workflow I wanted to show the pieces you need to reach a result that's "under control" and well curated.
Note: AI is best used to show something that doesn't exist and never has, depictions of scenarios and emotions.
Art styles
Just as with photos, the models can produce images in specific art styles. That range lets you explore and recreate traditional styles, and also mix them or create completely new blends.
Prompt examples for art styles
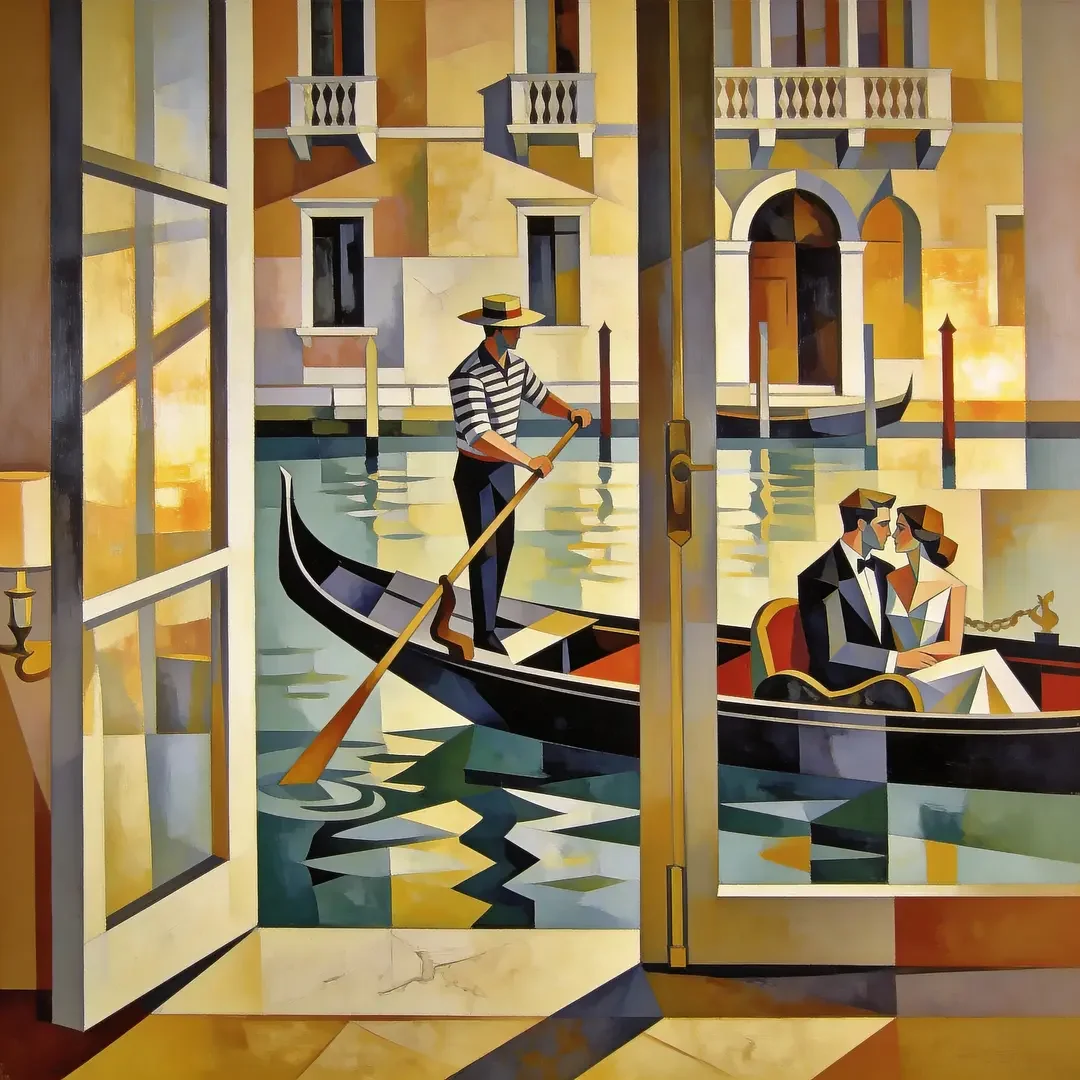
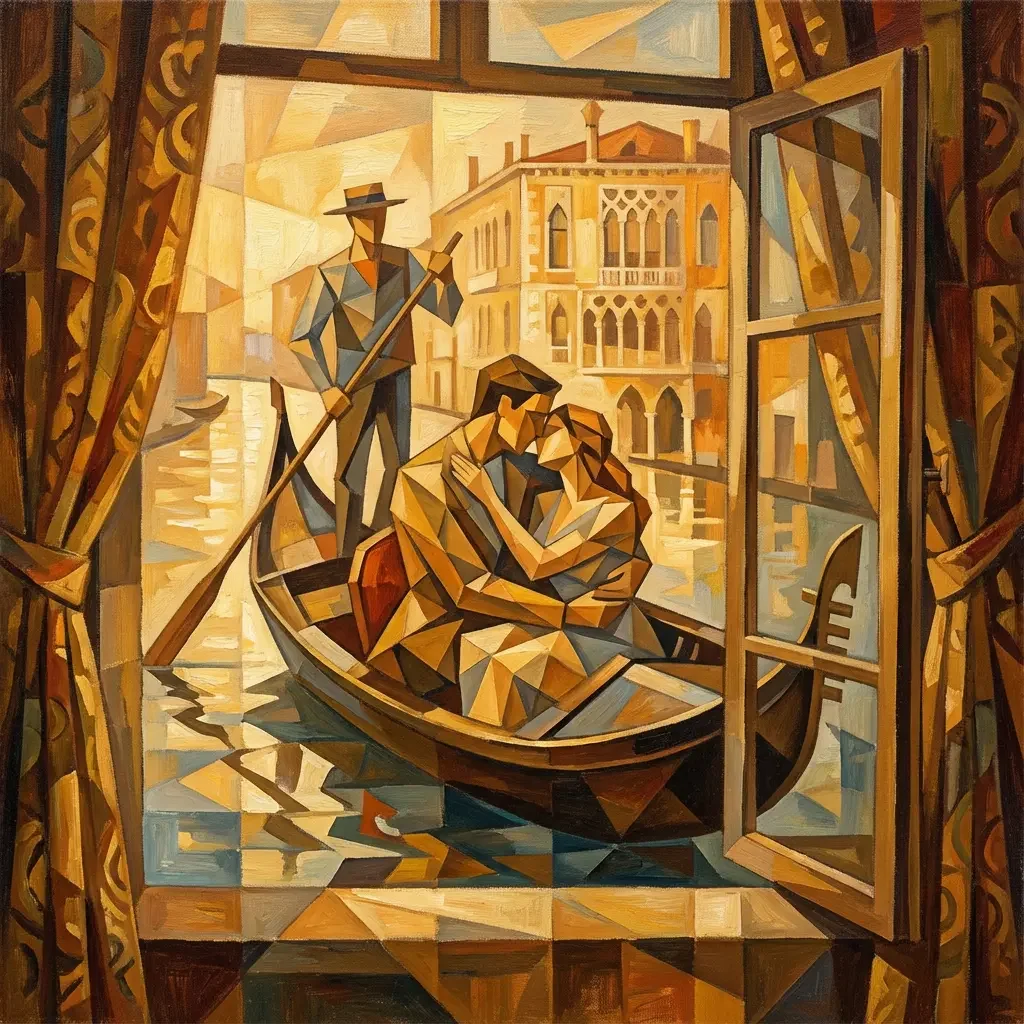
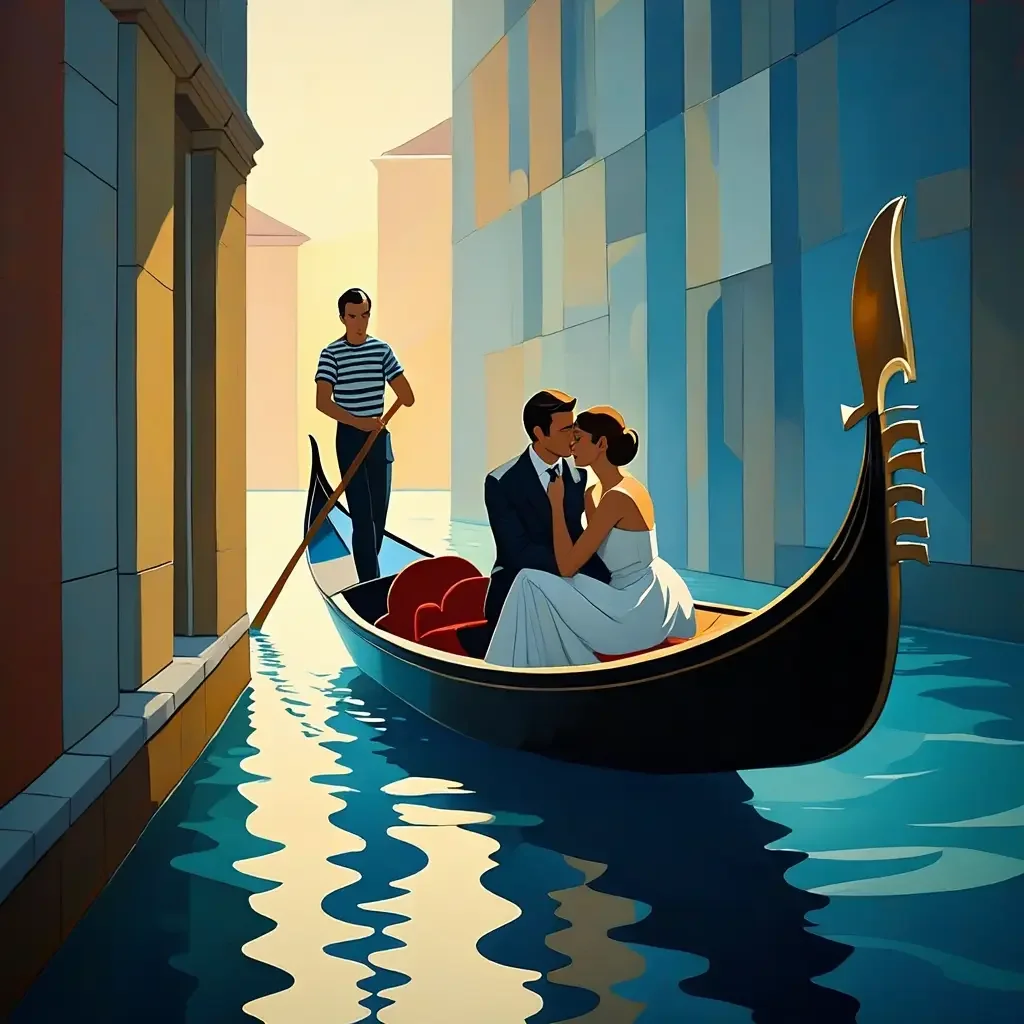
Let's keep our starting example, but this time give it a painterly style like Impressionism, swapping the artist and removing everything related to photography:
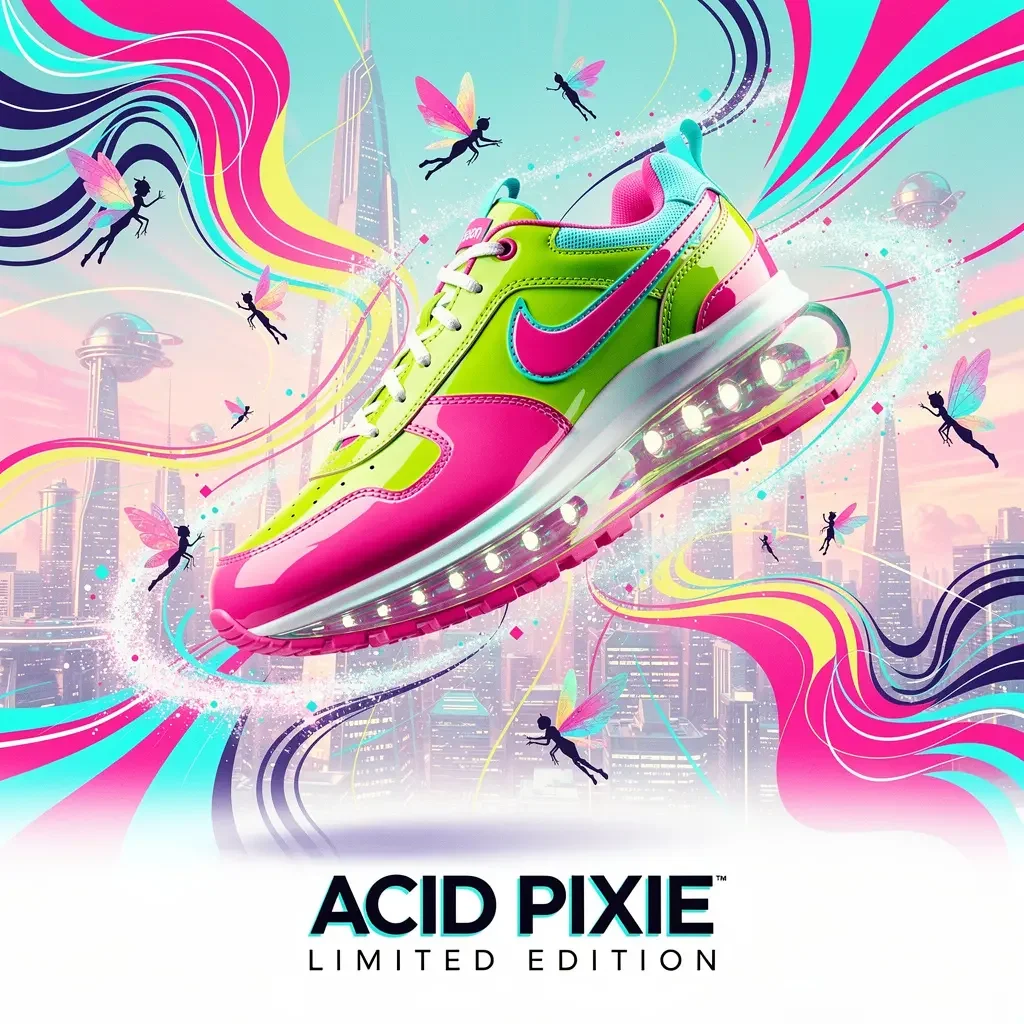
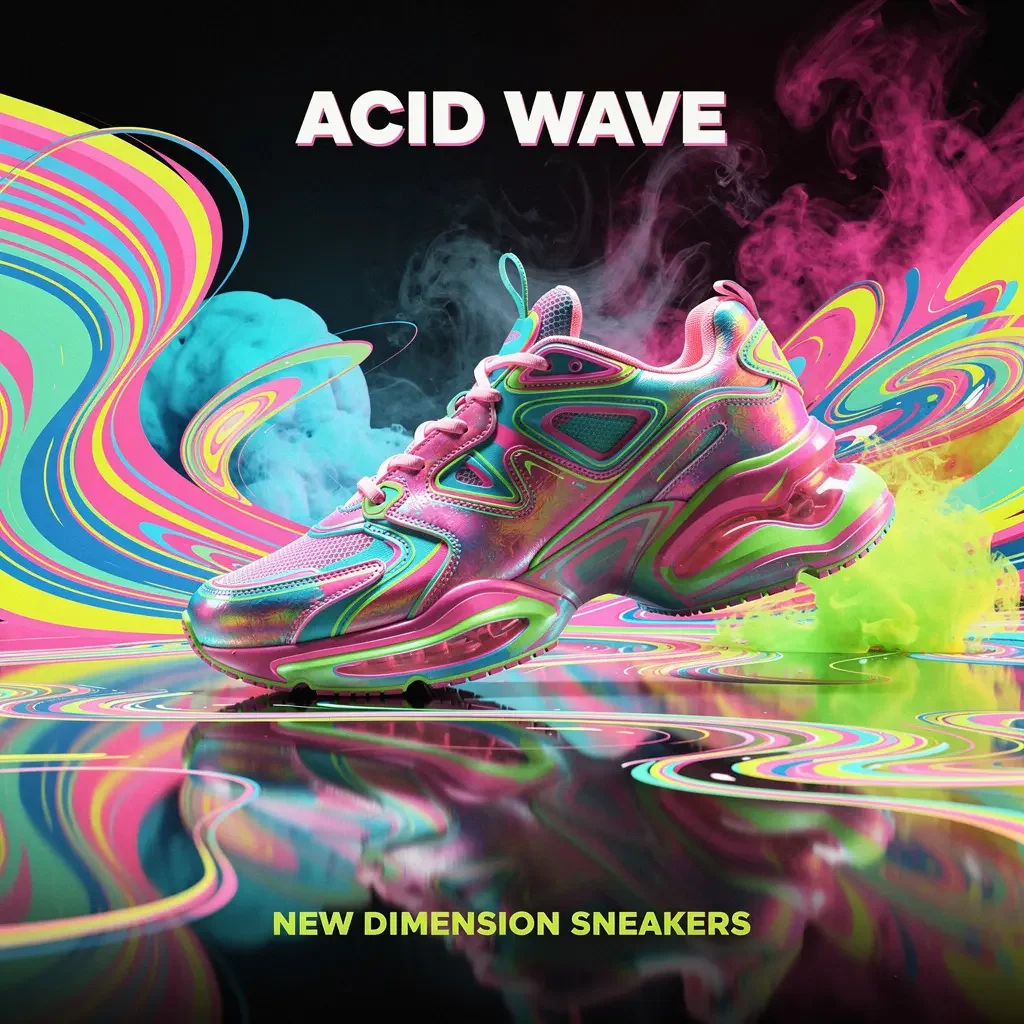
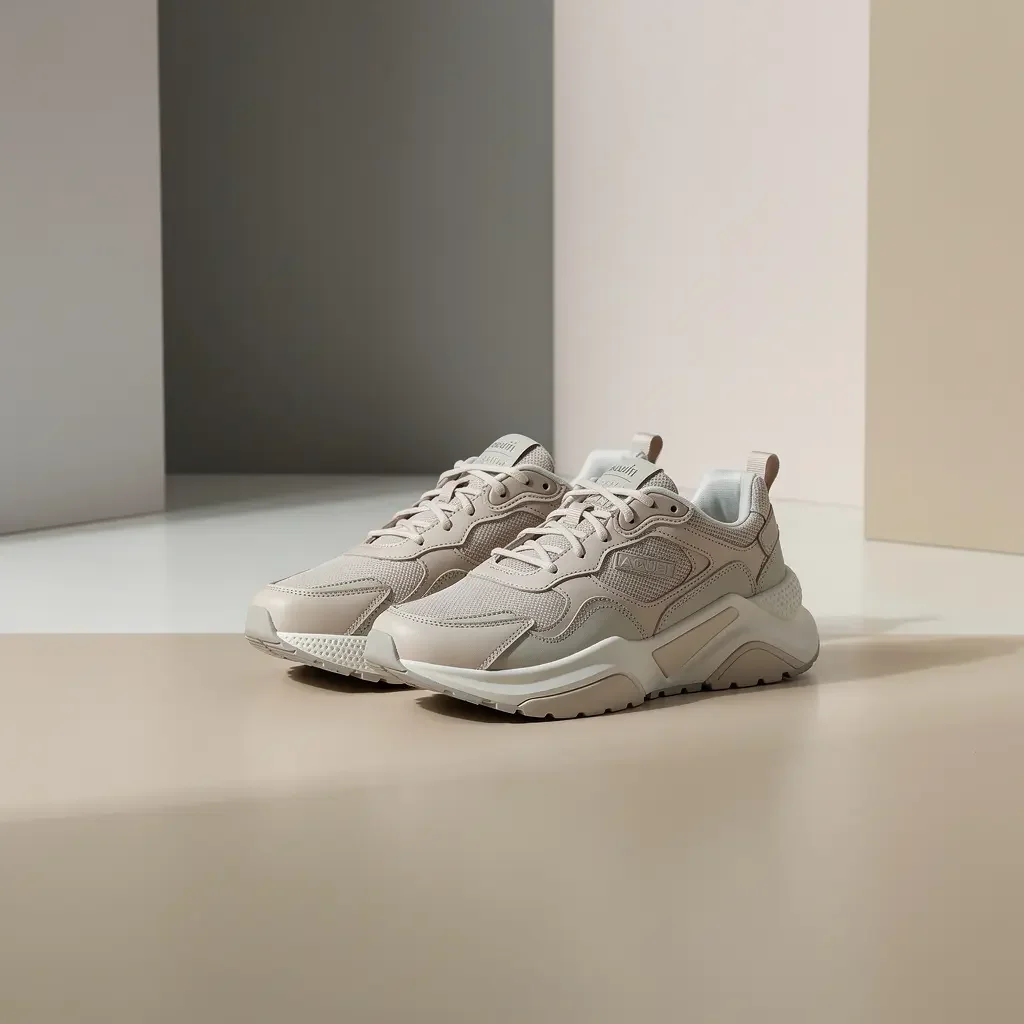
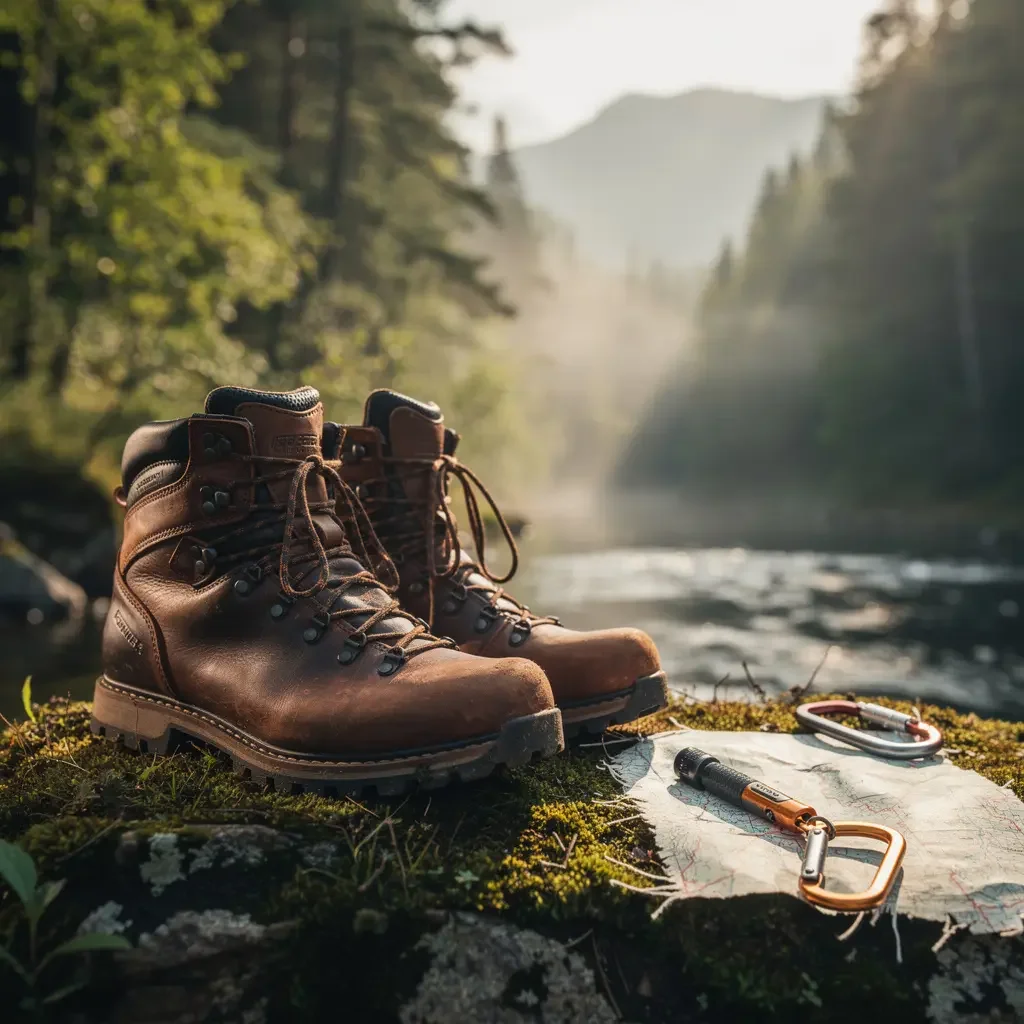
Aesthetic References
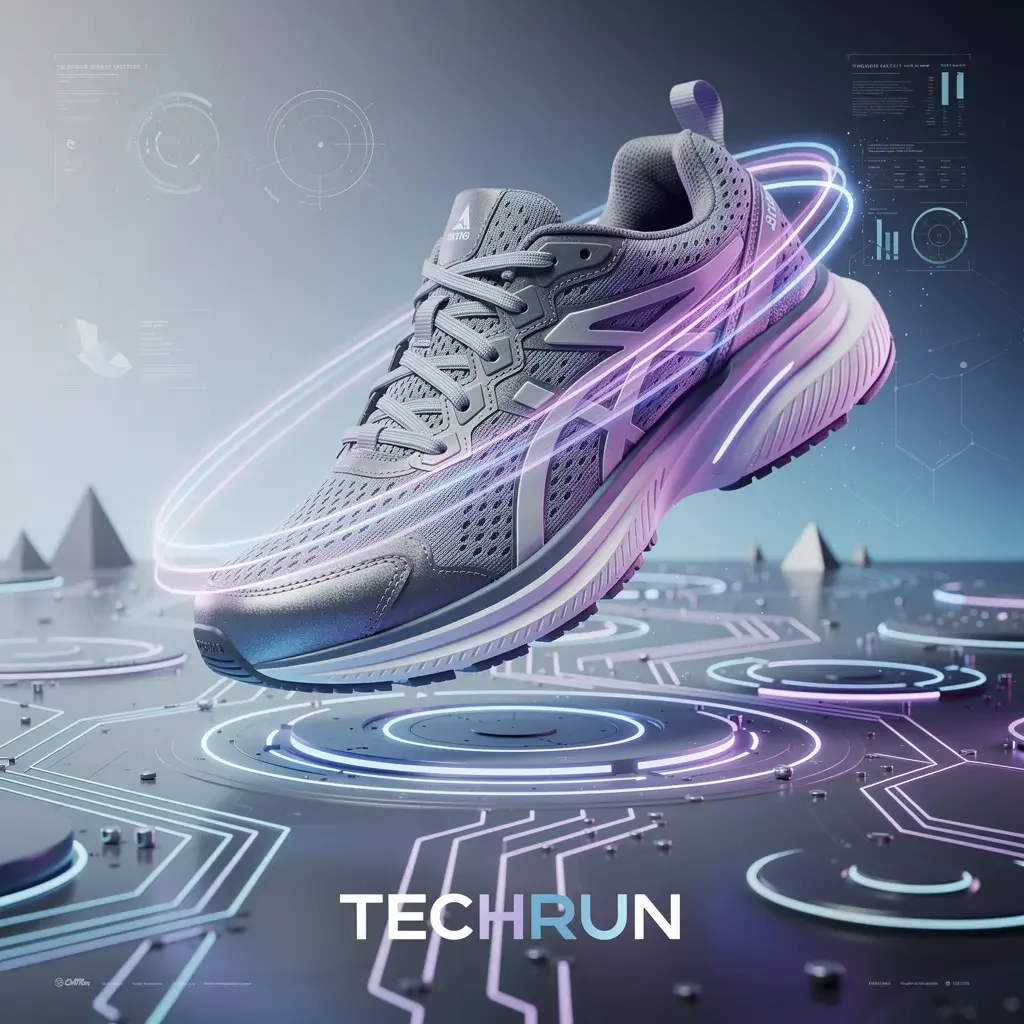
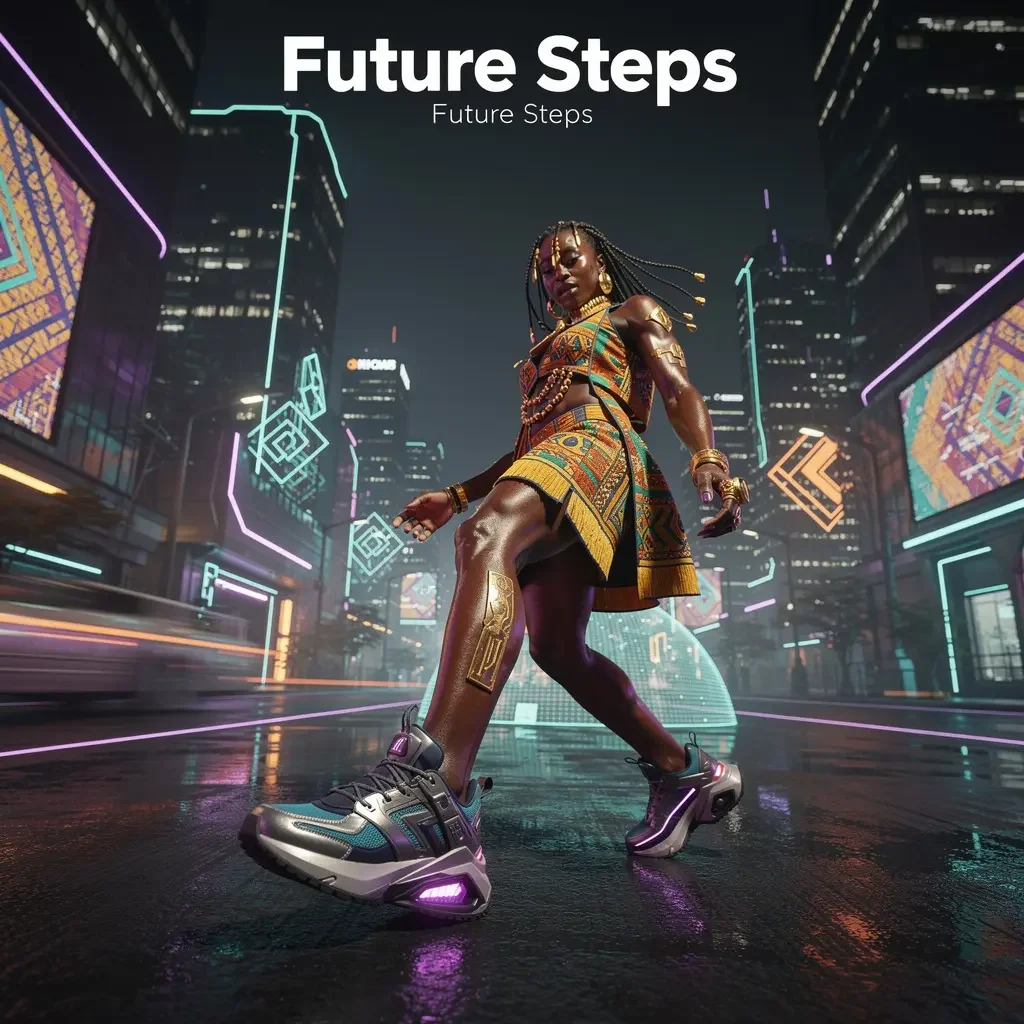
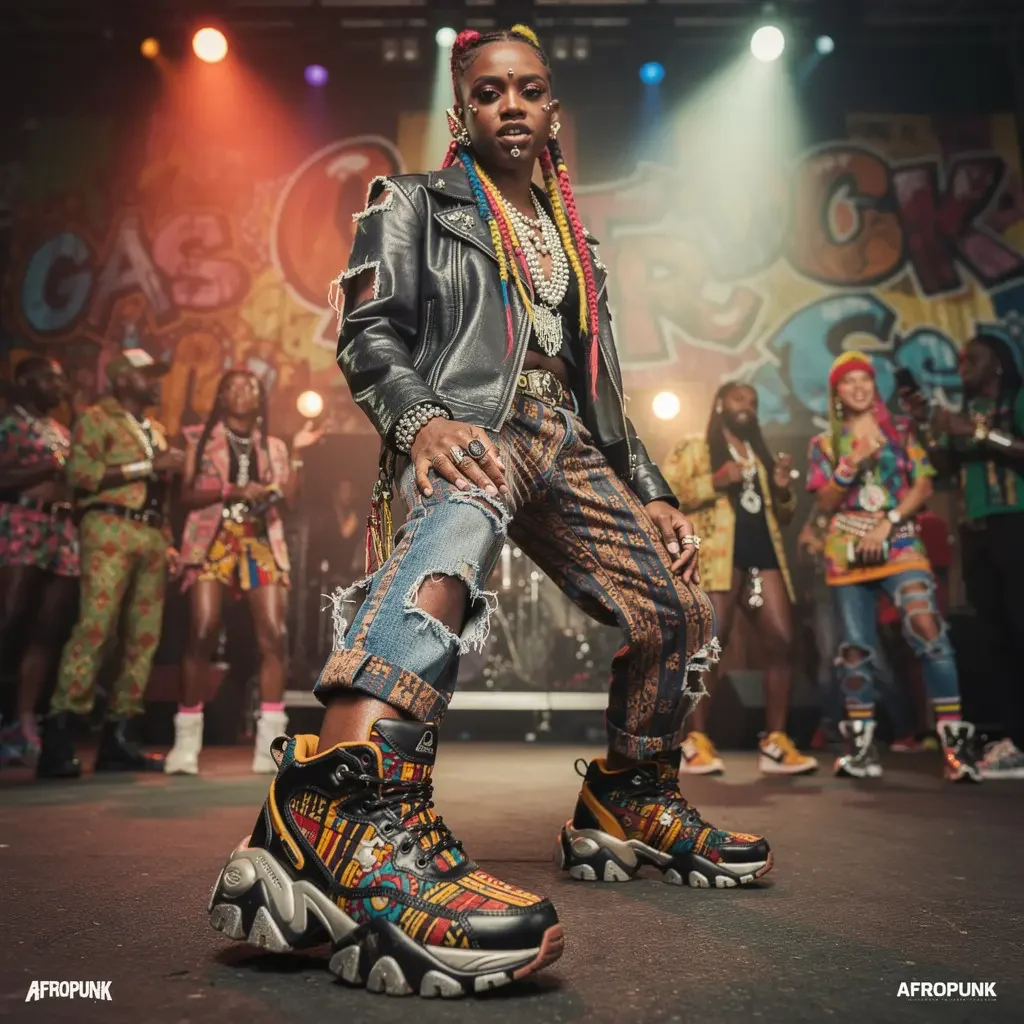
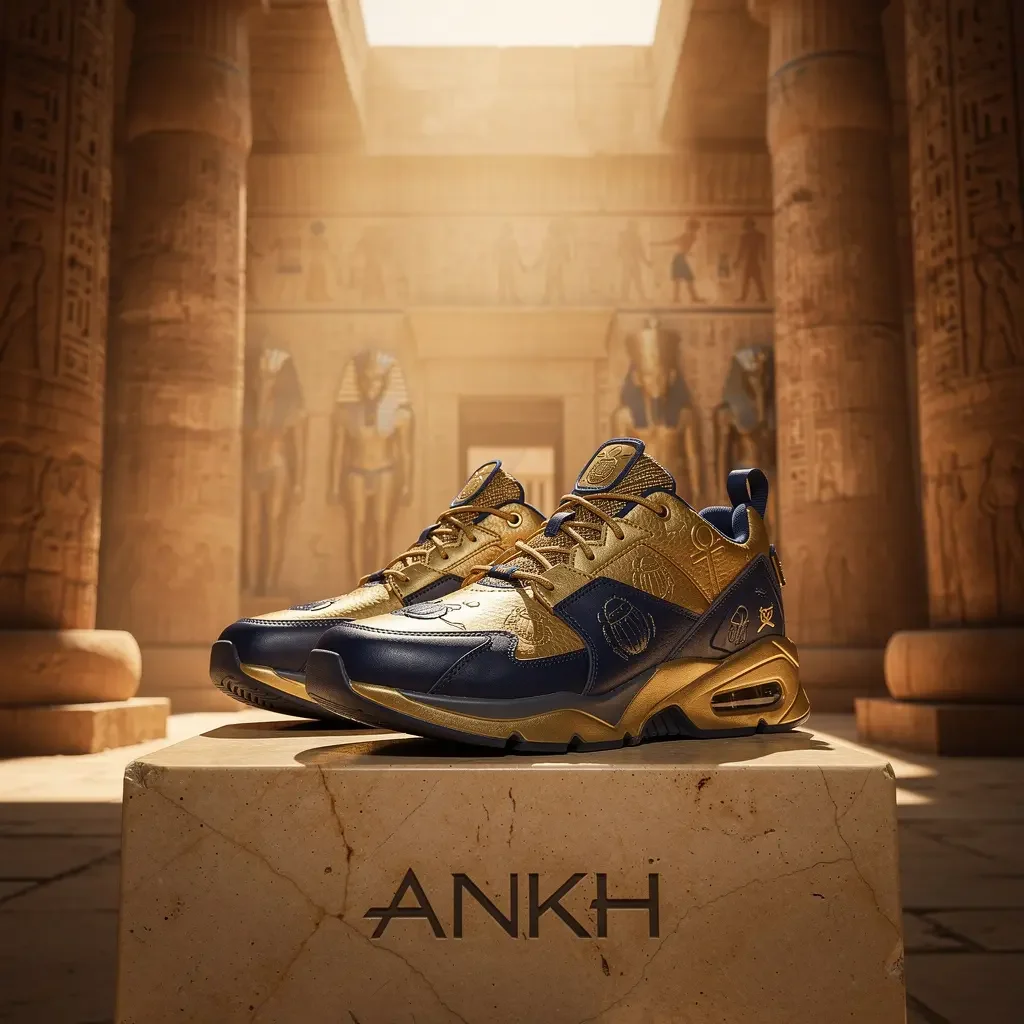
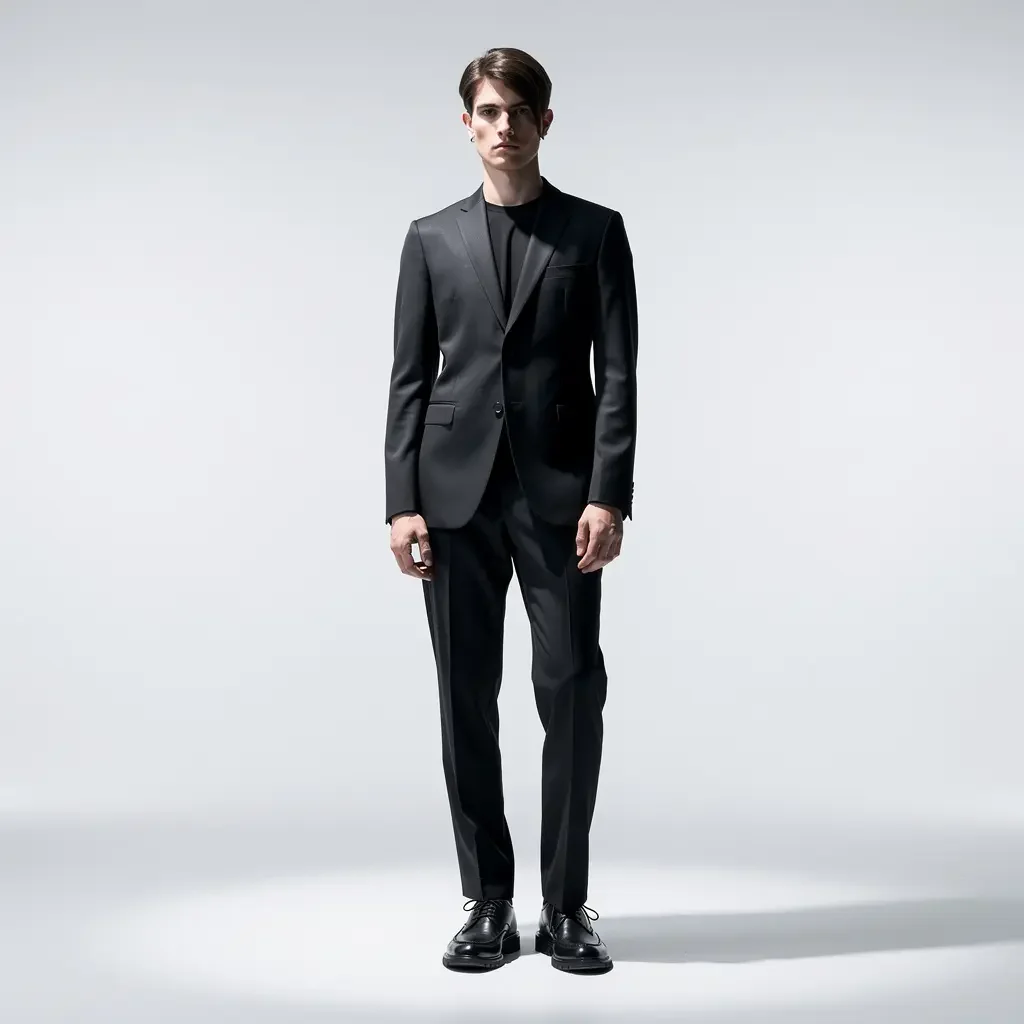
In advertising, aesthetic references are defined sets of visual traits – like colors, lighting, composition, texture – that evoke a specific style, mood or atmosphere. They work like a coded visual language, which is especially useful now with Artificial Intelligence: the terms that describe these aesthetics go straight into your prompts to guide the AI toward images with that exact look and feel.
Their power lies in their ability to instantly call up a historical period, suggest a type of product or service (as in the "Abstract Tech" example, where keywords like "glowing lines" and "futuristic designs" in the prompt produce images suited to tech products or sci-fi settings), or create an image that resonates with a specific audience (for example, a prompt with "minimalist" references for an audience that appreciates understated elegance). In short, using the right aesthetic references in your prompt lets you create images that clearly communicate the context you want.
Below are a few examples to experiment with.
Phase 4 - Distribution
Outpainting
Outpainting is a generative AI technique for extending an image beyond its original edges, adding content that fits the existing scene. In practice, the AI analyzes the pixels, style and composition near the edges of the image you provide and "imagines" how to continue the scene into the empty space around it, which you define. It works by giving the AI the starting image and marking the outside area to "fill." This is especially useful for creating different versions or formats of the same image: you can start from a smaller, detailed format (for example, a square 1:1) and use outpainting to expand it step by step (for example to 16:9 for a banner or 9:16 for a story), adding background or context smoothly without generating a brand-new image for each format.
Upscale
Upscaling is the process of increasing an image's resolution (meaning the number of pixels that make it up) using AI algorithms. Traditional methods simply enlarge the existing pixels, which often leaves images blurry or pixelated. AI upscaling tools, by contrast, are trained on millions of images to learn to recognize patterns, shapes and textures. When they enlarge a low-resolution image, they don't just duplicate pixels: they add plausible details and rebuild the missing information, trying to "guess" what the image would look like if it had been created at high resolution in the first place. The result is a bigger, sharper, more detailed image, ready for print or high-definition screens.
And that wraps up our workflow. More guides will follow to help you "hack" your prompts even further.
Stay tuned to Marketing Hackers!
If you found this useful and you like the project, help me grow it. Share it with your colleagues and friends and invite them to sign up to spread the knowledge and stay ahead.
Cosa ottieni iscrivendoti:
- Accesso a tutti gli episodi della newsletter
- Guide e corsi completi sull'AI per marketer
- Strumenti AI professionali (BrandPix, Short Video Suite)
- Crediti gratuiti per iniziare subito